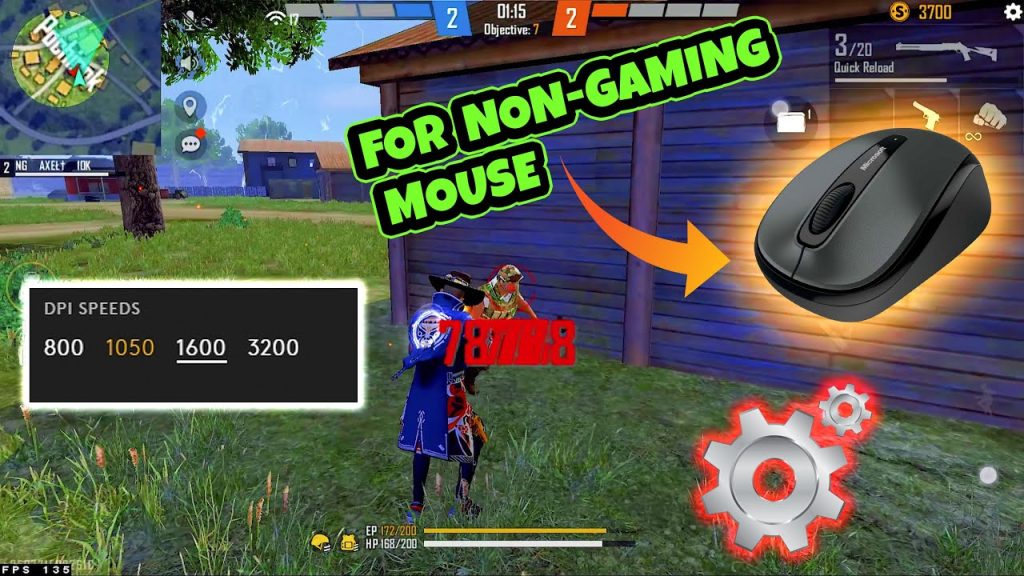
If you’re playing Free Fire on PC with an emulator or a gaming mouse that runs below 700 DPI, you’ve probably felt like your aim is either too slow to track enemies or too jerky to control recoil. Don’t worry – you’re not alone. Many players rock mice with 400 or 600 DPI because that’s what they’re used to, and with the right sensitivity settings, you can compete with anyone. In this guide, I’ll walk you through the exact steps to dial in your Free Fire sensitivity so that your crosshair moves exactly how you want, whether you’re spraying an MP40 or flicking with an AWM.
By the time you finish, you’ll have a set of sensitivity values that work specifically for your low DPI, a method to test them in-game, and the know-how to tweak them as you improve. No more guessing or copying pro settings that were meant for 800 or 1600 DPI. Let’s get started.
What You’ll Need
- A mouse with DPI set to anything under 700 (400, 500, 600, etc.) – check your mouse software or specs.
- Free Fire installed on your PC (via emulator like Gameloop) or on mobile (if you use a controller/mouse adapter). This guide works for both.
- At least 30 minutes of free time to test and adjust in Clash Squad or a custom room.
- A notepad or phone to jot down your starting sensitivity values.
- Patience – finding your perfect sens takes a few rounds of trial and error.
Step 1: Reset Your Sensitivity to Default
Before we start tweaking, open Free Fire and go to Settings > Sensitivity. If you’ve messed with the sliders before, hit the ‘Reset’ button (usually at the bottom). This gives you a clean slate. Under 700 DPI, the default values are actually a decent starting point, but we’ll adjust them to suit your hardware.
Step 2: Set Your Global Sensitivity (Camera and ADS)
The two most important sliders are General (camera movement) and Red Dot / 2x / 4x / Sniper (ADS sensitivity). For under 700 DPI, you’ll generally want higher values than the default because your mouse moves less distance per inch. Start with these values: General: 90-100, Red Dot: 85-95, 2x Scope: 80-90, 4x Scope: 70-80, Sniper: 60-70. If you’re on 400 DPI, lean toward the top end; if you’re on 600 DPI, toward the bottom end. These numbers ensure you can do a 180-degree turn without lifting your mouse.
Step 3: Tweak Fire Button and Scope Sensitivity
Under the same menu, find the ‘Sensitivity’ tab (sometimes called ‘Controls’). The ‘Fire Button’ sensitivity affects how quickly your aim moves while firing. For low DPI, set this to around 90-100 – you need fast correction during spray. The ‘Scope’ sensitivity (separate from ADS) should mirror your Red Dot setting. Also, turn off ‘Aim Assist’ if you want full manual control; keep it on if you prefer a little sticky aim. I’d recommend off for consistency.
Step 4: Practice in a Custom Room or Clash Squad
Now it’s time to test. Hop into a custom room (create one with bots) or a Clash Squad match (no rank pressure). Focus on these drills: flick to stationary targets (like the training ground dummies), track a moving bot while spraying, and turn 180 degrees quickly. If your aim overshoots or undershoots, adjust the relevant slider by 5 points. Repeat until you can consistently hit headshots on a bot from medium range.
Step 5: Fine-Tune Per-Scope Sensitivity
Once your general aim feels okay, go back to the sensitivity menu and tweak individual scope values. For example, if you’re struggling to control the 4x scope on an SCAR, lower it by 5 points. If you’re hesitating with the sniper scope, bump it up. The goal is to make each zoom level feel natural without having to think about it. Write down your final numbers so you can restore them if needed.
Common Pitfalls
- Copying high-DPI pro settings blindly – Their 50 sensitivity is way too slow for your 400 DPI. Always start with higher values.
- Forgetting to disable mouse acceleration in Windows – Go to Mouse Settings > Additional Mouse Options > Pointer Options and uncheck ‘Enhance pointer precision’. This ensures your mouse movement is 1:1.
- Not giving the settings time – Don’t change after one bad round. Stick with a setup for at least 5-10 matches so your muscle memory can adapt.
Where to Next
Once you’ve got your under-700 DPI sensitivity dialed in, you might want to explore other optimizations. Check out our guide on sensitivity settings for 800 DPI if you ever upgrade your mouse. For more fine-tuning, our trusted sensitivity settings for beginners can help you refine further. And if you play a lot of sniper, the sniper style sensitivity guide is a must-read. Keep practicing, and you’ll be hitting those one-taps in no time.


