
If you’re grinding Free Fire and want to step up your close-range game, you’ve gotta master the drag shot. It’s that fast, sweeping motion where you drag your crosshair from the enemy’s chest up to the head in one smooth move. But without the right DPI and sensitivity combo, your drags will feel clunky and miss the mark. I’ve been there — tweaking my settings for days until I found what works. This guide is for motivated beginners who want a tested, step-by-step setup that’ll make your drag shots land like a pro’s.
By the end of this post, you’ll have a custom DPI and sensitivity profile tuned specifically for drag shots. We’ll cover everything from adjusting your phone’s system DPI to fine-tuning in-game sensitivity sliders. You’ll also learn common mistakes that ruin drag aim and how to avoid them. Ready to turn your fights into highlight reels? Let’s dive in.
What You’ll Need
- Free Fire installed on your phone (or Free Fire Max)
- Access to Developer Options on Android (for DPI change) — if not available, a third-party app like ‘DPI Changer’ works too
- A stable internet connection for testing in Clash Squad or Battle Royale
- Patience to spend 15–20 minutes in the training ground
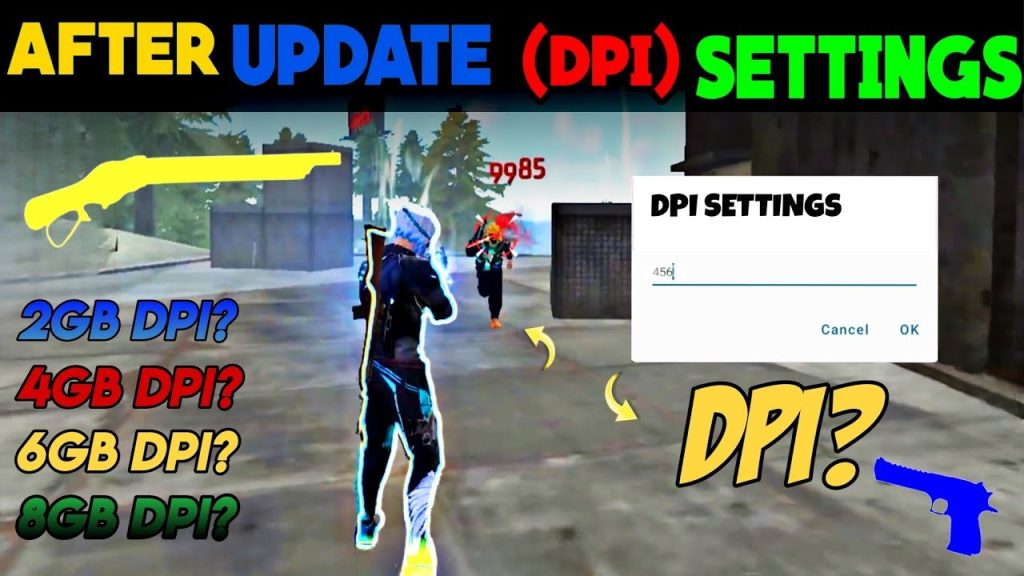
Step 1: Understand DPI and How It Affects Drag Shots
DPI, or dots per inch, controls how many pixels your finger moves across the screen relative to physical movement. For drag shots, a higher DPI means your crosshair moves faster with a smaller swipe — perfect for quick flicks upward. But too high and you’ll overshoot the head. Too low and you’ll barely move. Start with a DPI around 400–450 for a balanced feel. If your device allows, try 480 for faster drags. We’ll dial it in later.
Step 2: Open Free Fire’s Sensitivity Settings
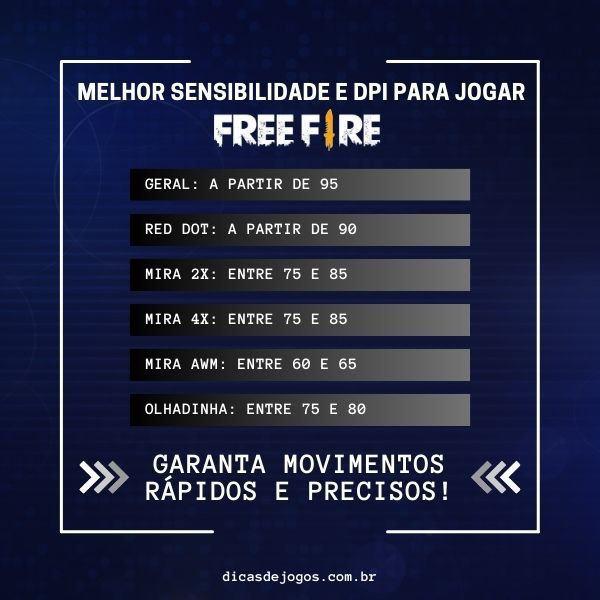
Launch Free Fire and head to the settings menu (gear icon on the lobby). Tap on ‘Sensitivity’. You’ll see a bunch of sliders. Don’t panic — we only need to tweak a few for drag shots. If you haven’t already, check out the free fire sensitivity settings guide for a general overview. For drags, focus on ‘General’, ‘Red Dot’, and ‘4X Scope’ (if you use ARs with scopes). Reset everything to default first if you’ve messed around too much.
Step 3: Adjust General Sensitivity for Drag Shots
General sensitivity affects your movement and hip-fire aim. For drag shots, you want a slightly higher value than your usual aim setting. Start at 85–90. This allows you to swipe upward quickly without lifting your finger. If you’re using a 3‑finger claw setup, you might prefer a bit lower — check the free fire sensitivity settings with 3 finger claw for specifics. Test it by dragging from a dummy’s chest to head in training mode — the motion should be smooth, not jerky.
Step 4: Set Red Dot and Scope Sensitivity for Drags
When you’re using a red dot or 4X scope, your drag shot vertical movement changes. Set Red Dot sensitivity to 80–85, and 4X scope to 70–75. This makes dragging with a 1:1 feel consistent. A common trick is to match Red Dot to General sensitivity so you don’t have to adjust muscle memory. If you spray after the drag, the free fire sensitivity settings for spray control can help stabilize your follow-up. Remember: scope sensitivities are percentage multipliers of your general sensitivity.
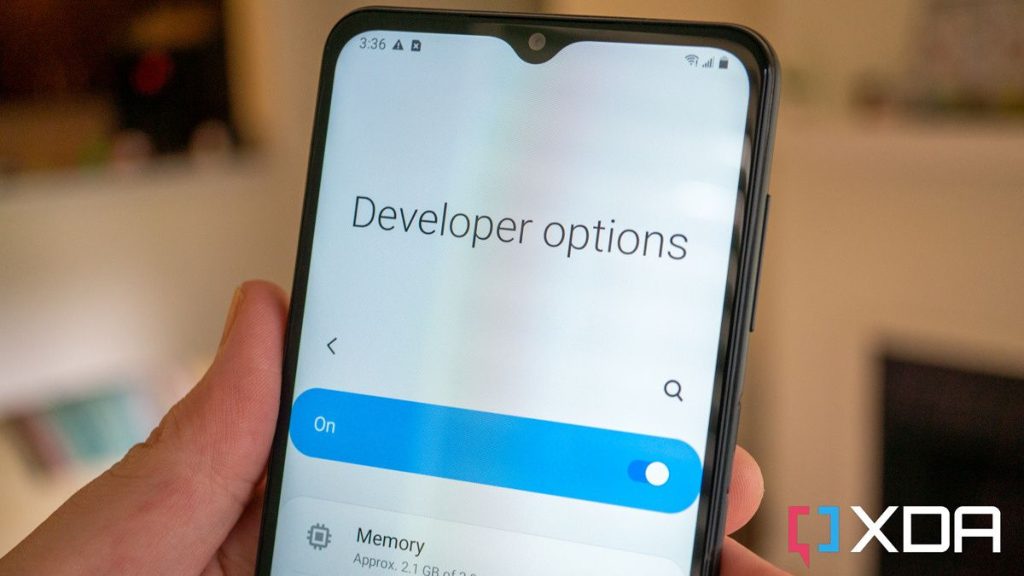
Step 5: Change Your Device’s DPI (System Level)
Go to your phone’s Settings > About Phone > tap ‘Build Number’ 7 times to enable Developer Options. Then go to Developer Options > find ‘Smallest Width’ (or ‘DPI’). Change it to a number like 400–480 (lower = smaller UI lower sensitivity; higher = larger UI higher sensitivity). For drag shots, 440 is a sweet spot on most devices. If you don’t have Developer Options, use a DPI changer app from Play Store (root not needed). After changing, restart Free Fire. This system DPI multiplies your in-game sensitivity, so you can adjust accordingly.
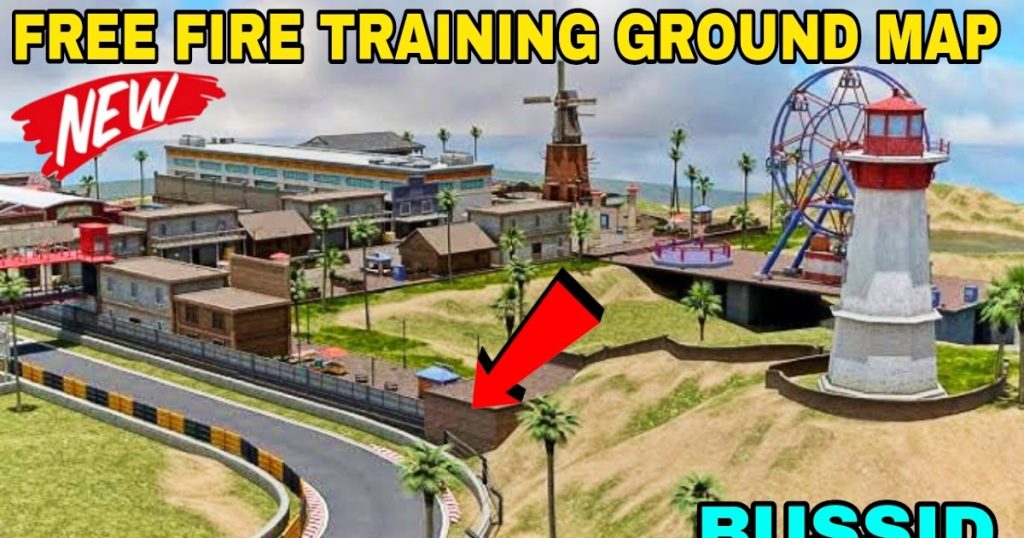
Step 6: Test and Fine-Tune in the Training Ground
Now the fun part — testing. Go to the Training Ground, pick an AR (M4 or AK), and practice drag shots on the moving targets. Swipe from chest to head repeatedly. If you’re overshooting (going too high), lower your DPI or General sensitivity by 2–3 points. If you’re undershooting (not reaching the head), increase them. Also test with a red dot and 4X scope separately. Record a few clips to review. You can save your final settings as a backup code using how to import free fire sensitivity settings so you never lose them. Pro tip: pros often use slightly higher DPI (480+) — check esports free fire sensitivity settings for inspiration.
Common Pitfalls
Even with the best settings, mistakes happen. Here are three things that go wrong and how to fix them.
- Pitfall 1: Too High DPI – You overshoot every time. Solution: Lower your system DPI by 20 units or decrease General sensitivity to 80.
- Pitfall 2: Ignoring Scope Sensitivities – You nail drags with hip fire but miss with scopes. Solution: Match Red Dot sensitivity to General, then adjust 4X slightly lower.
- Pitfall 3: Not Testing with Real Weapons – The training dummy doesn’t move like a player. Solution: Hop into Clash Squad (unranked) and practice drags on real opponents. Adjust based on live feedback.
Where to Next?
You’ve got your drag shot sensitivity dialed in — now keep refining. Check out the free fire sensitivity settings and dpi combo guide for more advanced tweaks, or try our free fire sensitivity settings for spray control to chain drags into full sprays. Mastery comes from practice and small adjustments. Good luck, and see you on the battleground!


