If you’ve been struggling with your aim in Free Fire—jittery sprays, overcorrecting, or just not hitting those headshots—you’ve probably heard about sensitivity and DPI. But combining them the right way is the secret sauce. This guide is for anyone who wants a balanced, tested setup that works for both casual and competitive play. By the end, you’ll have a solid sensitivity + DPI combo that feels smooth and helps you control recoil, track enemies, and land shots consistently.
We’ll walk through what DPI and sensitivity actually do, give you starting values that work on most devices, and show you how to fine-tune so it’s personal to you. No copy-pasting pro settings blindly—we’ll teach you the method. Let’s dive in.
What You’ll Need
- Free Fire (or Free Fire Max) installed on your phone
- A working game booster or launcher that lets you adjust DPI (like Game Turbo on Xiaomi, Game Center on OPPO, or third-party apps)
- 15-20 minutes in the training ground
- Optional: your current sensitivity settings if you want to adjust rather than start from scratch
Step 1: Understand DPI vs Sensitivity
DPI (dots per inch) is your hardware pointer speed—it’s how fast your touch inputs travel across the screen. It’s set outside the game, usually in your phone’s game launcher or in a game booster app. Sensitivity, on the other hand, is inside Free Fire’s settings and acts as a multiplier on top of your DPI. Together, they determine your effective look speed. A good starting point is DPI between 400 and 600. Lower DPI gives more control but requires bigger swipes; higher DPI is snappier but can feel twitchy.
If you’re using a device with a pre-installed game launcher, open it and look for DPI or pointer speed settings. On some phones, you can also adjust it in Developer Options > Pointer speed. Set it to around 400-500 to start.
Step 2: Set Your Base Sensitivity in Free Fire
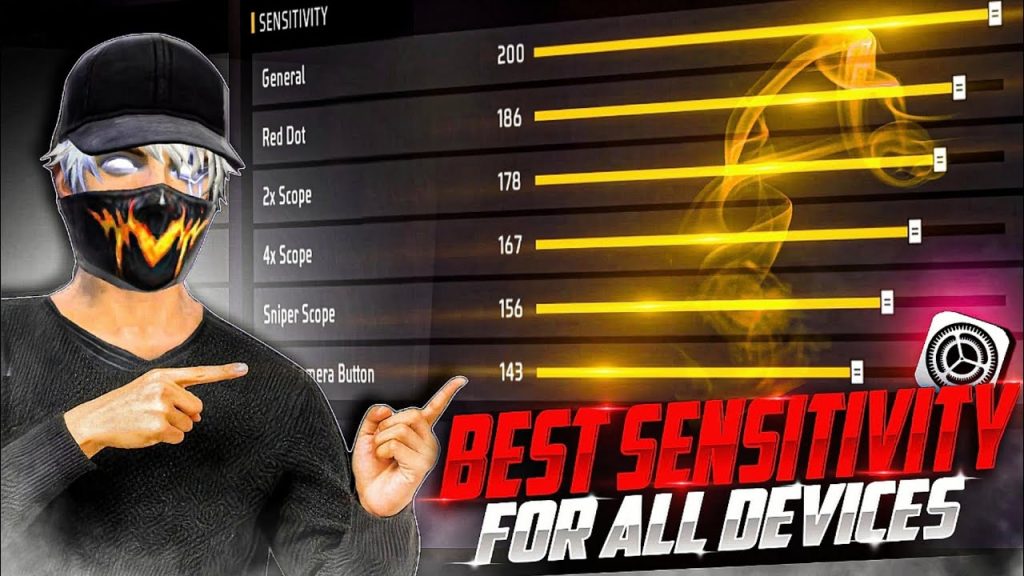
Open Free Fire and go to Settings > Sensitivity. Use these starting values that work well for a 400-600 DPI setup. They balance speed and control for most players:
- General: 90-95
- Red Dot: 85-90
- 2x Scope: 80-85
- 4x Scope: 70-75
- Sniper Scope: 40-50
- Free Look: 60-70
Don’t touch the other scope sensitivities yet. These base values are proven for spray control and quick aiming on medium DPI. They’re also close to what many pro players use after fine-tuning.
Step 3: Test Your DPI and Sensitivity Combo
Head to the training ground (or create a room). Grab an M4 or AK without attachments. Stand about 10-15 meters from a target wall. Spray a full magazine—watch your crosshair’s vertical climb and horizontal drift. If you can keep most bullets within a small area, you’re close. If your crosshair jumps wildly, your combo is too fast. If you can’t track a moving target, it’s too slow. Adjust DPI in small steps (50 up or down) or tweak General sensitivity by 5 points.
For example, if your spray drifts left, you might need to reduce DPI or increase horizontal sensitivity? Actually, horizontal control comes from your left-right movement. If you’re overcorrecting, lower your general sensitivity. The goal is a smooth, controlled spread. This step may take a few tries—patience pays off.
Step 4: Fine-Tune for Specific Weapons
Once your baseline combo feels good, headshots and spray control often need tweaks per weapon. For ARs like M4 or AK, you might want slightly higher general sensitivity (95-100) for faster target acquisition. For snipers, lower your sniper scope sensitivity to 40-45 for steadier aim. Shotguns? Keep general high (90-95) but reduce red dot to 80 if you pre-aim. Test each weapon in training. Our free fire sensitivity settings for spray control guide goes deeper on AR-specific values.
Also, if you’re chasing headshots, check out our free fire max sensitivity settings for headshot guide for advanced adjustments. For players with devices that lag at high DPI, we’ve got a free fire sensitivity settings under 700 dpi guide and a free fire sensitivity settings no lag guide that might help.
Step 5: Save and Backup Your Settings
Once you’re happy, save a backup so you never lose your combo. Free Fire allows you to copy a backup code from the sensitivity screen (tap the code icon). Write it down or save it in a notes app. You can also share it with friends. Later, you can use how to import free fire sensitivity settings to restore it on another device. If you use a custom HUD, we have a guide on free fire sensitivity settings with custom hud as well.
Common Pitfalls
- Setting DPI too high (=800+). This makes your aim jittery and hard to control, especially for vertical recoil. Stick within 400-600 and adjust sensitivity instead.
- Ignoring gyroscope. If you use gyro, your sensitivity settings change completely. Gyro adds another layer that multiplies with DPI. If you’re using gyro, disable it first to find a pure touch combo, then turn it back on and adjust separately.
- Copying pros without adapting. Pro players often use devices with high touch sampling rates and different screen sizes. Their DPI/sens may not work on your phone. Always start from the base values and tweak based on your own spray tests.
Where to Next?
Now that you have a solid DPI and sensitivity combo, you can level up other aspects of your game. Check out our guides on claw setups (3-finger and 4-finger), headshot practice routines, and advanced movement techniques. The key is consistency—stick with this combo for at least a week in real matches. Your muscle memory will adapt, and you’ll notice smoother aim and better overall performance. Happy hunting!


