So you want to land more headshots in Free Fire Max? You’ve come to the right place. Whether you’re a total beginner or someone who’s been playing for a while but can’t seem to get that satisfying headshot sound, the secret often lies in your sensitivity settings. This guide is for anyone who wants to improve their aim using a practical, tested setup that works on most devices. By the end, you’ll have a custom sensitivity profile that makes it easier to snap to the head, control recoil, and win more fights.
We’re not going to throw random numbers at you and call it a day. Instead, we’ll walk through each setting step by step, explain why it matters, and give you room to tweak based on your finger size, device screen, and playstyle. You’ll also learn common mistakes that ruin your accuracy and how to avoid them. Ready to become a headshot machine? Let’s dive in.
What You’ll Need
- Free Fire Max installed on your device (Android or iOS)
- At least 10-15 minutes of free time to tweak and test
- A stable internet connection (ping matters for headshots)
- A device with decent performance (no lag helps with consistency)
- Patience – you won’t become a pro in one session
Step 1: Open Free Fire Max and Go to Settings
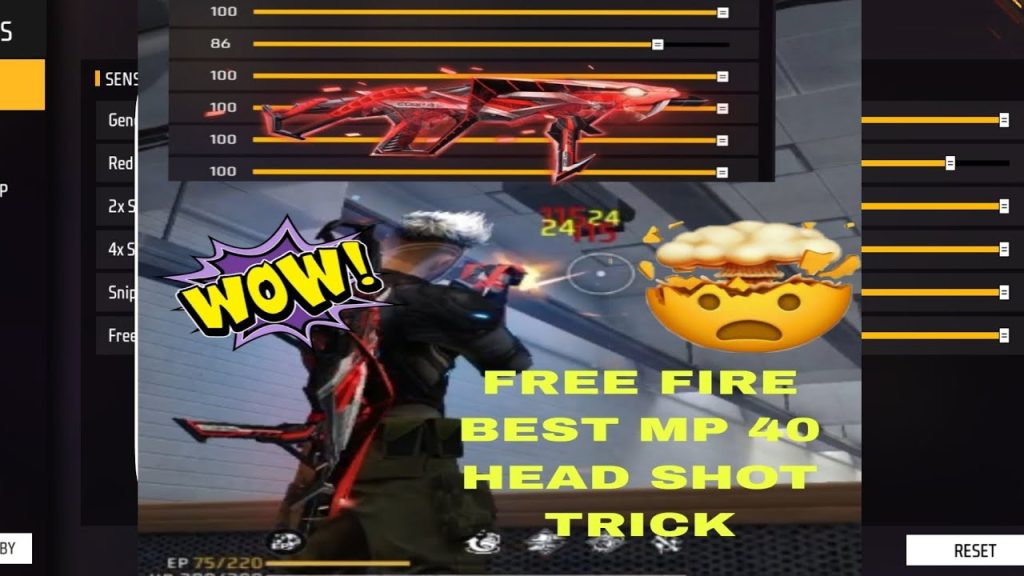
Launch Free Fire Max and log into your account. On the main lobby screen, look for the gear icon on the top-right corner. Tap it to open the Settings menu. Then, select the ‘Sensitivity’ tab. This is where all the magic happens. If you haven’t messed with these before, don’t worry – you can always reset to default later.
Step 2: Adjust General Sensitivity
The ‘General’ slider controls your hip-fire aim – that’s when you’re not looking down the sights. For headshots in close-to-mid range, you want it high enough to flick quickly but low enough to avoid overshooting. I recommend starting at 90. If that feels too fast, drop to 85. Too slow? Go up to 100. Remember, higher sensitivity means faster movement but less precision. You’ll need to find your sweet spot.
Pro tip: If you’re using a 3-finger claw grip, you might want a slightly higher general sensitivity because you have more control. Check out our free fire sensitivity settings with 3 finger claw guide for a dedicated setup.
Step 3: Fine-Tune Scope Sensitivity
Scope sensitivity is crucial for headshots at range. Each scope (Red Dot, 2x, 4x, etc.) has its own slider. A good rule is to keep them lower than your general sensitivity. For example: Red Dot at 75, 2x at 60, 4x at 45, and Sniper Scope at 30. This prevents your crosshair from flying off target when you zoom in. If you find yourself overcorrecting, lower the number. If you’re struggling to track moving targets, bump it up a bit.
For those who want a deeper dive on scopes, our balanced sensitivity settings article covers a universal setup that works well for most weapons.
Step 4: Set Your Gyroscope Sensitivity (Optional)
If your device has a gyroscope, you can use it to make micro-adjustments by tilting your phone. This is a game-changer for headshots. In the ‘Sensitivity’ tab, scroll down to ‘Gyroscope’ and enable it. Set the general gyro to 50, and scope gyro gradually lower (Red Dot 40, 2x 30, etc.). Tilt your phone to aim – it feels weird at first but becomes second nature. Not all devices support gyro, so skip this step if you don’t have it.
Step 5: Practice in the Training Ground
Now it’s time to test your settings. Go to the game mode selection and choose ‘Training Ground’. Spawn in, grab a weapon (M4A1 is good for testing), and practice shooting at the moving targets. Focus on snapping to the head. If you’re consistently overshooting, lower your general sensitivity. If you’re undershooting, increase it. Spend at least 5 minutes fine-tuning until you feel comfortable.
Use the training ground also to test your recoil control. Our recoil spray sensitivity settings guide can help you further refine your spray pattern.
Step 6: Test in a Real Match (Clash Squad)
After the training ground, jump into a Clash Squad match. This mode is faster than Battle Royale and gives you more fight repetitions. Apply your settings and see how you perform. Don’t worry if you die a lot at first – it’s about adjusting, not winning. After each death, think about whether you overshot or undershot. Make small tweaks (5 points up or down) if needed.
If you want a more structured approach, refer to our free fire sensitivity settings tested in clash squad for a configuration that has been battle-tested.
Common Pitfalls
- Sensitivity too high: This is the #1 mistake. High sensitivity makes it hard to stay on target, especially for headshots. Dial it back if your crosshair is all over the place.
- Ignoring gyroscope: Many players overlook gyro, but it gives you that extra precision. Even a little gyro can help you correct your aim without huge thumb movements.
- Not adjusting per weapon: Different weapons have different recoil. The settings that work for an M4A1 might be too loose for an AK. Use our no lag sensitivity settings to keep performance smooth while you tweak.
Where to Next?
You’ve got your headshot sensitivity dialed in. Now it’s time to explore more ways to level up. Check out our easy headshot sensitivity settings for an alternative preset, or see how pros adjust for the competitive season sensitivity settings. And remember, you can always export your settings to share with friends or import free fire sensitivity settings from top players. Keep practicing, and those headshots will start landing more often!


