If you’re tired of spraying and praying, this guide is for you. Whether you’re a two-thumb casual or a seasoned claw player, dialing in your sensitivity settings can mean the difference between hitting the head and missing the mark. By the end of this tutorial, you’ll have a custom sensitivity setup that makes landing headshots feel almost automatic.
We’ll start from the basics—understanding the different sensitivity sliders—then move to a tested base setting that works for most devices. From there, you’ll fine-tune for your playstyle and practice until headshots become second nature. No gimmicks, just proven numbers and practical advice.
What You’ll Need
- Free Fire installed on your phone (latest version)
- A stable internet connection
- 5–10 minutes in the Training Grounds
- Patience to test and adjust (trust the process)
Step 1: Understand the Sensitivity Sliders
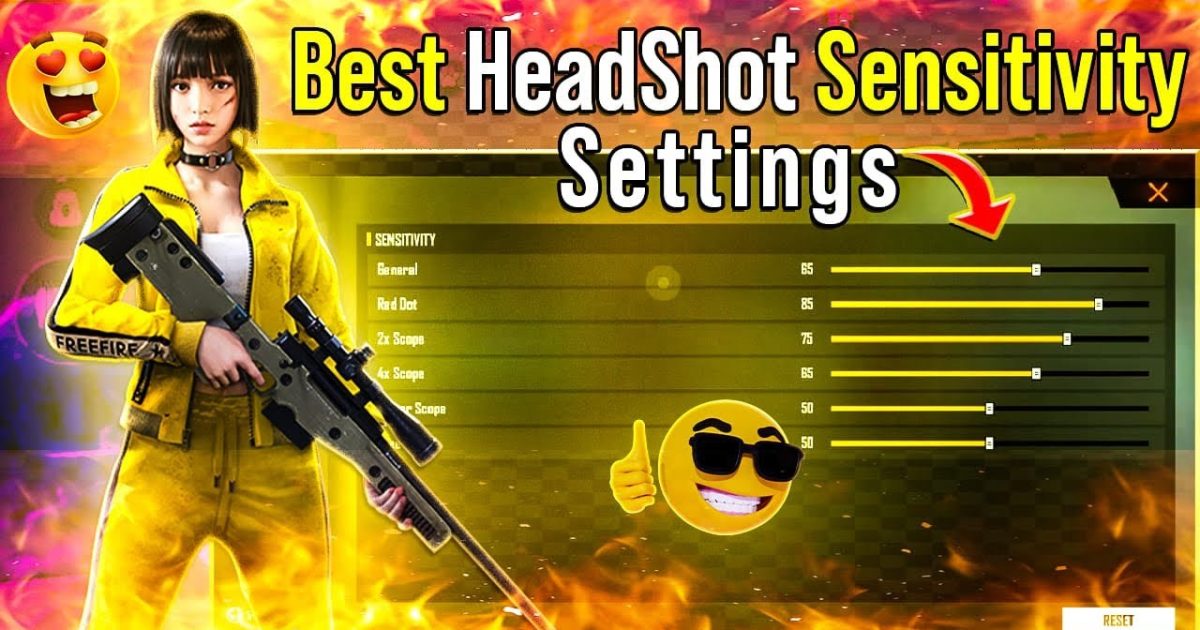
Free Fire’s sensitivity settings have several sliders: General, Red Dot, 2x Scope, 4x Scope, Sniper Scope, and Free Look. For headshots, the most important are General (hip-fire) and Red Dot (or 1x scope). You’ll also want to adjust the Aim Down Sights (ADS) sensitivity, which controls how fast your crosshair moves when you tap the aim button. Too high and you’ll overcorrect; too low and you’ll lag behind targets.
Step 2: Start with a Base Sensitivity
Use these numbers as your starting point. They’re balanced for headshots and work well for most players on medium DPI (around 400–600 DP in your phone’s settings). If you use a higher DPI, reduce these values slightly.
- General: 85–90
- Red Dot: 80–85
- 2x Scope: 70–75
- 4x Scope: 50–60
- Sniper Scope: 30–40
- Free Look: 60–70
Step 3: Fine-Tune for Headshots
Now open the Training Grounds. Pick a weapon like the M4A1 or AK and practice shooting at the dummy heads from different distances. If you often overshoot (your crosshair passes the head), lower your General or Red Dot sensitivity by 5 points. If you undershoot (can’t keep up with moving targets), increase by 5. Repeat until you can consistently flick to a head from any angle.
Also experiment with the ‘Aim Precision’ setting. Some pros keep it at default, but turning it up slightly can help with micro-adjustments for headshots. Just don’t max it out or your aim will feel sticky.
Step 4: Practice the Muscle Memory
Spend at least 10 minutes a day in Training Grounds before jumping into matches. Focus on quick flicks to heads, then tracking a moving dummy’s head. This trains your thumbs (or fingers) to match your new sensitivity. Don’t change the numbers every day—stick with them for at least a week.
Step 5: Save Your Backup Code
Once you’re happy with your settings, create a backup code. Go to Settings > Sensitivity > Backup Code and tap ‘Generate Code’. Write it down or screenshot it. This way, if you reset your phone or accidentally change your settings, you can restore them instantly. You can also share your code on a Free Fire sensitivity settings Discord to get feedback from others.
Common Pitfalls
- Setting sensitivity too high: Everything feels snappy, but you’ll miss headshots by a pixel. If you can’t stay on target, lower your General/ADS by at least 10 units.
- Ignoring the gyroscope: If your phone has a gyro, try enabling it for fine adjustments. Start with low gyro sensitivity (20–30) and see if it helps with steady aim. But don’t rely on it if you’re not comfortable.
- Skipping practice: Even the perfect sensitivity won’t work if you don’t train your muscle memory. Headshots are 80% practice, 20% settings.
Where to Next
Now that you’ve got a headshot-friendly sensitivity, check out our optimized sensitivity guide for a more comprehensive setup, or browse our competitive season settings to stay ahead of the meta. Don’t forget to back up your profile—we have a guide on creating a backup code to save your progress. Happy hunting!


