If you’re switching to a 3 finger claw grip in Free Fire, you already know it gives you an edge in movement and aim. But without the right sensitivity settings, all those extra fingers won’t help. This guide is for players who want to master the claw layout — whether you’re new to claw or just need to refine your setup. By the end, you’ll have a sensitivity profile that balances speed and control, tailored for 3 finger claw.
We’ve tested these settings in training and ranked matches. They work across most devices, but you may need to tweak based on your screen size and DPI. We’ll walk you through every step — from general sensitivity to gyroscope and ADS. Let’s get your aim crispy.
What You’ll Need
- A phone or tablet with Free Fire installed (Android or iOS)
- At least 30 minutes to test settings in Training Mode
- A quiet environment to focus on muscle memory
- Optional: a device with gyroscope for extra aim control
Step 1: Adjust General Sensitivity
Open Free Fire and go to Settings > Sensitivity. Start with a balanced sensitivity like the one from our balanced sensitivity guide. For 3 finger claw, we recommend General Sensitivity at 85–95. This allows fast turns without losing control. Set Red Dot and 2x Scope to 70–80, 4x Scope to 50–60, Sniper Scope to 30–40, and Free Look to 70. These values work well for claw players because you rely on finger sliding more than wrist flicks.
Step 2: Set Up Gyroscope (Optional but Recommended)
If your phone has a gyro, enable it under Settings > Sensitivity > Gyroscope. Turn it on and set sensitivity to 30–40. Gyro helps with micro-adjustments, especially in long-range fights. Hold your phone steady and tilt slightly to fine‑tune aim. Once you’re happy, learn how to export sensitivity settings so you never lose your setup.
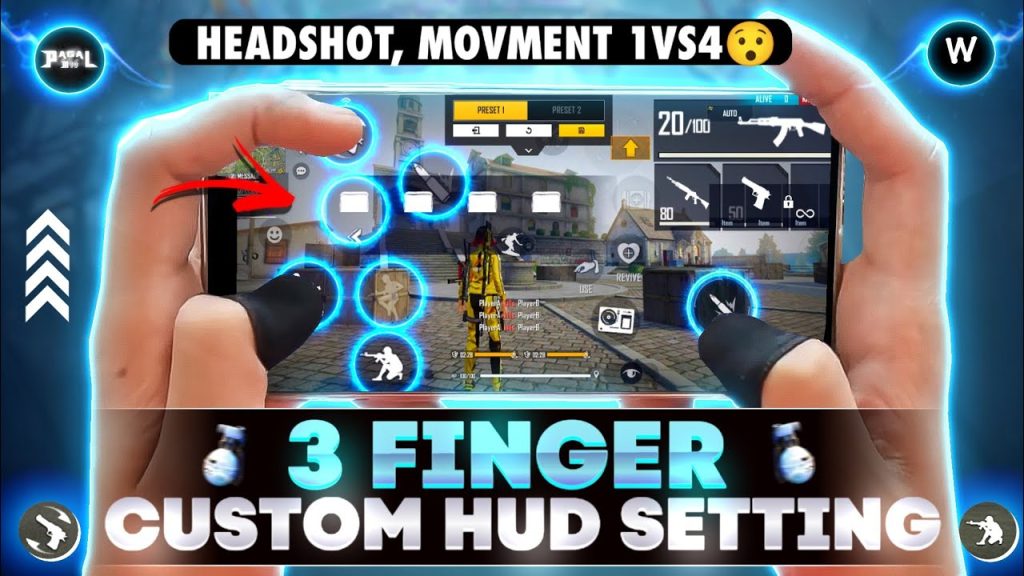
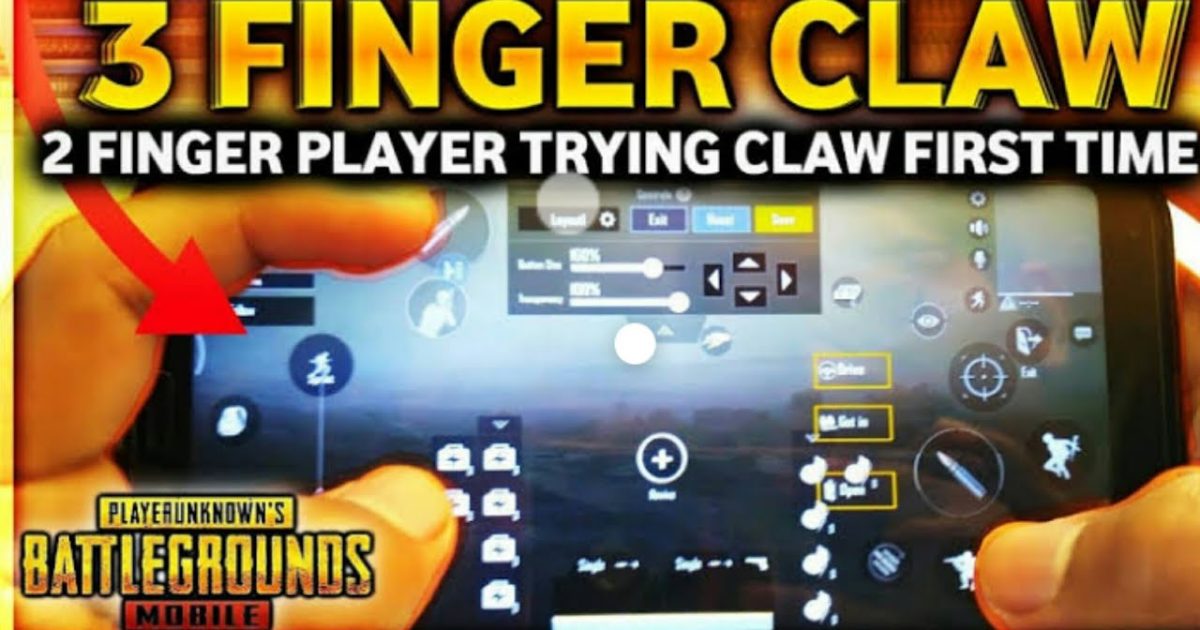
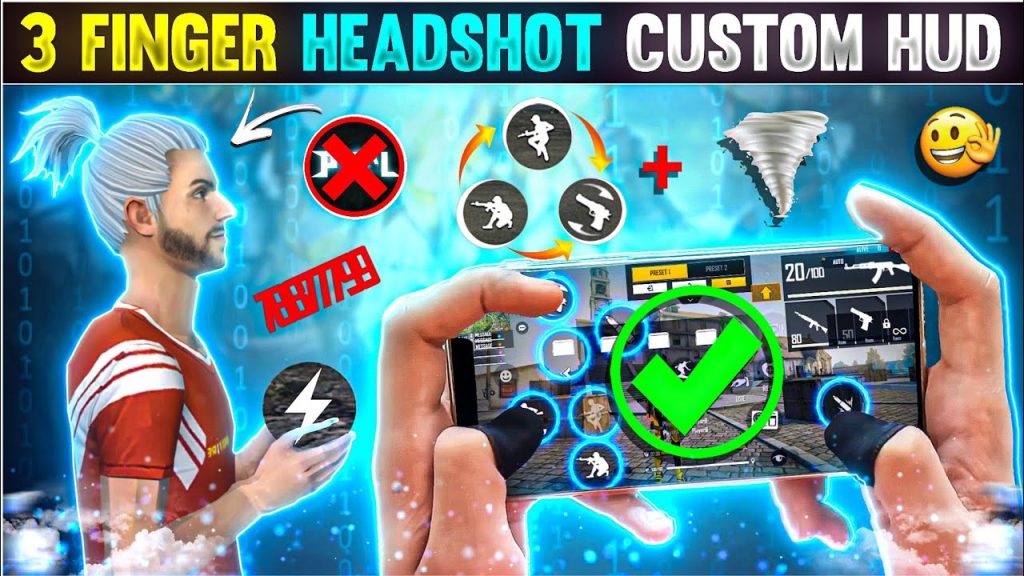
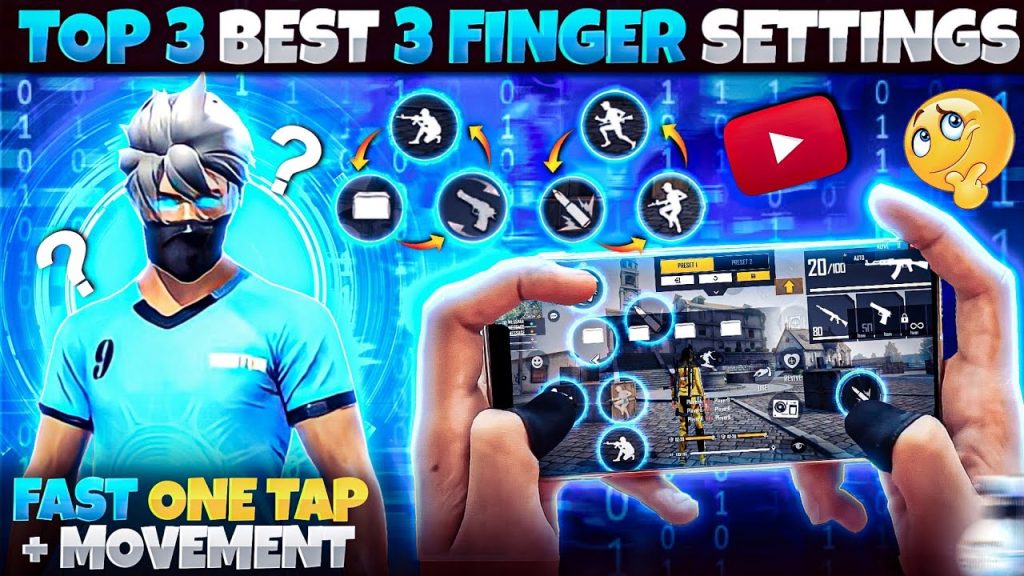
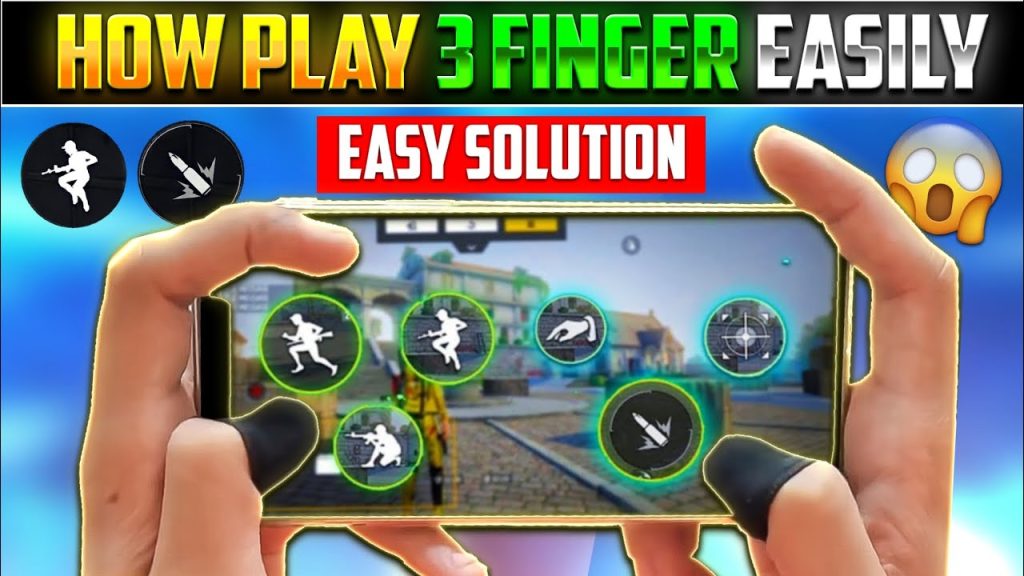
Step 3: Configure Your 3 Finger Claw HUD
Go to Settings > Controls > Customize. For 3 finger claw, place the fire button (or hip fire button) in the top‑left corner where your left index finger will tap. Put the scope button just below it, and the crouch/prone button near your right thumb. The joystick stays on the left. Adjust button size to 80–90 for easy taps. For better movement control, consider our movement control guide to refine your layout.
Step 4: Fine‑Tune ADS Sensitivity
ADS (Aim Down Sight) sensitivity is critical for 3 finger claw. In the same sensitivity menu, set ADS General to 80, Red Dot ADS to 75, 2x ADS to 70, 4x ADS to 55, Sniper ADS to 40, and Free Look ADS to 60. These numbers allow quick targeting while keeping recoil manageable. For sniper style players, we have a dedicated sniper style sensitivity guide with higher zoom sensitivities.
Step 5: Practice in Clash Squad
Don’t jump into ranked immediately. Use Clash Squad mode to test your new settings. The fast respawns and short rounds let you try different weapons and adjust on the fly. Pay attention to how your crosshair behaves — if it feels too sluggish, bump up the corresponding sensitivity by 5. If it overcorrects, lower it. For a deeper dive, check out our clash squad settings guide.
Step 6: Adjust Based on Recoil
Every gun has different recoil patterns. In Training Mode, pick a weapon like M4 or AK and fire at a wall without compensating. Notice if the bullet spread drifts left or right. If it drifts left, increase your ADS sensitivity slightly; if right, decrease it. Gun guides often recommend specific values, but the best sensitivity for pro players guide can help you calibrate further.
Common Pitfalls
- Using sensitivity that’s too high: makes your aim shaky and hard to control, especially with claw. Lower by 5 points until steady.
- Ignoring DPI differences: sensitivity feels different on low vs high DPI screens. Adjust general sens accordingly (lower if high DPI).
- Copying pro settings blindly: pros have different hand sizes and phone grips. Use their values as a starting point, then tweak.
Where to Next
Now that you have a solid 3 finger claw sensitivity setup, consider exporting your settings to keep them safe. You can also experiment with different scope sensitivities or try a 4 finger claw layout. Stay consistent with practice, and those one‑taps will follow.


