If you’re tired of getting outgunned in Free Fire even after practicing, the problem might not be your aim—it’s your setup. Most players ignore how sensitivity and HUD layout work together. This guide is for anyone who wants a balanced combo that feels natural and lets you flick, track, and move without fighting your own controls. By the end, you’ll have a custom sensitivity and HUD arrangement that fits your playstyle and device.
We’ll start from scratch: resetting defaults, adjusting sliders, mapping claw-friendly buttons, and testing against bots. Along the way, we’ll reference proven settings like the simple baseline sensitivity and some trending pro settings so you don’t have to guess. Let’s build your perfect combo.
What you’ll need
- Free Fire app installed (latest version)
- A device with at least 4GB RAM (for smooth gameplay)
- Willingness to test for 15–20 minutes in training grounds
- Optional: a claw grip (3- or 4-finger) for advanced HUD
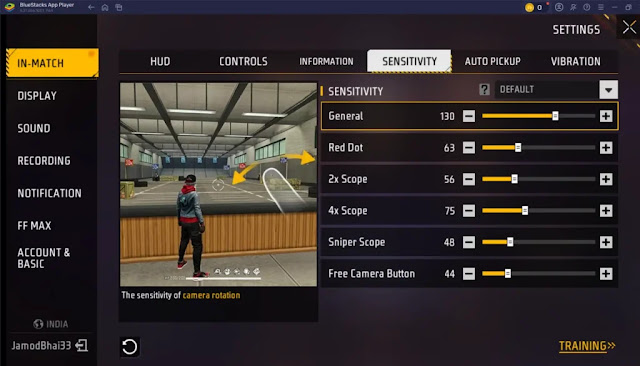
Step 1: Reset to default settings
Start fresh. Go to Settings > Sensitivity and tap ‘Reset Default’. This removes any previous changes that might interfere. Do the same for the HUD layout: Settings > Controls > Default. Don’t skip this—old settings can cause weird acceleration or button overlap.
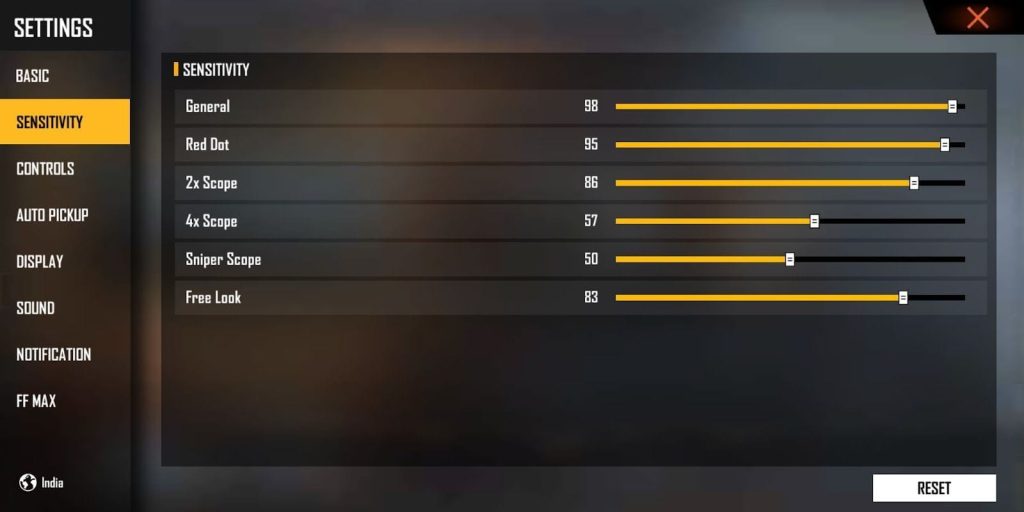
Step 2: Set your general sensitivity baseline
Now adjust the main sliders. A good starting point for most devices is: General: 70-80, Red Dot: 70-80, 2x Scope: 50-60, 4x Scope: 40, Sniper Scope: 30, Free Look: 60. These numbers work well for a 60Hz screen—if you have a higher refresh rate, increase by 5-10 points. Use this simple baseline sensitivity as a foundation, then tweak per weapon.

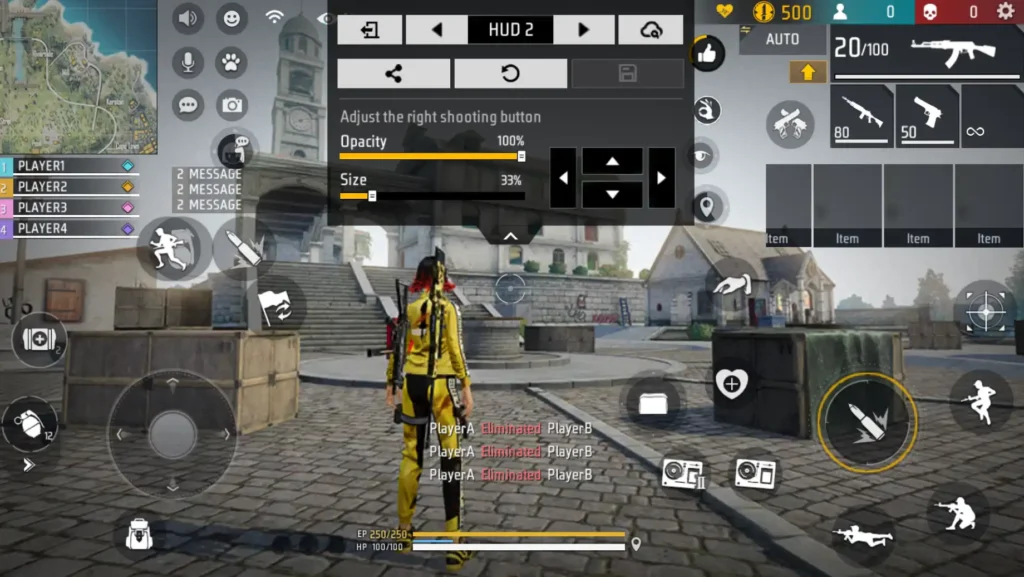
Step 3: Customize your HUD layout
Go to Settings > Controls > Customize HUD. Drag the fire button to a spot your index finger can reach easily (for claw players, place it top-left). Move the joystick area slightly left if needed. Keep the scope and crouch buttons close to your movement fingers. If you use a claw combo settings guide, mimic that placement. The goal is to never lift your thumbs.

Step 4: Test and fine-tune in training ground
Open Training Ground and pick a weapon like M1887 or Woodpecker. Shoot at bots while strafing. If your crosshair overshoots, lower sensitivity by 5. If it feels sluggish, increase by 5. Also test fast turning by spinning quickly—adjust the fast turning sensitivity slider if you can’t snap 180°. Practice 5 minutes, then adjust again. Repeat until it feels locked.
Step 5: Save and export your settings code
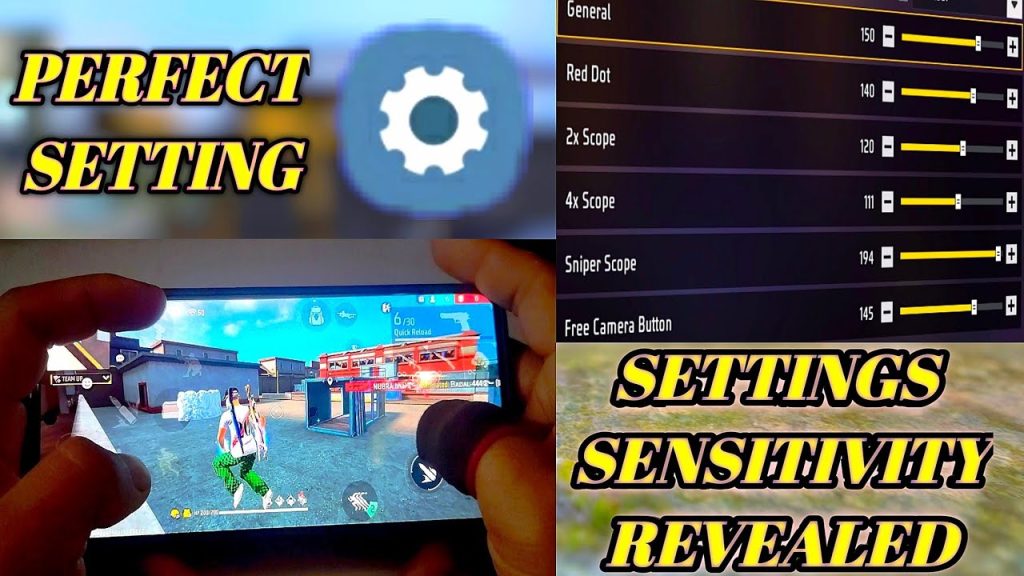
Once satisfied, go to Settings > Sensitivity > Export Code. Copy the code or share it with friends. This lets you restore your combo if you switch devices or reset. To import, just paste the code in the same menu. You can also share it on social media—many players look for trending pro settings codes.
Common pitfalls
- Copying pro settings without adjusting for your device – what works on a high-end phone may be too fast on a mid-range one. Always test and tweak.
- Setting sensitivity too high – you’ll get shaky aim and miss headshots. Lower it until your crosshair stays steady during firefights.
- Overcrowding the HUD – too many buttons cause accidental touches. Keep only essential controls visible and space them out.
Where to next
Now that your sensitivity and HUD combo is dialed in, check out our guide on how to improve your sensitivity for advanced tweaks, or see the 60Hz screen settings for optimized numbers. Don’t forget to export your code and keep it handy. Happy fragging!
