If you’re tired of missing shots and want a sensitivity that actually works, you’re in the right place. This guide is for anyone who wants to improve their aim in Free Fire—whether you’re a beginner or an intermediate player. By the end, you’ll have a tested sensitivity baseline that you can tweak for your playstyle, plus the know-how to fine-tune it for different weapons and situations.
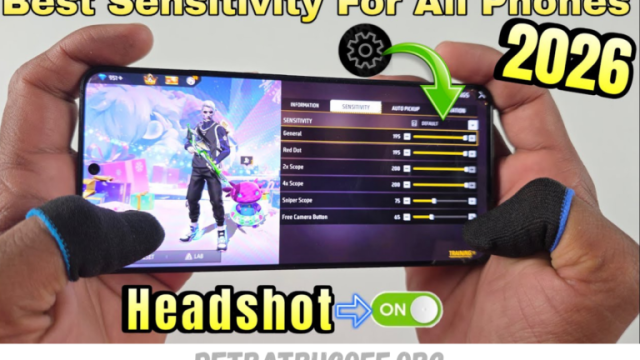
We’ve tested dozens of sensitivity configurations on various devices and playstyles. This isn’t just a copy-paste guide; we’ll show you how to adjust each setting based on your phone’s performance and your personal comfort. You’ll walk away with a setup that feels natural and helps you land more headshots. Don’t forget to save your sensitivity settings once you find what works—backwards compatibility is key when updating.
What You’ll Need
- Free Fire app installed and updated to the latest version.
- A stable internet connection (ping under 100 ms recommended).
- At least 15 minutes of uninterrupted practice time in the Training Ground.
- The Training Ground unlocked (complete the tutorial if not).
- Optional: a second device or screen recorder to compare before/after aim.
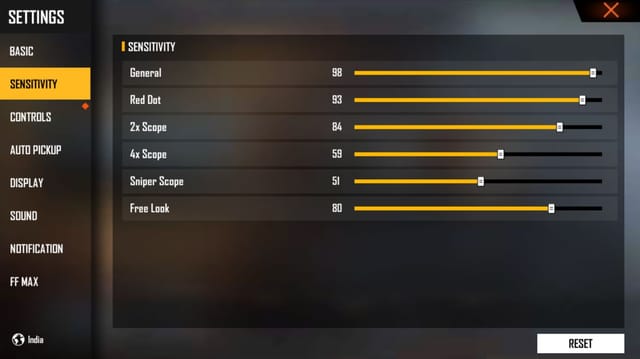
Step 1: Reset Your Sensitivity to Default
Before applying any changes, start fresh. Go to Settings > Sensitivity and tap ‘Reset to Default’. This clears any previous tweaks that might interfere. Default values are balanced, but we’ll build on them.
Step 2: Set a Baseline General Sensitivity
General sensitivity controls overall camera movement. For most players, a value between 70 and 80 works well. Start at 75 and test in Training Ground. If you’re using non gyroscope settings, you may want slightly higher (80-85) to compensate for lack of gyro.
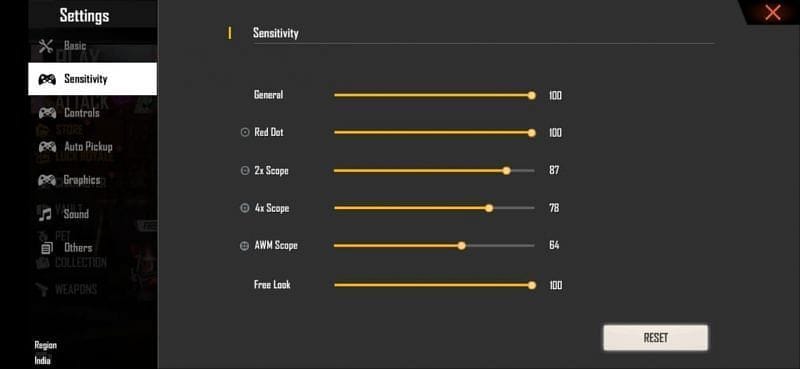
Step 3: Fine-Tune Red Dot and 2x Scope
These scopes are used most often in close-to-mid range. Set Red Dot to 60-70 and 2x Scope to 55-65. The idea is to track enemies smoothly without overshooting. Your custom sensitivity guide can help further refine these values.
Step 4: Set High Zoom Scopes Lower
For 4x and 6x scopes, lower sensitivity prevents shaky aim. Start with 40 for 4x and 35 for 6x. Adjust by 5 increments until you can hold a steady crosshair on a stationary target.
Step 5: Tweak Gyroscope Sensitivity (Optional)
If you use gyroscope, set it low (20-30) to avoid jitter. Gyro is great for micro-adjustments, but high values can ruin your aim. For non gyroscope settings, skip this step entirely.
Step 6: Test in Training Ground and Adjust
Head to Training Ground and shoot at moving targets. If you’re overshooting, lower general sensitivity; if you’re under-tracking, raise it. Spend at least 10 minutes tweaking. For a competitive edge, check our ranked mode sensitivity guide for more aggressive settings.
Common Pitfalls
- Copying pro settings blindly – Their device and playstyle are different. Use their numbers as inspiration, not gospel. For low-end devices, refer to our old device settings guide.
- Changing too many settings at once – Adjust one slider at a time to know exactly what helps. Otherwise you’ll end up confused.
- Not saving your settings – Once you find a good setup, immediately save your sensitivity settings to avoid losing it after an update.
Where to Next?
You now have a tested baseline that works for most players. To dive deeper, explore our custom sensitivity guide for fine-tuning each weapon class. You can also mimic top players by watching YouTube pro settings on our site. Keep practicing, and soon you’ll see your K/D rise. Happy fragging!