If you’re tired of missing shots in Free Fire and watching your enemies run away, you’re in the right place. This guide is for players who want to stop copying random sensitivity codes and instead learn how to find the settings that actually work for your fingers, device, and playstyle. By the end, you’ll have a custom sensitivity profile that feels natural and helps you beam enemies consistently.
We’ll walk through resetting your settings, understanding the sensitivity sliders, practicing in the training ground, and gradually tuning each scope. You’ll also get tips on avoiding common mistakes and links to other useful guides like our beginner free fire sensitivity settings if you want a solid starting point. Let’s dive in.
What You’ll Need
- Free Fire installed on your device (any version, including Free Fire Max)
- Training mode unlocked (accessible from the main menu)
- At least 30 minutes of uninterrupted practice time
- A notebook or notes app to record your settings
- Patience – finding perfect sensitivity is a process
Step 1: Reset to Default Sensitivity
Before you start tweaking, you need a clean slate. Go to Settings > Sensitivity and tap the “Reset” button (usually at the bottom of the menu). This removes any previous changes and gives you the default values. Don’t worry – defaults are balanced and work for most devices.
Step 2: Understand the Sensitivity Categories
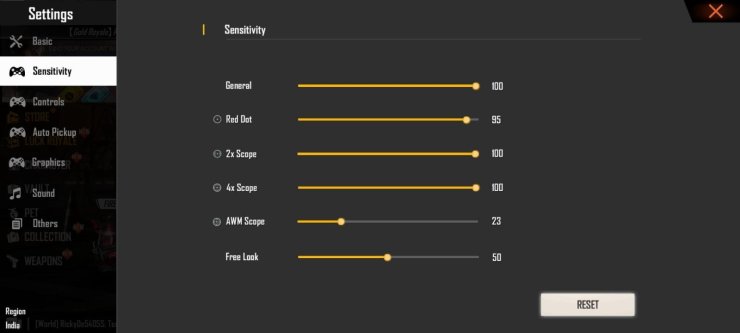
Free Fire’s sensitivity menu has multiple sliders: General, Red Dot, 2x Scope, 4x Scope, Sniper Scope, and Free Look. Each controls how fast your crosshair moves when using that specific view. If you’re using a scope, that slider matters most. General sensitivity affects hip-fire and no-scope movement.
Step 3: Basic Practice in Training Ground
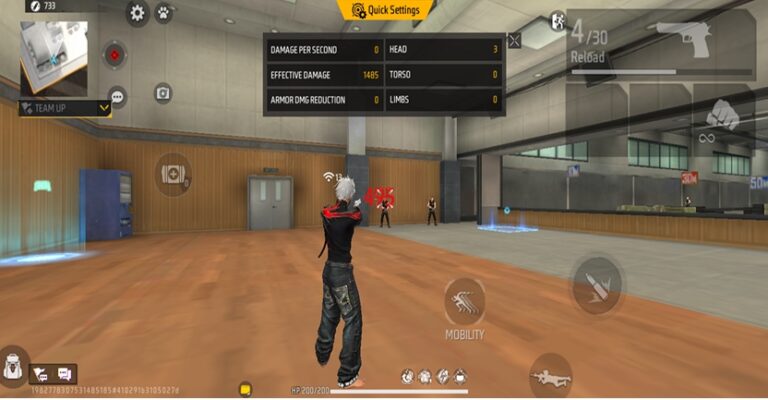
Enter Training mode and head to the shooting area. Start by moving your crosshair over stationary targets at different distances. Get a feel for the default sensitivity. If you overshoot (crosshair goes past the target), lower the general sensitivity. If you undershoot (can’t reach the target quickly), raise it. Spend 5-10 minutes just tracking targets as they appear.
Step 4: Adjust General Sensitivity with Drag Shots
Drag shots are essential in close combat. Find a wall in training mode and practice dragging your crosshair horizontally across the surface as you move. The goal is to keep the crosshair on a single point while strafing. Adjust the general sensitivity up or down until you can smoothly drag without jitter. For more advanced drag techniques, check our free fire sensitivity settings for drag shot headshot guide.
Step 5: Fine-Tune Scope Sensitivities
Now equip a weapon with a scope (like a 2x or 4x). Practice aiming at distant targets and tracking them as they move. Adjust each scope slider individually – a common mistake is using the same sensitivity for all scopes. For snipers, lower sensitivity helps with precision. If you want a starting point, try our smooth free fire sensitivity settings for a balanced feel.
Step 6: Test in Real Matches
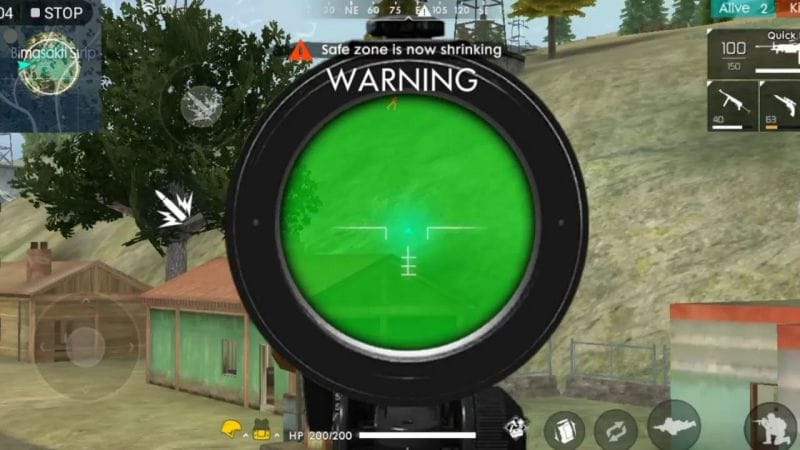
After you’re comfortable in training, jump into a Clash Squad match. Focus on gunfights and see if your settings feel natural. If you’re missing shots, note whether you over-aim or under-aim and adjust accordingly. Repeat the cycle: practice, adjust, test. Don’t change more than 5% at a time. Our practice mode free fire sensitivity settings guide goes deeper into this loop.
Common Pitfalls
- Changing too many settings at once. Make one adjustment, test it, then move on.
- Blindly copying pro player settings without adapting to your device and finger size.
- Not practicing consistently. Even perfect settings won’t help if you don’t build muscle memory.
Where to Next
Now that you know how to practice your sensitivity, explore other configs like our free fire sensitivity settings for drag shot headshot or smooth free fire sensitivity settings. Keep refining, and you’ll see your aim improve match after match.



