
If you’re tired of missing your shots and want to consistently land headshots with the drag technique in Free Fire, you’ve come to the right place. This guide is for players who already know the basics of the game but struggle with aiming—especially when dragging the scope to an enemy’s head. I’m going to walk you through the exact sensitivity settings that pros use for drag shot headshots, plus the practice routine that will turn you into a nightmare for your opponents.
By the end of this tutorial, you’ll have a custom sensitivity code you can save and use immediately. You’ll understand how to fine-tune your settings for your device and playstyle, and you’ll know the drills that build muscle memory for that satisfying one-tap headshot. No more spraying and praying—just clean, consistent drag shots.
What You’ll Need
- A device with Free Fire installed (any phone or tablet).
- Access to the Training Ground (free to enter from the main menu).
- A stable internet connection (ping below 100 ms is ideal).
- Patience – this isn’t a one-minute fix, but it’s worth it.
Step 1: Understand the Drag Shot Mechanics
Before tweaking numbers, you need to know what a drag shot is. When you scope in (with a red dot, scope, or even the default crosshair), you swipe your finger upward to pull the crosshair onto the enemy’s head. The key is to do this in one smooth motion. If your sensitivity is too low, you’ll drag too slow and the enemy will move. If it’s too high, you’ll overshoot. We’re looking for that sweet spot where the crosshair glides naturally to the head.

Step 2: Adjust Your General Sensitivity
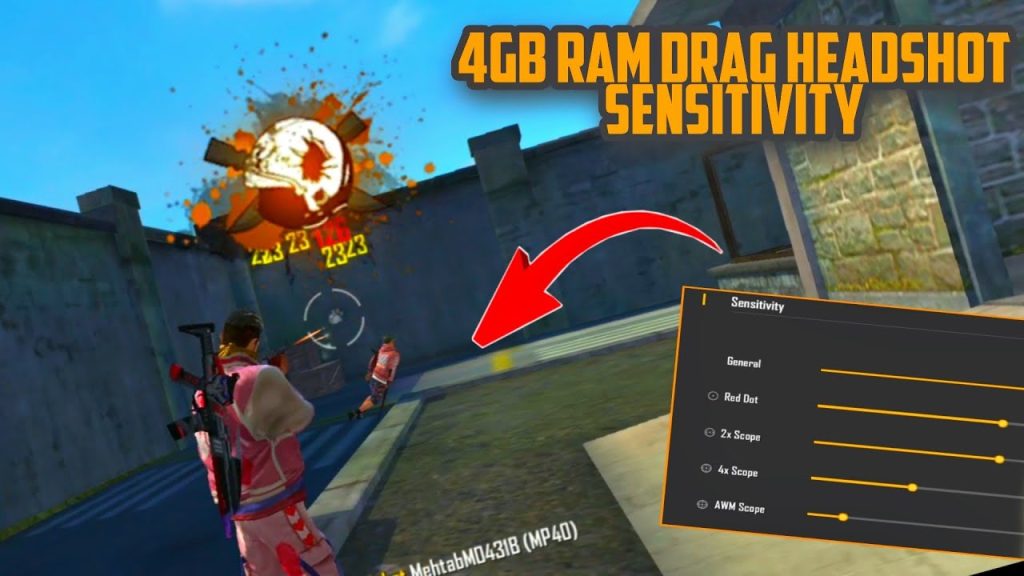
Go to Settings > Sensitivity. For drag shots, the most important slider is “Red Dot Sensitivity” because that’s the scope you’ll use most in close-to-mid range fights. A good starting point is between 75 and 90. If you use a 2x or 4x scope, set those to 70–85. The general sensitivity (camera sensitivity while not scoped) should be around 80–95 for fast target acquisition. Remember, these numbers depend on your DPI and screen size – you can fine-tune later. For a baseline that works on most devices, check out our
For a baseline that works on most devices, check out our free fire sensitivity settings for accurate aim. That guide gives you a starting point that you can then modify for drag shots.
Step 3: Fine-Tune Red Dot and Scope Sensitivity
Now we get specific. Drag shot headshots almost always happen with a red dot or 2x scope. Set your Red Dot Sensitivity to 85 initially. Then go to the Training Ground and practice dragging from a bot’s body to its head. If you overshoot (crosshair goes above the head), lower it by 2–3 points. If you undershoot (can’t reach the head in one swipe), increase it. Do this until you can consistently land the crosshair on the head with a single drag of about 1–2 inches on your screen. Also adjust your Scope Sensitivity (for 4x/8x) if you use snipers, but for drag shots, red dot is king.
Step 4: Practice the Drag Shot in Training Ground
Head to Training Ground and choose the “Aim Training” area. Use the moving bots and practice dragging from the lower body to the head. Start slow – focus on accuracy, not speed. Once you hit 8 out of 10 headshots, increase your swipe speed. After 10 minutes of this, your muscle memory will improve. Also try the same drills with a
After 10 minutes of this, your muscle memory will improve. Also try the same drills with a how to use claw with free fire sensitivity settings if you play with four fingers – claw players often have an easier time with drag shots because their index finger is dedicated to aiming.
Step 5: Save Your Settings and Test in Real Matches
Once you’re satisfied, go back to Sensitivity and tap “Save” to generate a code. Write it down or share it with friends. For a backup, you can use our
Once you’re satisfied, go back to Sensitivity and tap “Save” to generate a code. Write it down or share it with friends. For a backup, you can use our free fire sensitivity settings saved code to quickly apply a proven preset. Then jump into a Classic match or Clash Squad and test it against real players. Don’t get discouraged if you miss at first – it takes a few games to adjust. Stick with the same settings for at least 10 matches before making further changes.
Common Pitfalls
- Setting sensitivity too high: You’ll overshoot the head and look like a maniac. Keep it under 90 for red dot until you master the motion.
- Not using gyroscope: Gyro helps with micro-adjustments. Enable it and set to “Scope Only” with moderate sensitivity (30–50) for fine-tuning.
- Inconsistent finger placement: If you hold your phone differently each time, your drag distance changes. Hold the same way every match.
Consistency beats flashy settings. Stick to one setup and practice until it becomes second nature.
Pro Free Fire player
Where to Next
You’ve got the basics of drag shot headshot. Now take it further: learn how to get headshot with free fire sensitivity settings for advanced techniques, or optimize your setup with free fire sensitivity settings for stable crosshair. For sniper lovers, our free fire sensitivity settings for quick scope will make you a threat at range. Remember, the perfect sensitivity is the one that feels natural to you. Keep tweaking and keep practicing. See you in the top 10.



