If you’re still playing Free Fire with just your thumbs, you’re leaving kills on the table. Switching to a claw grip – using three or four fingers – lets you move, aim, shoot, and scope simultaneously. Pair that with the right sensitivity settings, and you’ll land shots faster than ever. This guide is for motivated beginners who want to level up. By the end, you’ll have a custom claw HUD and a sensitivity setup that feels natural.
I’ve tested dozens of claw layouts and sensitivity codes. The trick is to start with a baseline and tweak until it clicks. We’ll walk through everything: setting up your fingers on screen, adjusting each sensitivity slider, and avoiding the common mistakes that make claw feel impossible. Ready to aim like a pro? Let’s go.
What You’ll Need
- A smartphone or tablet with Free Fire installed (preferably with decent touch response)
- Patience – claw takes at least a week to feel comfortable
- A quiet place where you can focus in the training ground
- Optional: a stylus or phone trigger, but definitely not required
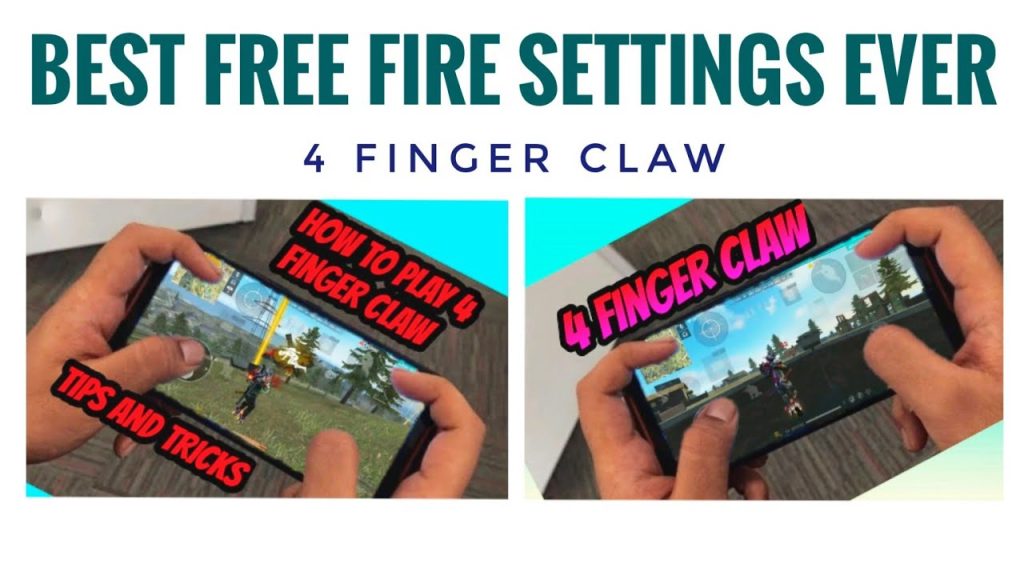
Step 1: Understand the Claw Grip
The standard claw uses four fingers: two thumbs for movement and camera, index fingers for fire and scope, middle or ring fingers for other actions. If you’re new, start with three fingers (left thumb moves, right index fires, right thumb aims). Watch how pros hold their phone – it’s all about keeping steady contact without cramping.
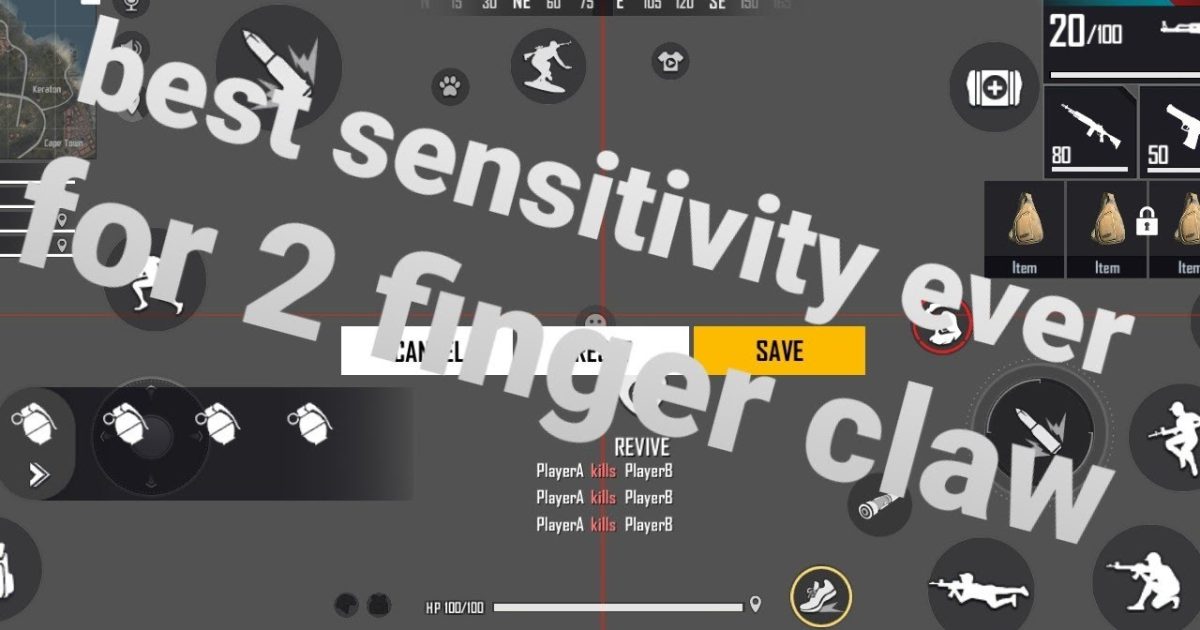
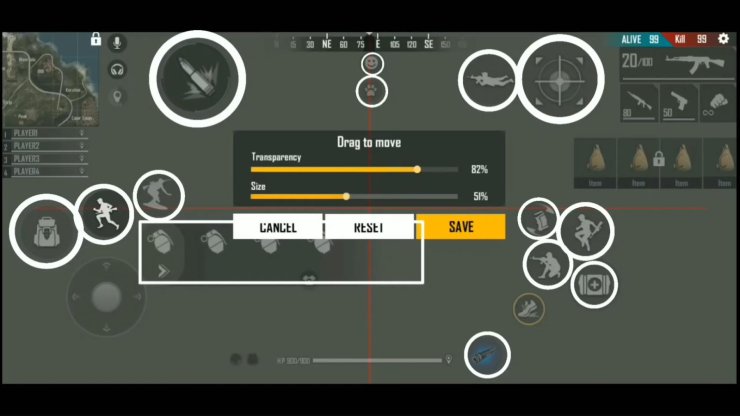
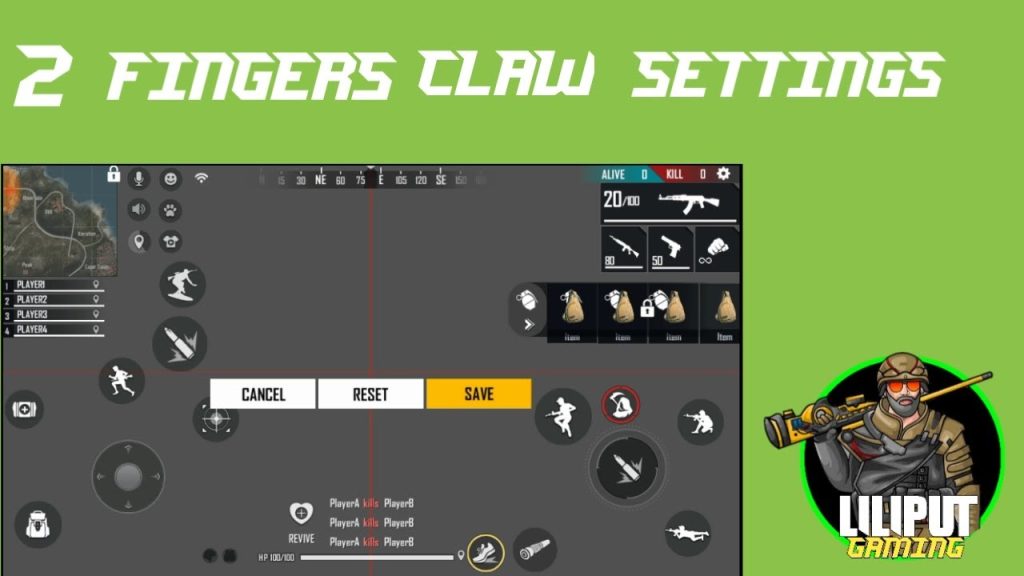
Step 2: Adjust Your HUD Layout for Claw
Go to Settings → Controls → Custom HUD. Drag the fire button to the top left or top right corner (where your index finger rests). Move scope and jump near the fire button. Keep the movement joystick centered for your left thumb. Resize buttons smaller to avoid overlap. Test in training – if your fingers touch accidentally, rearrange.
Step 3: Set General Sensitivity
Start with a medium base. Use these as a starting point: General: 80–90, Red Dot: 75–85, 2x Scope: 70–80, 4x Scope: 60–70, Sniper: 40–50. Don’t copy pro numbers yet – every device and grip style is different. You can later fine-tune with the free fire general sensitivity settings guide for more precision.
Step 4: Fine-Tune Scoped Sensitivities for Claw
Claw allows faster finger movement, so you might need lower scoped sensitivities to avoid overshooting. For drag shots, lower the Red Dot and 2x sensitivity. Check the best free fire sensitivity settings for drag shot for exact numbers. If you’re on a high-DPI device, also look at free fire max sensitivity settings with dpi to balance it.
Step 5: Practice in Training Ground
Spend at least 15 minutes in the training ground every day for a week. Focus on moving while shooting, switching weapons, and peeking corners. Your muscle memory will adapt. Don’t change settings every match – stick with one setup for at least 10 games before tweaking.
Common Pitfalls
- Clawing too tightly: Relax your hands. Cramping leads to shaky aim. Take breaks.
- Copying pro settings blindly: Pros have different hand sizes and devices. Use their numbers as inspiration, not a template.
- Giving up too soon: Claw feels awkward for the first week. Stick with it – it’s worth the effort.
Where to Next
Now that your claw and sensitivity are in sync, you can explore more advanced topics. Check out the free fire sensitivity settings and hud combo for a complete overhaul, or learn how to reduce input lag with free fire sensitivity settings for input lag. Keep practicing and dominate the ranked season!
