If you’re tired of your crosshair flying all over the place the moment you pull the trigger, you’re in the right place. This guide is for anyone who wants to completely eliminate recoil in Free Fire — whether you’re a beginner struggling to control sprays or a seasoned player looking to fine-tune your aim. By the end, you’ll have a set of sensitivity settings that make your gun feel like it has zero recoil, along with a simple practice routine to lock it in.
We’ll walk through DPI adjustments, in-game sensitivity sliders, and a few tricks that pro players use to keep their aim dead stable. No magic, just tested numbers that work across most devices. Ready to turn your M4 into a laser? Let’s get into it.
What You’ll Need
- A device running Free Fire or Free Fire Max (Android/iOS)
- An external mouse or your phone’s default touch controls (we’ll cover both)
- Access to the in-game sensitivity settings (gear icon → Sensitivity)
- A practice round in the training ground or a Clash Squad match
- Patience to test and tweak — zero recoil isn’t a one-click fix
If you’re using a phone with high-end specs, check out our free fire sensitivity settings for 8gb ram for optimized values. For a more general approach, our stable free fire sensitivity settings are a great starting point.
Step 1: Set Your DPI (for emulator users)

If you’re playing on an emulator (like Gameloop), DPI is the foundation. Open your mouse software or Windows pointer settings and set your DPI to 800. This is the standard for competitive play. If you’re on touch controls, skip to Step 2.
Why 800? It balances speed and precision. Higher DPI (like 1600) can make micro-adjustments too twitchy, while lower (400) requires too much arm movement. Stick with 800 and never change it after you tune your in-game sensitivity.
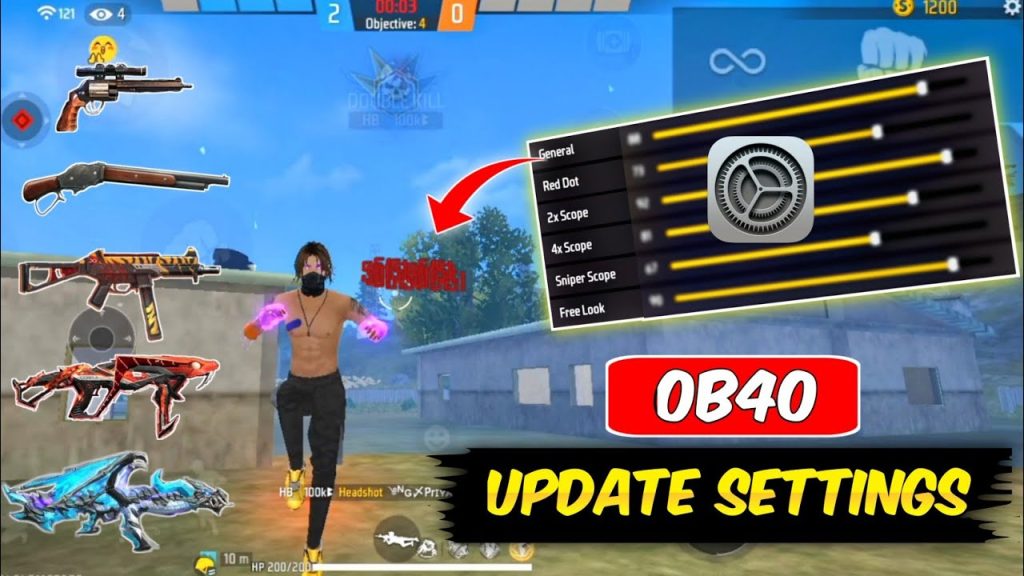
Step 2: Reset In-Game Sensitivity to Default
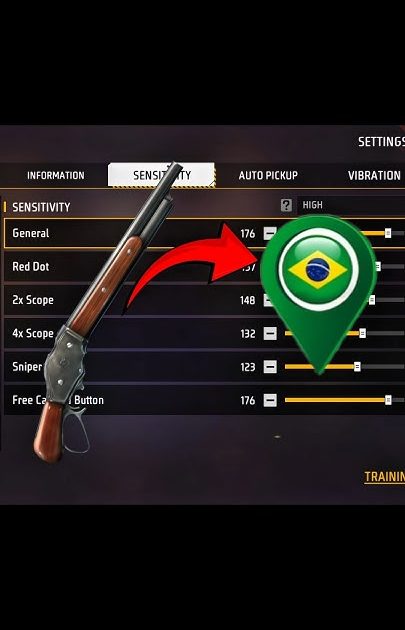
Go to your Free Fire settings, tap the Sensitivity tab, and hit “Reset” at the bottom. This gives you a clean slate. Now we’ll adjust each slider one by one. For reference, the default values are usually around 90 for General, 80 for Red Dot, and so on.
If you’re on a device with a specific processor like Poco, our free fire sensitivity settings smooth recoil guide has tailored values that also work for zero recoil.
Step 3: Tune General Sensitivity to 80-90
The General sensitivity controls all scopes and hip-fire. Set it to 85 if you have a 60Hz screen, or 80 if you have 90/120Hz. Higher refresh rates need slightly lower values to avoid overshooting. This single slider has the biggest impact on recoil control.
Test it: hip-fire at the training dummy at 10 meters. If your reticle jumps above the head after the first shot, lower by 5. If you struggle to track a moving target, increase by 5.
Step 4: Set Red Dot and TPRO Sensitivity to 75-80
Red Dot and TPRO (the 2x scope) are your most used scopes in close-to-mid range fights. Set both to 78. This allows you to pull down smoothly without the crosshair dipping too fast. Pro tip: combine this with the free fire sensitivity settings for auto headshot for consistent head-level sprays.
Step 5: Adjust 4x and Sniper Sensitivity (55-60)
For medium to long range, you don’t want twitchiness. Set 4x to 58 and Sniper to 55. This lets you track enemies while keeping your aim steady. If you mainly use ARs with 4x, our free fire sensitivity settings for medium range can help refine these numbers further.
Step 6: Enable and Tune Free Fire’s Gyroscope (Optional)
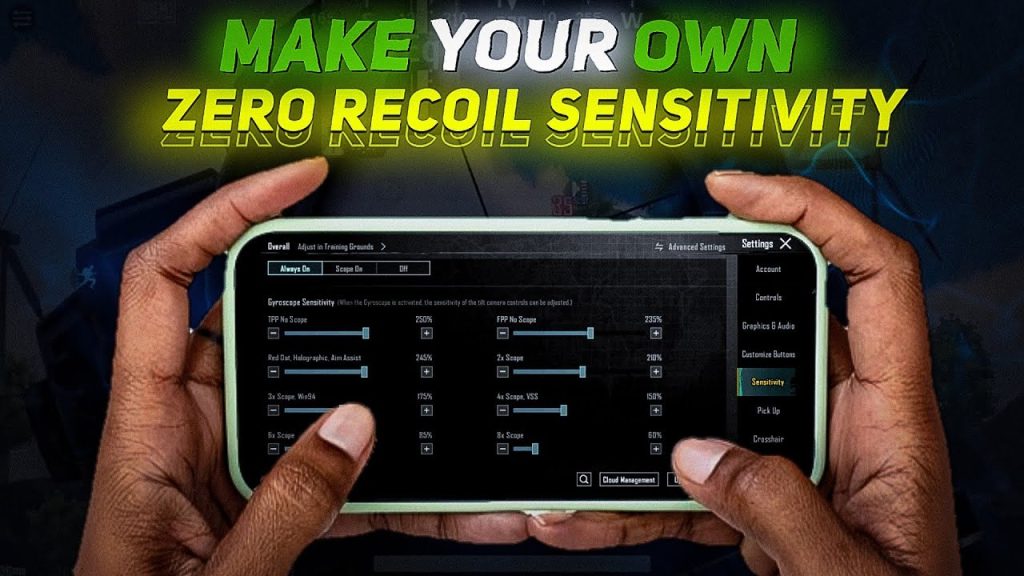
Gyro can greatly reduce recoil by letting you tilt your phone to aim. Enable it and set Gyro sensitivity to 10-15 for scopes, and 30 for hip-fire. This gives you a fine-tuned backup when you need to micro-correct. For advanced gyro setups, see our competitive free fire sensitivity settings guide.
Step 7: Practice the Recoil Pattern
Head to the training ground and pick an M4 without attachments. Shoot at a wall while pulling down your crosshair. The goal is to make the bullet holes form a tight cluster, not a vertical line. Spend 5 minutes daily doing this. Over time, your muscle memory will kick in and you’ll control recoil instinctively.
Once you’re consistent, try the same with a 2x scope. If you still see too much climb, lower your Red Dot sensitivity by 2-3 points. Record your practice with screen recorder to spot inconsistencies.
Common Pitfalls
- Setting sensitivity too high: Many players crank up the sliders thinking it helps, but it actually amplifies recoil. High sensitivity makes your crosshair bounce unpredictably. Stick to the ranges above and adjust slowly.
- Ignoring device performance: If your phone lags or drops frames, even the best settings won’t help. Lower graphics settings to maintain a steady 60 FPS. Also, check our free fire sensitivity settings for 8gb ram if you have a powerful device.
- Skipping the practice routine: Zero recoil is 30% settings and 70% muscle memory. Without deliberate practice in the training ground, you’ll never master the pull. Commit to 5 minutes a day for a week.
Where to Next
Now that you’ve got zero recoil dialed in, take your game further. Check out our free fire sensitivity settings for auto headshot to guarantee headshots every time, or our free fire sensitivity settings for medium range for dominating at 50 meters. And don’t forget to revisit after every major update, because sensitivity resets sometimes. Keep practicing, and see you on the battlefield!


