Hey there, Free Fire player! If you’re tired of aiming at chest level while your enemies beam you in the head, you’ve come to the right place. This guide is for anyone who wants to land consistent headshots—without relying on hacks or third-party software. By the end of this tutorial, you’ll have a custom sensitivity setup that practically locks onto heads at close and mid range.
We’ll walk you through every slider, from general sensitivity to advanced scope settings, and show you how to test them in the training ground. Whether you’re a rookie or a veteran, these settings will give you that crucial edge in ranked matches. Let’s dive in and get those one-taps!
What You’ll Need
- A phone or tablet with Free Fire installed (recommended 60fps device)
- Training ground access (in-game)
- 15-20 minutes of free time
- Patience to tweak and test
Step 1: Understand Auto Headshot
Auto headshot isn’t a cheat—it’s a combination of muscle memory and sensitivity settings that naturally bring your crosshair to head level. The goal is to adjust your sensitivity so that a small flick upward lands right on the head. Most players aim too low; our settings will help you correct that.
Step 2: Reset to Default Sensitivity
Start fresh by resetting your sensitivity settings. Go to Settings > Sensitivity and tap ‘Reset’. This clears any previous tweaks and gives you a clean baseline.
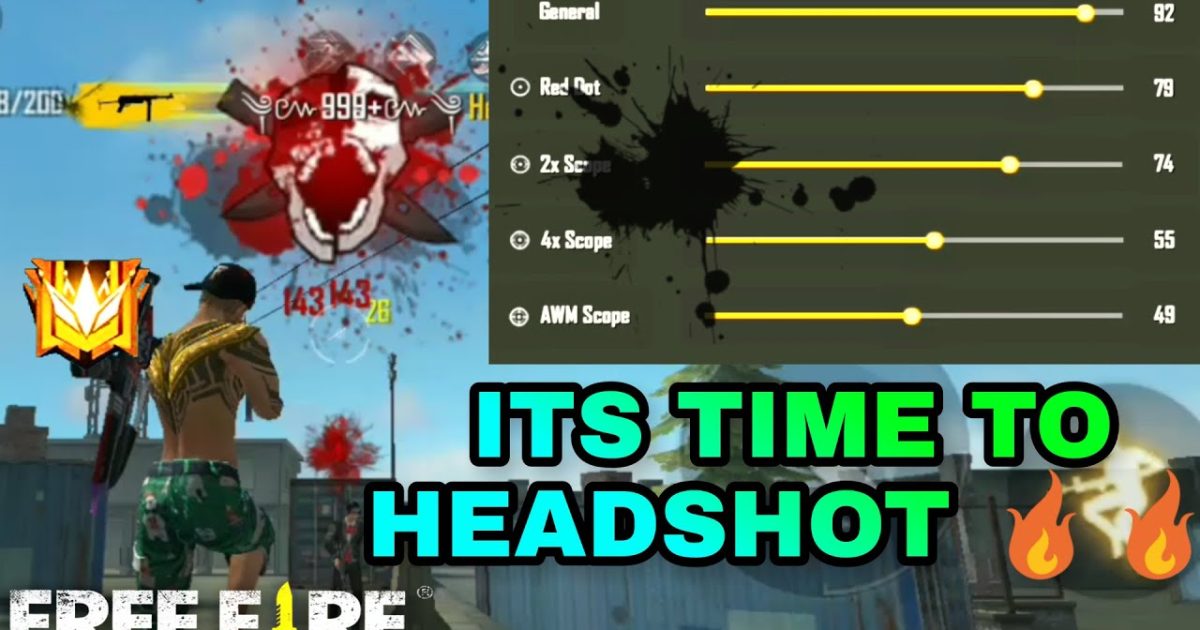
Step 3: Set General Sensitivity
General sensitivity controls your overall look speed. For auto headshot, you want it high enough to flick quickly but low enough to control. Try these starting values:
- General: 95
- Red Dot: 80
- 2x Scope: 65
- 4x Scope: 45
- Sniper Scope: 30
These values favor close-to-mid range headshots. If you overshoot, lower by 5; if you undershoot, increase by 5.

Step 4: Adjust Advanced and Gyro Settings
In ‘Advanced’ settings, you can fine-tune scope sensitivities separately. Keep them similar to general: Red Dot 80, 2x 65, etc. If your device supports gyroscope, enable it and set gyro sensitivity to 20-30. Gyro helps with micro-adjustments for headshots.
Step 5: Practice in Training Ground
Head to the training ground and pick up an AR like the M4 or AK. Aim at the training dummies’ heads and practice flicking. Try to land 10 headshots in a row without missing. If you consistently aim too high or low, adjust your general sensitivity by 2-3 points until it feels natural.
Step 6: Fine-Tune in Real Matches
After training, play a casual match and pay attention to your aim. Are you overshooting or undershooting? After each death, ask yourself: ‘Was my crosshair at head level?’ Make small adjustments (by 5) per session. Over time, you’ll find your sweet spot.
Common Pitfalls
- Setting sensitivity too high: Causes overshooting and shaky aim. Lower Global sensitivity if you can’t stay on target.
- Ignoring recoil patterns: Even with perfect sensitivity, spray recoil can lift your aim. Use attachments and practice recoil control for sustained headshots.
- Not practicing consistently: Settings alone won’t make you a headshot machine. Spend 5-10 minutes in training ground daily to build muscle memory.
Where to Next
Great job! You’ve got a solid auto headshot setup. To specialize further, check out our sensitivity settings for medium range, stable sensitivity settings, close range sensitivity, smooth recoil settings, best settings for Android, and gyro sensitivity settings. Each guide dives deeper into specific playstyles and devices. Keep practicing and see you on the battlefield!


