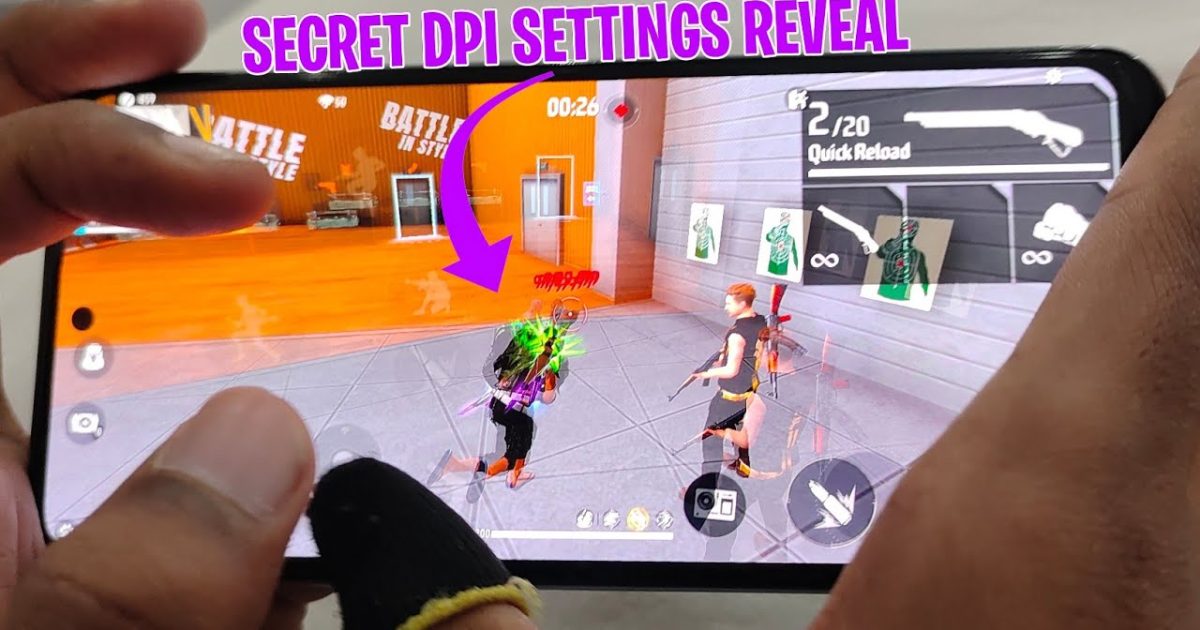
Welcome! If you’re tired of missing shots or your aim feels off, this guide is for you. You’ll learn exactly how to set your Free Fire sensitivity with DPI — whether you play on mobile or emulator. By the end, you’ll have a personalized setting that boosts your accuracy and helps you win more fights.
We break down each step from understanding DPI to exporting your code. No fluff – just practical actions. Ready to dominate? Let’s dive in.
What You’ll Need
- Free Fire installed on your device (phone or PC with an emulator).
- Access to the Training Room (found in the game’s lobby).
- 10 minutes of uninterrupted practice time.
- Optional: a notepad to jot down your ideal numbers.
Step 1: Understand DPI in Free Fire
In Free Fire, ‘DPI’ refers to your overall sensitivity — it’s the main slider that controls how fast your crosshair moves. Think of it as the base value that all scope sensitivities build on. A higher DPI means faster flicks but less precision; lower DPI gives steadier aim but slower reactions. Pro players often start with a high general DPI (around 90-100) and then lower individual scope values for control. On emulator, your mouse DPI matters too – match it to your in-game sense for consistency.
Step 2: Start with a Proven Baseline
Don’t reinvent the wheel. Use a simple baseline sensitivity from the pros. A common starting point for mobile is: General 95, Red Dot 90, 2x Scope 85, 4x Scope 75, Sniper 60, Free Look 70. For emulator, drop all values by 10-15%. Write these down, then hop into the Training Room to get a feel. If the numbers don’t suit you, adjust by 5 points at a time. Check out our simple baseline sensitivity article for more starting points.
Step 3: Tweak for Your Playstyle and Device
Your role in the team matters. If you’re a rusher, keep general sensitivity high (95-100) for quick 180° turns. Support players can use medium values (85-95), while snipers should lower scope sensitivities (40-60) for steady shots. Also consider your device: low-end phones may need lower values to avoid lag; high-end devices can handle higher. For emulator, check your mouse DPI – 800 DPI on mouse pairs well with 50-70 in-game sense. Adjust each scope individually in the Training Room until you land 80% of your shots.

Step 4: Fine-Tune with Aim Drills
Now it’s time to build muscle memory. Practice flick shots by snapping between dummy heads – adjust your general sensitivity if you overshoot or undershoot. Work on tracking moving targets and spray control by dumping a full magazine into a single spot. The goal is consistent aim without overcorrecting. Our flick shot settings guide and improve your aim article have excellent drills to speed up the process. Spend at least 5 minutes per session.
Step 5: Save and Export Your Code
Once you’re happy with your sensitivity, back it up! Go to Settings > Sensitivity > Export Code. Copy the code and save it in your notes or share it with friends. If you ever switch devices or reset settings, you can import it instantly. Learn more about the export code feature to avoid losing your hard work.
Common Pitfalls
- Changing settings too often – stick with one setup for at least a week to let muscle memory form.
- Blindly copying pro settings – your device, screen size, and playstyle are unique; always test.
- Ignoring mouse DPI on emulator – a high mouse DPI plus high in-game sense can cause jitter; match them.
Consistency beats perfection every time. Find a sensitivity that feels natural and stick with it – don’t chase the latest hype.
Pro player advice
Where to Next
You’ve got your sensitivity dialed in – now keep learning. Check out our latest sensitivity updates to stay current, or dig into esports pro settings to see how the best fine-tune their aim. Practice daily, and you’ll climb ranks in no time. See you on the battlefield!



