If you’re rocking an ASUS ROG Phone, you already have a beast of a gaming device in your hands. But even the best hardware needs the right software tuning to dominate in Free Fire. This guide is for ROG Phone owners who want to dial in their sensitivity settings to get pixel-perfect aim, smooth recoil control, and lightning-fast reactions. By the end, you’ll have a custom sensitivity profile that takes full advantage of your phone’s 120Hz display, Air Triggers, and Game Genie features.
We’ll walk through everything from calibrating your thumbsticks to tweaking individual weapon scopes. No matter if you’re a claw player or a thumbs-only warrior, these steps will help you find your sweet spot. Let’s unlock your ROG Phone’s true potential.
What You’ll Need
- ASUS ROG Phone (any model – 5, 6, 7, 8, or 9) with Free Fire installed
- A stable internet connection (Wi-Fi or 4G/5G)
- At least 30 minutes of free time for testing
- A notepad or the notes app on your phone to record your settings
- Optional: a friend to help you test in a custom room
Step 1: Calibrate Your ROG Phone’s Display and Air Triggers
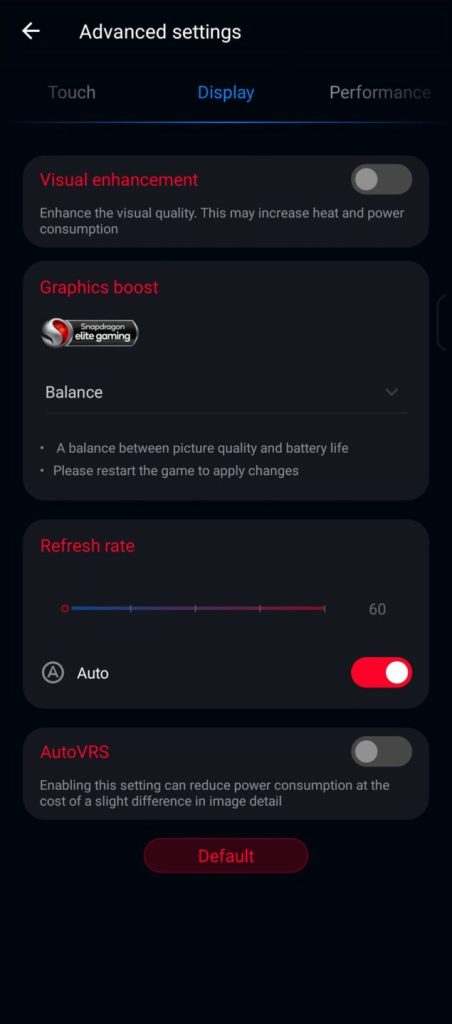
Before touching sensitivity sliders, make sure your ROG Phone is set up properly. Open the Armoury Crate app and head to the Console section. Set your performance mode to ‘X Mode’ for maximum FPS. Then go to ‘Game Genie’ settings and enable ‘Touch Optimizer’ — this reduces input lag and improves touch response. Also, calibrate your Air Triggers: go to Settings > Air Triggers > Calibration and follow the on-screen instructions. This ensures your shoulder buttons respond exactly when you press them.
Next, open Free Fire and head to the training ground. We’ll use this to test every change. Make sure your phone’s brightness is set to a comfortable level — too bright can cause eye strain during long sessions.
Step 2: Adjust General Sensitivity
In Free Fire, go to Settings > Sensitivity. Start with the ‘General’ tab. Here’s a baseline that works great on ROG Phones (you can tweak later):
- Camera Sensitivity: 90
- Red Dot Sensitivity: 85
- 2x Scope: 80
- 4x Scope: 60
- Sniper Scope: 40
- Free Look: 80
These values take advantage of the high refresh rate screen. If you’re coming from a 60Hz phone, you can actually run higher sensitivities because the 120Hz panel makes everything smoother. Try these for a few rounds, then adjust up or down by 5 points until your aim feels sticky. For thumb players, lower camera sensitivity might help with micro-adjustments — check out our for more specific numbers.
Step 3: Fine-Tune Weapon-Specific Sensitivity
Now let’s get into the nitty-gritty. Each weapon type behaves differently, so you want separate profiles. Free Fire lets you set individual sensitivities for each weapon category. Go to the ‘Weapon’ tab in sensitivity settings. Here’s my go-to setup:
- AR (Assault Rifles): 90
- SMG (Submachine Guns): 95
- Shotguns: 85
- LMG (Light Machine Guns): 80
- Pistols: 90
- Throwables: 80
Test these in the training ground. For ARs, practice spraying at a wall from 20 meters — if the bullet spread climbs too much, lower the AR sensitivity. For SMGs, you want higher sensitivity to track fast-moving enemies. If you play a lot of Clash Squad, consider using to reduce any micro-stutters. And don’t forget to map your Air Triggers to fire and scope — this frees up your thumbs for movement and jukes. For detailed Air Trigger mapping, our guide covers it perfectly.
Step 4: Test and Tweak in Clash Squad
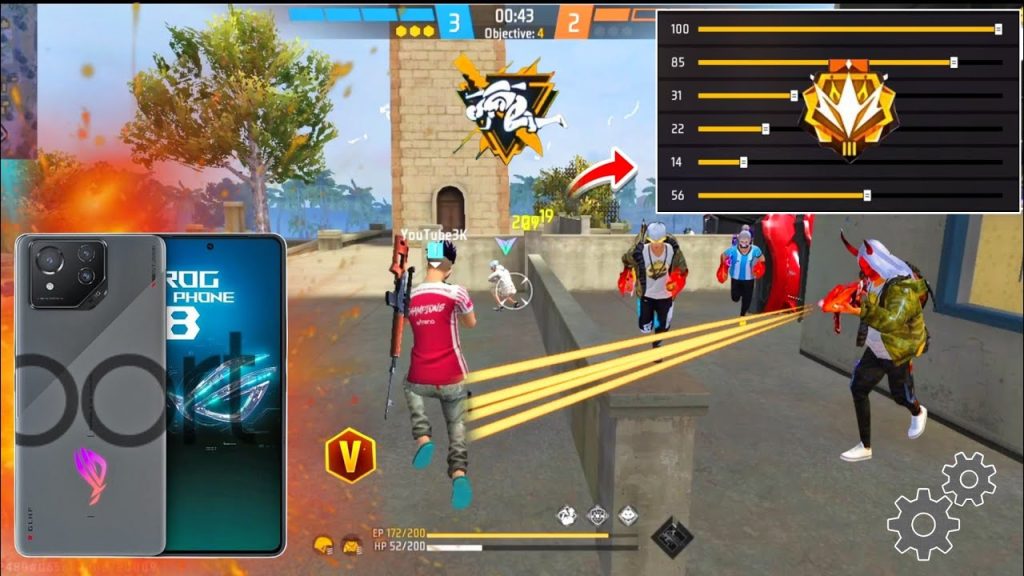
The training ground is good, but real action tells the truth. Hop into a Clash Squad match (ranked or casual) and play 3-4 rounds. Pay attention to how your crosshair reacts when you flick to an enemy or when you try to hold a spray. If you feel like you’re overshooting, lower your camera sensitivity by 5. If you can’t track a running enemy, increase it. Keep a notepad handy to record what works and what doesn’t. After each match, go back to the training ground to confirm the changes.
Remember, your ROG Phone’s 120Hz display means you can push sensitivities higher than on most phones. But don’t go over 100 — the maximum is fine for some, but I find that 96-98 feels snappier without being jittery. Also, try enabling ‘Gyroscope’ in settings if you haven’t — it adds a layer of aim control that many pro players use. Pair it with the for a complete pro setup.
Common Pitfalls
- Copying settings blindly: Every ROG Phone model has slightly different touch sampling rates. Don’t copy a YouTuber’s settings exactly — use them as a starting point, then adapt. Your thumbs and playstyle are unique.
- Ignoring DPI scaling: Free Fire doesn’t have a DPI setting, but your phone’s display density matters. On ROG Phones, the default DPI is around 420-480. If you’ve changed it via ADB, your sensitivity perception will shift. Reset to default before tuning. Read more about to understand the relationship.
- Forgetting to save your profile: After tweaking, always hit the save button and rename your preset something like ‘ROG Tuned’. Free Fire sometimes resets sliders after updates, so having a saved profile saves you headaches.
Where to Next
You’ve got your sensitivity dialed in — now it’s time to practice. Head to the training ground and drill your sprays and flicks for 10 minutes daily. Check out our for more advanced tweaks specific to high-end devices, or if you’re on an older ROG Phone, our can help squeeze out extra performance. Remember, sensitivity is personal — keep experimenting and you’ll find your perfect match. Good luck out there, and see you on the battlefield!



