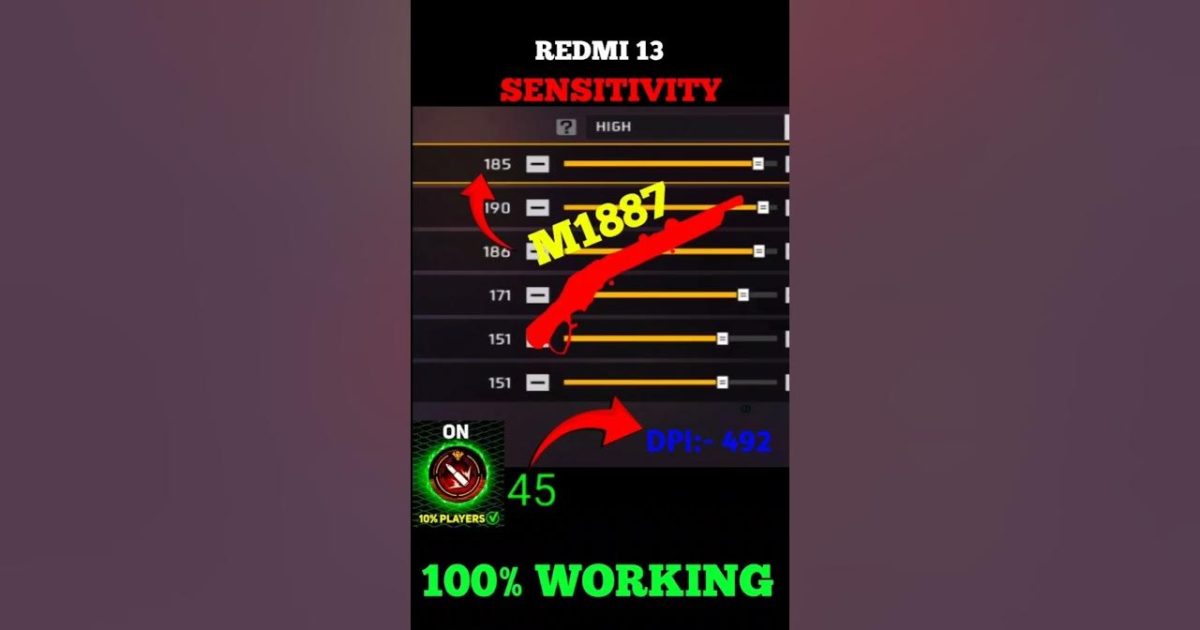
If you’re tired of two-tapping enemies with the M1014 and want to land that sweet one-shot kill every time, you’ve come to the right place. The M1014 is a beast at close range, but without the right sensitivity settings, you’ll miss those crucial shots and get outgunned. This guide is for anyone who mains the M1014 or wants to improve their shotgun game. By the end, you’ll have a custom sensitivity setup that makes flicking and tracking feel buttery smooth, turning you into a close-range nightmare for your opponents.
We’ll walk through everything from understanding the M1014’s unique spread pattern to dialing in your camera and ADS sensitivities. No fluff, just tested numbers that work on most devices. Whether you’re a rusher or a defensive player, these settings will help you land those headshots more consistently. Ready to become a one-shot machine? Let’s dive in.
What You’ll Need
- Free Fire installed on your device (any version, but settings are from the standard sensitivity menu).
- A device with a decent touch response – at least 60Hz refresh rate recommended.
- About 15 minutes of uninterrupted time to test and tweak settings in the training ground.
- Optional: a triggers or claw grip setup for better control, but not required.
- Patience – shotgun aiming takes practice, and these settings are a starting point.
Step 1: Understand the M1014’s Mechanics
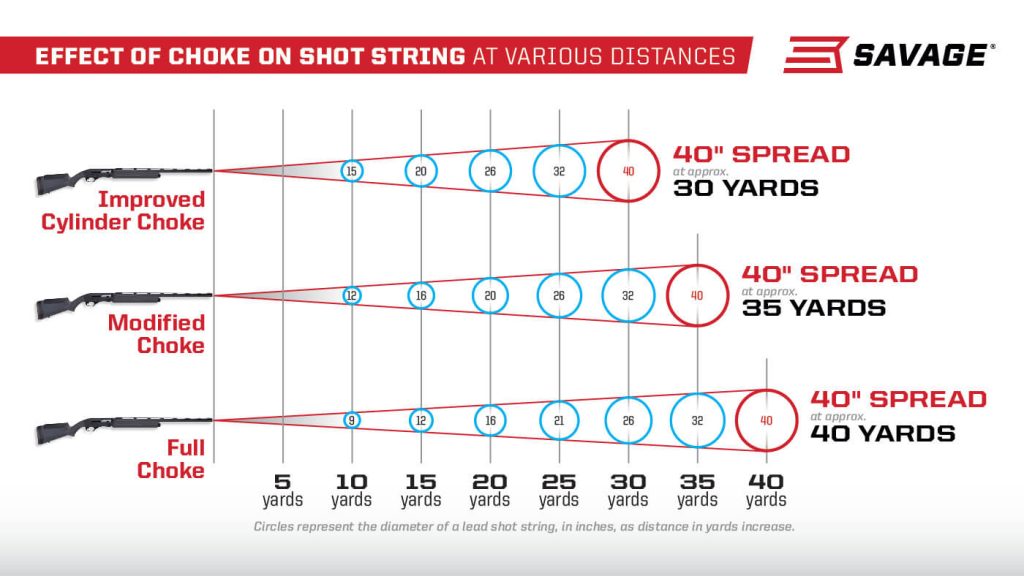
Before changing anything, you need to know how the M1014 works. It’s a semi-auto shotgun with a tight pellet spread – perfect for mid-close range but unforgiving if you miss. The key is to center your crosshair on the enemy’s head or upper chest. Since the spread is tighter than other shotguns, you don’t need to be pixel-perfect, but you do need quick aim adjustments. That’s where sensitivity comes in. If you haven’t already, check out the beginner free fire sensitivity settings guide for a foundation. For the M1014, we want a balance between fast flicking and stable tracking.
Step 2: Adjust General Sensitivity
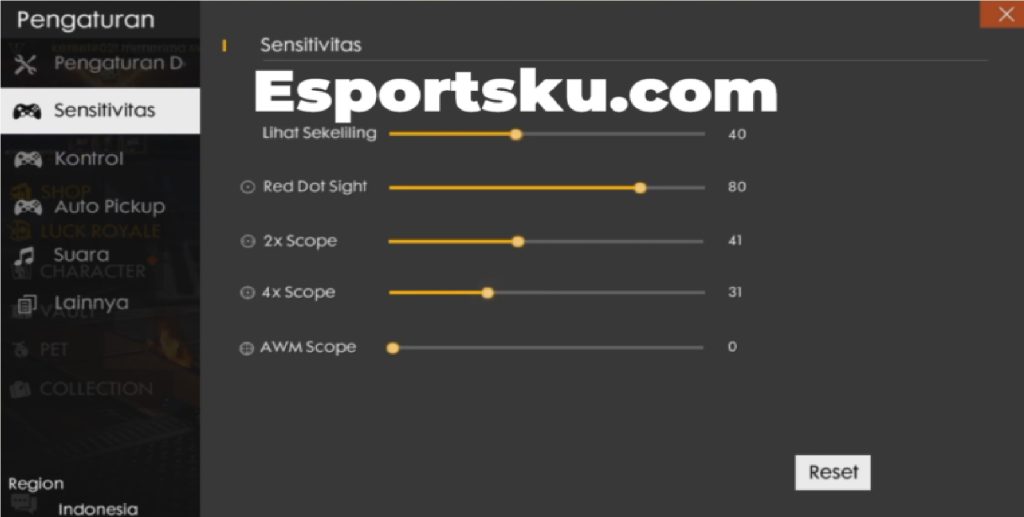
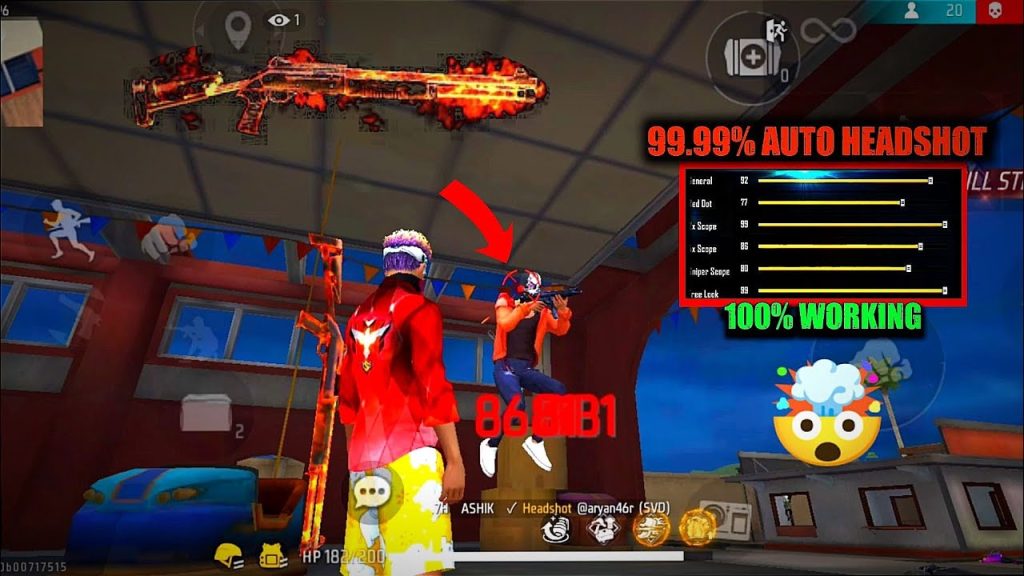
Open Free Fire, go to Settings > Sensitivity. Start with a general sensitivity that feels quick but not out of control. For the M1014, I recommend a high general sensitivity (around 90-100) so you can turn fast when enemies rush you. But if your device lags, lower it to 85. Remember, general sensitivity affects your regular look-around speed. You want to be able to 180-degree flick without swiping across your entire screen. For more context, see our free fire sensitivity settings for battle royale guide. Here’s a baseline: General: 90, Red Dot: 85, 2x Scope: 75, 4x Scope: 65, Sniper: 40. Shotguns rely on no scope or red dot, so focus on those.

Step 3: Fine-Tune Camera Sensitivity
Camera sensitivity controls how fast your view moves when you’re not aiming down sights. For the M1014, you’ll often hip-fire, so this is crucial. Set your camera sensitivity to 95-100 – this lets you snap to targets quickly. If you use gyroscope, enable it and set camera gyro sensitivity to around 50-60 for finer control. The free fire sensitivity settings with gyro can help stabilize your aim when moving. Practice spinning around in the training ground to see if you can track a moving target smoothly.
Step 4: Set ADS Sensitivity for Shotguns
ADS sensitivity is for when you aim down sights. For the M1014, you might not ADS often, but when you do (like with a red dot), it needs to be precise. Set your red dot sensitivity to 50-60 – lower than camera because ADS is more zoomed. The key is consistency: your muscle memory should feel the same whether you hip-fire or ADS. If you want a more aggressive style, learn how to drag aim with free fire sensitivity settings – drag aiming lets you snap from hip to ADS quickly. Also, if you have a 4GB RAM device, check our free fire sensitivity settings for 4gb ram to avoid lag.
Step 5: Practice in Training Ground
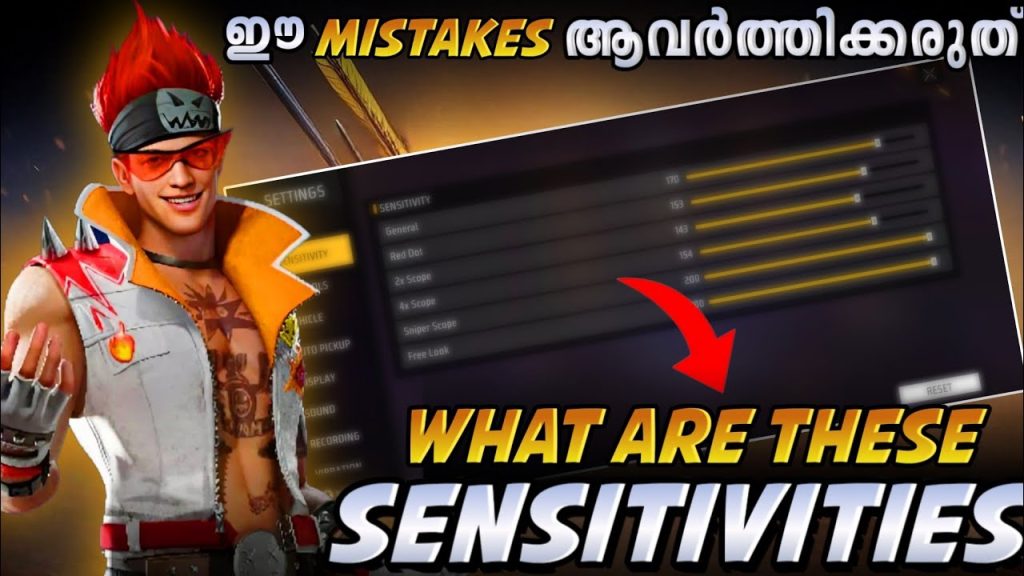
Now it’s time to test. Go to the training ground, equip an M1014, and practice against moving bots or the dummy targets. Focus on flicking to the head and upper chest. If your aim overshoots, lower general or camera sensitivity by 5 points. If you feel sluggish, increase them. Spend at least 5 minutes adjusting. Also try strafing while shooting to see if your aim stays on target. For advanced practice, try drag-aiming on a moving bot. Remember, these settings are a starting point – tweak them until they feel natural. For a broader perspective, the pro free fire sensitivity settings guide has more advanced tips.
Common Pitfalls
- Over-sensitive settings: If you set everything to 100, your aim will be shaky and you’ll miss easy shots. Start lower and increase gradually.
- Ignoring device performance: Older phones with 60Hz screens may not handle high sensitivity smoothly. Drop settings if you see frame drops or input lag.
- Not adjusting for playstyle: An aggressive rusher needs higher sensitivity than a defensive player. Don’t copy settings blindly – adapt them to your style.
Where to Next
Once you’ve got your sensitivity dialed in, the next step is mastering movement and positioning with the M1014. Check out our guides on rushing and peak aiming to complement your new settings. Remember, sensitivity is personal – keep tweaking as you improve. Share your setup using the free fire sensitivity settings sharing code to help others. Now go out there and dominate the battlefield with those one-shot kills!



