If you’re tired of missing shots and losing 1v1s, it’s time to dial in your Free Fire sensitivity like the pros do. This guide is for anyone who wants consistent headshots, smooth tracking, and the confidence to rush or hold angles. By the end, you’ll have a custom sensitivity that fits your playstyle and device.
Pro sensitivity isn’t one-size-fits-all — but with a methodical approach, you can find yours in under an hour. We’ll cover resetting defaults, understanding each slider, tuning for gyroscope, testing in the range, and saving your setup. Let’s get your aim on point.
What You’ll Need
- Free Fire installed on your phone (the latest version)
- A stable internet connection (at least 3G/4G or WiFi)
- A notepad or notes app to record your starting values
- Access to Training Mode (it’s in the main menu)
- Optional: a gyroscope-enabled device for gyro sensitivity settings
Step 1: Reset to Default Settings
Go to Settings > Sensitivity and tap ‘Reset’ (often a button at the top). This clears any previous tweaks so you start fresh. If you’ve copied a friend’s code, reset first. This is the baseline recommended in the beginner sensitivity guide.
Step 2: Understand the Sensitivity Sliders
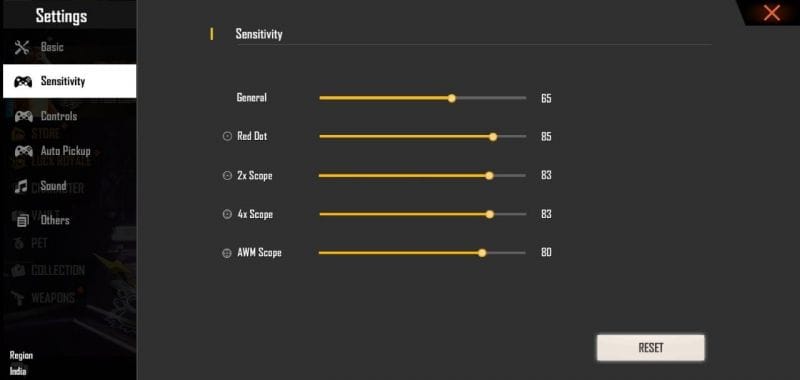
Free Fire has six main sensitivity sliders: General, Red Dot, 2x Scope, 4x Scope, Sniper Scope, and Free Look. General affects hipfire and all unscoped aiming. Red Dot is for 1x sights. The others are for their respective scopes. Free Look is for looking around while moving.
Pros often set general high (90–100) for quick flicks, but tone down scope sensitivities for precision. If you use gyro, check out dedicated gyro sensitivity settings for a different approach.
Step 3: Set a Base Sensitivity
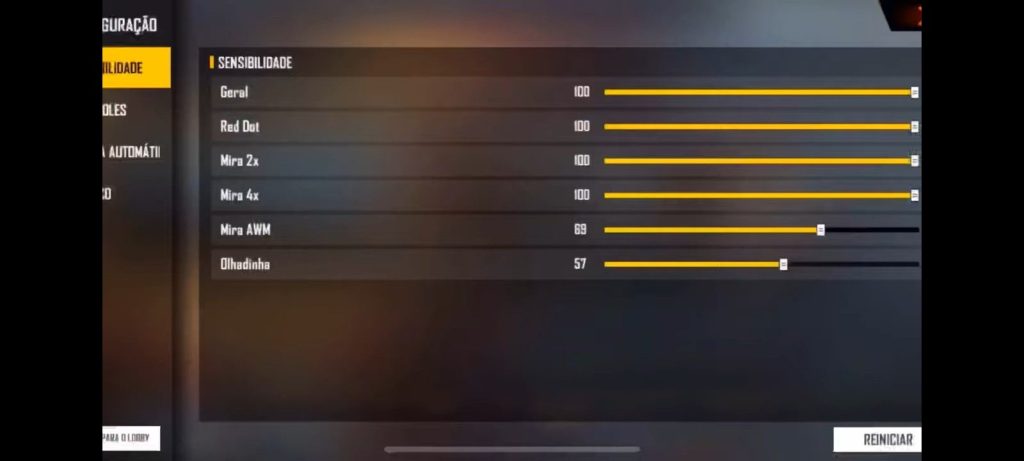
Start with these recommended values based on how to set free fire sensitivity settings properly: General 100, Red Dot 95, 2x Scope 85, 4x Scope 75, Sniper Scope 70, Free Look 80. These are high enough for mobility but not too twitchy.
If your device is low-end, consider settings for weak processors to reduce lag – you might lower General to 80.
Step 4: Fine-Tune with Gyroscope (Optional)
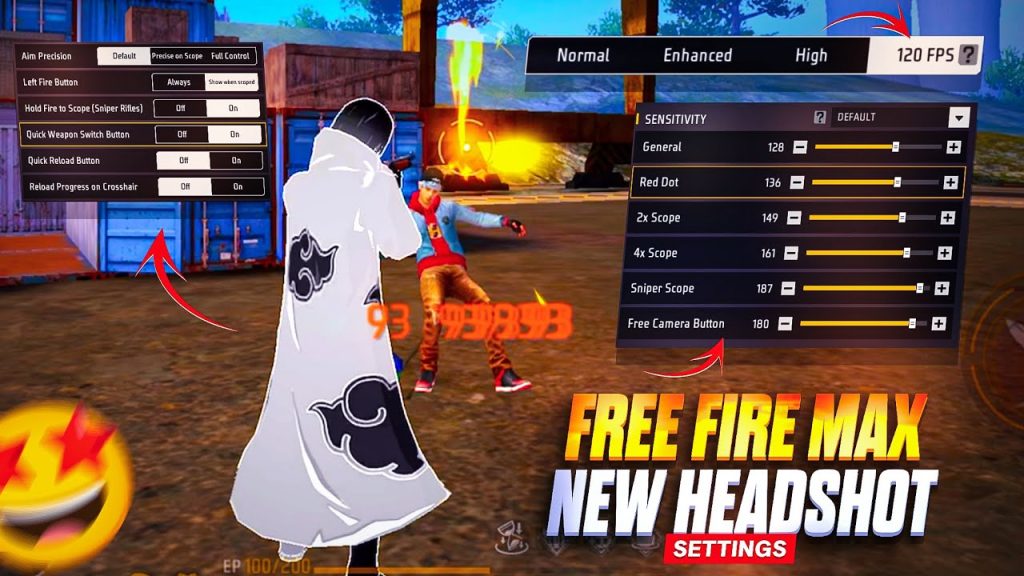
Enable gyroscope in settings if your phone supports it. Start with gyro sensitivity at 50 for general and 40 for scopes. Tilt your phone to aim – it adds a layer of control. For a detailed breakdown, see our gyro sensitivity settings guide.
Step 5: Test and Adjust in Training Mode
Head to Training Mode and pick a gun like M4 or AK. Practice tracking moving targets and flicking to headshot dummies. If you over-aim (jump past the target), lower the slider. If you under-aim (can’t keep up), raise it. Adjust one slider at a time.
For aggressive rushing, you might want higher general and red dot sensitivity – check our aggressive rushing settings for tweaks.
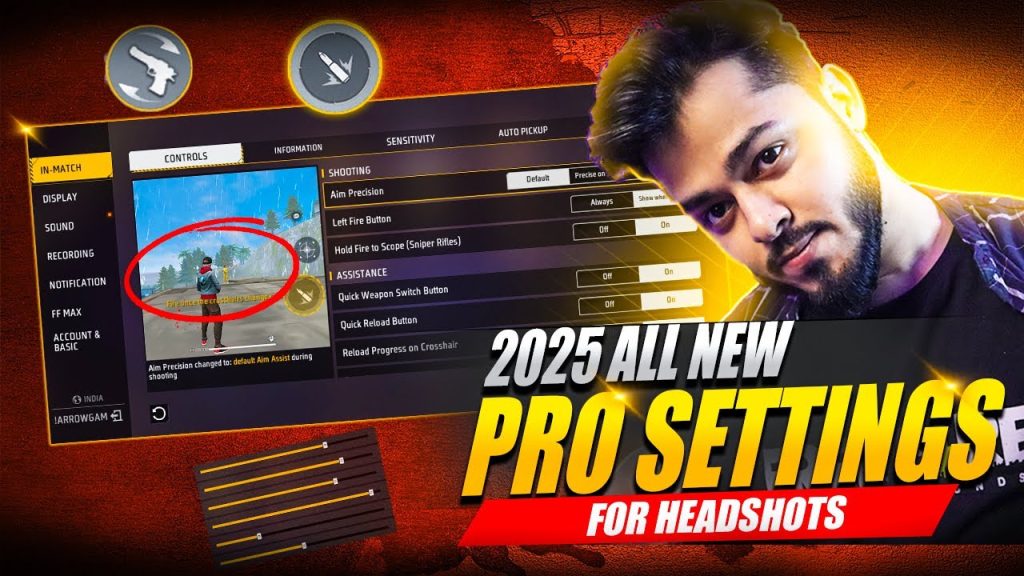
Step 6: Save and Share Your Settings
Once happy, go to Settings > Sensitivity and tap the ‘Share’ icon to generate a sharing code. Save it in your notes. You can import it on any device later. For details, read about the sensitivity sharing code feature.
Common Pitfalls
- Copying pro settings blindly: Pro videos often show extreme sensitivities that don’t fit your device or playstyle. Always start from default and adjust gradually.
- Changing too many sliders at once: You won’t know what works. Modify one slider (e.g., General) and test for 5 minutes before touching another.
- Ignoring gyroscope if your phone supports it: Gyro gives finer control, especially for long-range taps. Even small gyro movement helps.
Where to Next?
Now that you have your pro sensitivity, try mastering drag aim or headshot tricks. Check out our guides on camera control and stable FPS for an even smoother experience. Keep practicing – your aim will only get better!



