If you’re the type of player who loves to rush enemies, jump into their faces, and end fights in seconds, you need sensitivity settings that match your aggressive playstyle. A slow, twitchy setup won’t cut it – you need a balance that lets you flick, track, and spray without overcorrecting. This guide will walk you through the exact sensitivity settings for aggressive rushing in Free Fire, from DPI to in-game sliders, so you can dominate close-range combat.
By the end of this tutorial, you’ll have a custom sensitivity profile that maximizes your reaction time, improves your headshot accuracy in CQB, and gives you the edge in Rusher vs Rusher fights. We’ll cover everything from general sensitivity to advanced techniques like drag aiming and DPI tuning. Let’s get your settings dialed in!
What You’ll Need
- A device running Free Fire (Android/iOS) – any phone works, but higher touch sampling rate helps.
- Patience to test and tweak – your perfect settings won’t appear after one match.
- Access to the in-game settings menu and your phone’s pointer speed settings (if applicable).
- A training mode or Clash Squad matches to practice your new settings.
- Optional: a screen recorder or friend to analyze your movements.
Step 1: Adjust Your Device’s DPI and Touch Sensitivity
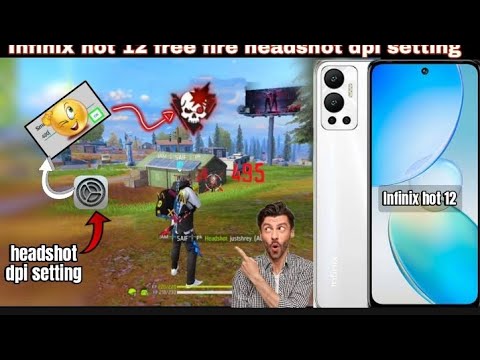
Before touching Free Fire sliders, you need to set your device’s pointer speed. For aggressive rushing, a slightly higher DPI helps your character turn faster without needing huge swipes. Go to your phone’s Settings > Additional Settings > Developer Options (if not visible, tap Build Number 7 times). Look for ‘Pointer speed’ and set it between 70% and 80%. This makes your touch more responsive. Alternatively, if you use a gaming phone like ROG, you can set a custom DPI. Check out our DPI and sensitivity settings guide for more details on that.
Step 2: Open Free Fire Sensitivity Menu
Launch Free Fire and go to Settings (gear icon) > Sensitivity. Here you’ll see four main sliders: General, Red Dot, 2x Scope, 4x Scope, Sniper Scope, and Free Look. For aggressive rushing, you rarely use high scopes, so focus on General and Red Dot. Set your General sensitivity to around 90-95. This gives you fast 180-degree flicks. Red Dot can be slightly lower, around 80-85, to maintain precision. These are starting points; you’ll fine-tune later.
Step 3: Configure Fire and Scope Buttons
Rushers rely on close-range hip fire and quick scope. In Settings > Controls, adjust the layout so that fire button is large and positioned where your thumb naturally rests. Disable left-side fire if you’re a right thumb player. Enable Quick Scope for instant ADS. Also, turn on ‘Scope Button Right’ to avoid accidental scope switching. For a better understanding of button placement, our thumb player sensitivity guide covers ideal layouts for rushers.

Step 4: Tweak Gyroscope (Optional but Recommended)
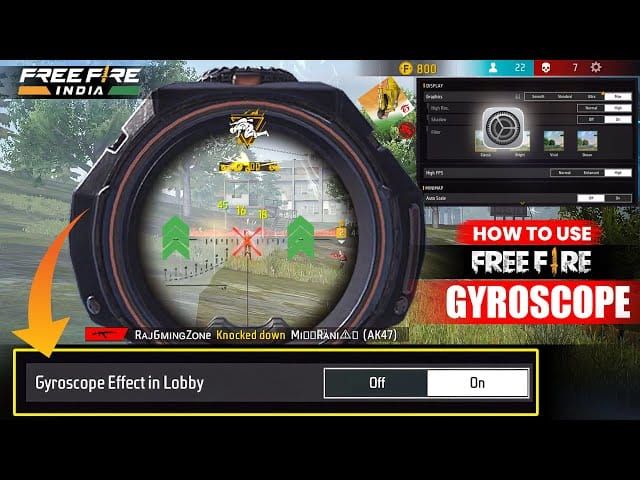
If your device supports gyroscope, turn it on in Sensitivity settings. Set gyro sensitivity to around 50-60 for overall movement, and 30-40 for scopes. This allows you to micro-adjust aim by tilting your phone, giving you an edge in jiggle peeking and fast strafes. Practice one match in Clash Squad to get used to the extra control. For more advanced gyro setups, refer to our optimized settings guide.
Step 5: Practice Drag Aim and Flicks
Aggressive rushing is all about quick flicks onto targets. Head to the training grounds and practice drag aiming: swipe from the fire button area toward the enemy to aim and shoot in one motion. Start with bots, then move to moving targets. Your sensitivity should allow a full 180-degree turn with one comfortable swipe (about 3-4 cm on a 6-inch screen). If you overshoot, lower sensitivity; if you undershoot, increase it. For a complete methodology, check out our guide on drag aim.
Step 6: Test in Real Matches and Fine-Tune
Take your new settings into Clash Squad or Battle Royale. Play 3-5 aggressive matches – rush every enemy you see. Pay attention to how you feel: Are you over-flicking? Is your spray control shaky? Make small adjustments (2-3 points at a time) to General and Red Dot sensitivity. Also adjust the fire button size if you mis-tap. The goal is to make aim feel second nature. For Clash Squad-specific tweaks, our Clash Squad sensitivity article has additional tips.
Common Pitfalls
- Sensitivity too high: You’ll overshoot constantly and lose accuracy. Dial it down in small steps until you land shots consistently.
- Neglecting DPI: Only adjusting in-game sliders without setting pointer speed leads to sluggish or erratic response. Always start with system DPI.
- Changing too many settings at once: You won’t know what works. Change one variable at a time (e.g., only General sensitivity) and test thoroughly before adjusting another. Stick with the best sensitivity settings for your device and tweak from there.
Where to Next
Once you’re comfortable with these settings, explore other aspects of aggressive rushing: movement techniques, weapon recommendations (e.g., MP40 or UMP), and advanced strafing. Practice regularly to build muscle memory. For even more fine-tuning, revisit our guides on optimized settings and DPI adjustments. Now go rush those enemies and claim that Booyah!



