If you’re tired of missing shots in Free Fire and want to finally get that crisp aim, you’re in the right place. This guide is for players who know the basics but can’t seem to control recoil or land headshots consistently. By the end, you’ll have a customized DPI and sensitivity setup that works for your phone and playstyle.
We’ll walk through what DPI actually does, how to change it on Android, and then fine-tune in-game sensitivity sliders. You’ll learn the ideal values for general aim, scoped weapons, and drag shots. Plus we’ll link to our UMP sensitivity settings if you want weapon-specific tweaks.
What You’ll Need
- Free Fire installed on your phone
- A working phone (any brand or model)
- Optional: Developer Options enabled (for DPI change)
- 10–15 minutes of uninterrupted practice
Step 1: Understand DPI vs Sensitivity
DPI (Dots Per Inch) controls how many pixels your finger crosses when you swipe a certain distance. A higher DPI means you cover more screen with less movement. Sensitivity in Free Fire multiplies that effect. Together they determine your aim speed. Many players ignore DPI and only tweak sensitivity, but getting the base DPI right is crucial.
Step 2: Set Your Phone’s DPI
To change DPI on Android, go to Settings > About Phone and tap ‘Build Number’ 7 times to unlock Developer Options. Then go to Settings > Developer Options > Smallest Width. The default is usually 360–420. For Free Fire, try 400–500. A lower number makes icons bigger and aim more sensitive; a higher number does the opposite. Start with 420 and adjust.

If you want a more balanced approach, check out our balanced DPI guide for recommended values across different phones.
Step 3: Adjust In-Game Sensitivity
Open Free Fire, go to Settings > Sensitivity. Start with these baseline values and tweak from there: General: 80–100, Red Dot: 70–90, 2x Scope: 60–80, 4x Scope: 40–60, Sniper Scope: 20–30, Free Look: 50–70. Then head to the training ground and test with a dummy. Shoot while strafing; if you overshoot, lower; if you undershoot, raise.

For weapon-specific tuning, our UMP sensitivity settings can help you laser enemies with that gun.
Step 4: Fine-Tune Drag Shot and Camera
Drag shot sensitivity controls how fast your aim moves when you drag the fire button. Set it between 50–70. Camera sensitivity affects your view when not shooting. Keep it lower for stability. Test these in combat scenarios. If you want expert-level sensitivity settings, we have a dedicated guide for pro-level fine-tuning.
Step 5: Test in Real Matches
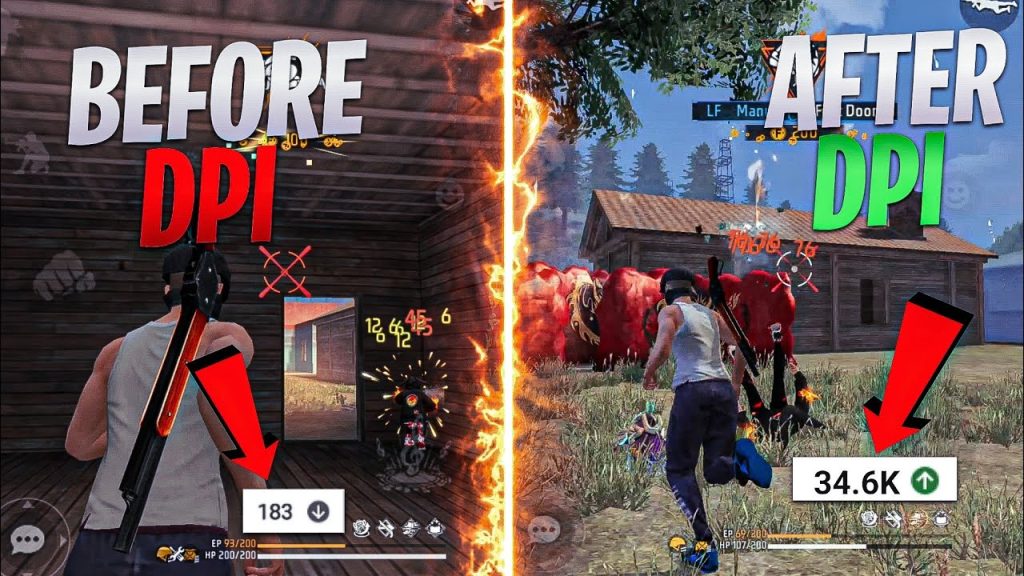
After training, jump into a Clash Squad or classic match. Pay attention to close-range fights and long-range sprays. Adjust one slider at a time. Note that different weapons may need different values. If you play without gyro, our sensitivity settings without gyro guide covers that exact setup.

For the latest meta values, see our best sensitivity settings for 2026. And for tournament-level configurations, check out our professional sensitivity settings guide.
Common Pitfalls
- Setting sensitivity too high – you’ll overshoot every target. Start lower and increase gradually.
- Ignoring DPI entirely – without adjusting phone DPI, your sensitivity may feel off on large or small screens.
- Not testing in training mode – real matches are not the place to experiment. Always practice new settings first.
Where to Next
You now have a solid DPI and sensitivity foundation. Keep tweaking as you improve. Check out our other sensitivity guides for specific guns, playstyles, or devices. Happy hunting!



