If you’re tired of missing shots and want to take your Free Fire game to the next level, gyroscope aiming is your secret weapon. Using your phone’s built-in gyro to control aim can give you faster, more precise reactions than thumb-dragging alone. This guide is for motivated beginners who have tried gyro but struggled with the settings. By the end, you’ll have a custom gyro sensitivity profile that feels natural and helps you drop more kills.
We’ll walk through calibrating your gyro, adjusting general camera sensitivity, scoped sensitivity, and fine-tuning for different weapons. You’ll also learn how to test your settings in the training ground. Whether you play on a budget Android or a high-end gaming phone, these steps will work for you. Let’s dive in.
What you’ll need
- Free Fire or Free Fire Max installed on your phone
- A device with a working gyroscope (most modern phones have one)
- A stable internet connection
- A clear, flat surface for calibrating (optional but helpful)
- About 20 minutes of uninterrupted practice time
Step 1: Enable and Calibrate Your Gyroscope
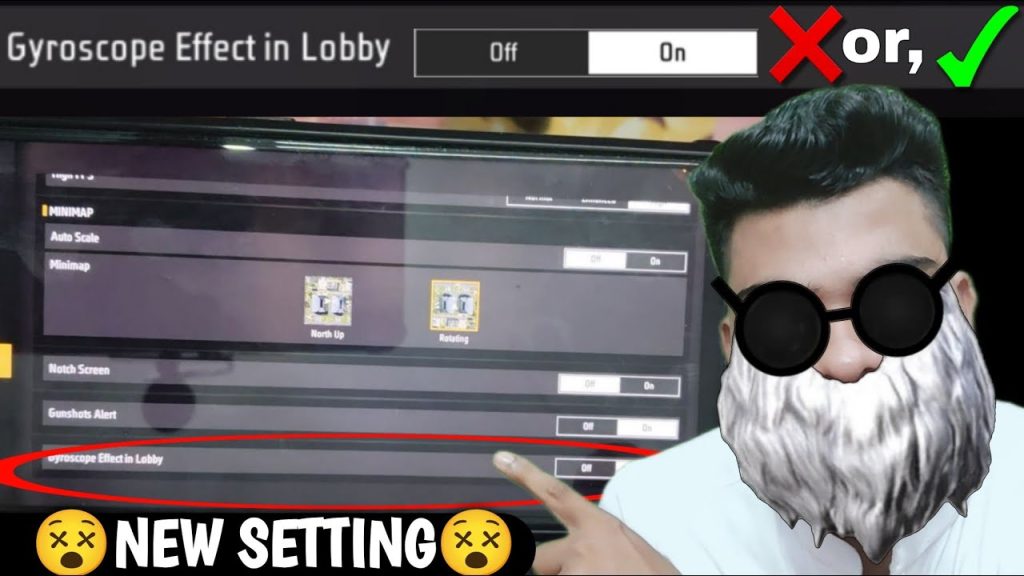
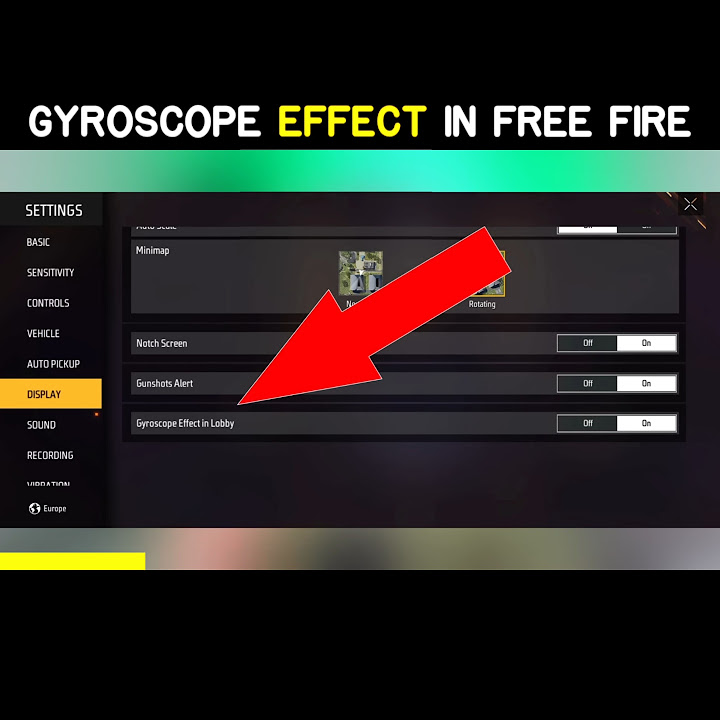
First, open Free Fire and go to Settings > Sensitivity. Make sure the gyroscope toggle is turned ON. If your phone has a gyro calibration tool in its system settings, run it once to ensure accuracy. In Free Fire, you can also tap the ‘Calibrate’ button if available. This removes any drift that could mess up your aim.
Step 2: Set Your General Gyro Sensitivity
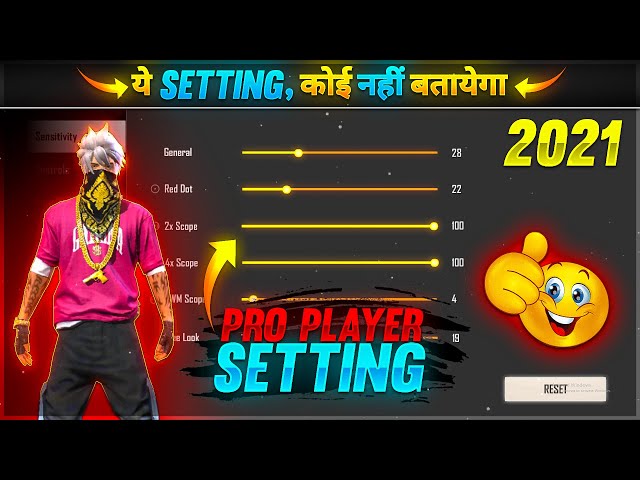
Now head to the ‘Gyroscope’ tab in sensitivity settings. Start with these baseline values: Red Dot: 60, 2x Scope: 40, 4x Scope: 25, Sniper Scope: 15, Free Look: 70. These are medium settings that work well for most players. Remember, your general camera sensitivity also affects gyro response, so keep that around 80-90 for a balanced feel.
Step 3: Fine-Tune in the Training Ground
Enter the training ground and equip the weapons you use most. Practice aiming at still targets and then moving ones. Tilt your phone to adjust aim. If your aim overshoots, lower the corresponding sensitivity. If it feels sluggish, increase it slightly. Spend at least 10 minutes here until you feel consistent.
Step 4: Adjust Scope and Weapon-Specific Settings
Different scopes need different gyro sensitivity. For close combat (red dot, 2x), you want higher sensitivity for quick flicks. For long range (4x, sniper), lower sensitivity for precision. Also, try the ‘Drag Aim‘ technique—combined with gyro, it gives you smoother tracking. Check out our guide on how to drag aim with free fire sensitivity settings for more details.
Common pitfalls
Even with perfect settings, three issues often trip players up:
- Gyro drift – recalibrate your phone’s gyro outside the game if you notice camera creeping.
- Over-reliance on gyro – use gyro only for fine adjustments, not for large turns. Combine with thumb dragging for best results.
- Copying pro settings blindly – pros often use extreme sensitivities that may not suit your playstyle. Always start from the beginner sensitivity guide and tweak.
Where to next
Now that you’ve dialed in your gyro sensitivity, check out our other guides: tweak your camera sensitivity for better awareness, or experiment with a rushing sensitivity if you play aggressively. Once you’re happy, you can save your settings via the sharing code and import them on another device. Keep practicing and your aim will improve fast!
