Every new Free Fire patch tweaks the game’s mechanics, and your old sensitivity settings might feel off. Whether you’re a ranked grinder or a casual player, dialing in your sensitivity is key to landing shots and winning fights. In this guide, we’ll walk you through setting up your Free Fire sensitivity for the latest patch step by step. By the end, you’ll have a setup that feels smooth and helps you control recoil like a pro.
We’ll cover everything from resetting to default, adjusting each scope level, and fine-tuning with the training mode. Plus, we’ll point out common mistakes so you don’t waste time. Ready to get that perfect aim? Let’s dive in.
What You’ll Need
- Free Fire installed and updated to the latest patch
- A stable internet connection (ping matters!)
- Access to the training mode (available from the lobby)
- Your usual device – phone or tablet
Step 1: Reset Your Settings to Default
Before anything else, reset your current sensitivity to the game’s default. This clears any leftover adjustments from previous patches that might cause issues. Go to Settings > Sensitivity and tap “Reset to Default.” Then restart the game to make sure everything loads fresh.
Step 2: Adjust General Sensitivity
Start with the general sensitivity slider. This controls your camera movement speed when not aiming down sights (ADS). A good starting point is around 80-90 for most players. Move it higher if you want faster turns, lower for more precision. Don’t worry about being perfect now – we’ll fine-tune later.
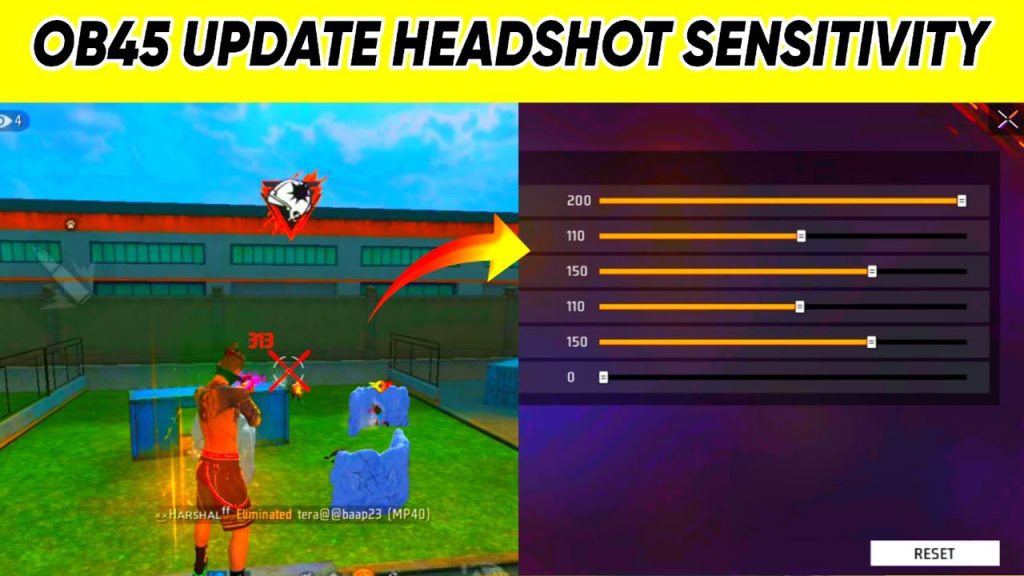
Step 3: Set Per-Scope Sensitivity
Now the important part – each scope needs its own sensitivity. Here are recommended starting values for the latest patch (adjust based on your device):
- Red Dot / Holographic: 90-100
- 2x Scope: 85-95
- 4x Scope: 75-85
- Sniper Scope: 60-70
- Free Look: 70-80
These values give you a balance between speed and control. If you play with a gyroscope, leave those settings for later. For a deeper dive into each scope, check out our sensitivity comparison.
Step 4: Test in Training Mode
Head to the training mode to test your settings. Pick up different weapons and practice spraying at the dummies. Pay attention to recoil – if your crosshair jumps too much, lower the sensitivity for that scope. If you’re overshooting, raise it a bit. Spend at least 10 minutes here. The training mode is your best friend for dialing in your settings.
Step 5: Fine-Tune Gyro Sensitivity (Optional)
If you use gyroscope, this is where you dial it in. Enable gyro in settings and set a low value like 30-40 for general, then increase per scope. In training mode, tilt your device to aim – you want it to feel natural without overcorrecting. Mastering your gyro can give you an edge in close fights.
Step 6: Save and Apply
Once you’re happy with the feel in training mode, save your settings. Go back to the lobby and play a few classic or ranked matches. Don’t change anything mid-game – give yourself time to adapt. After a few matches, tweak if needed. Remember, consistency is more important than copying pro settings.
Common Pitfalls
- Copying pro settings blindly – your device, grip, and playstyle are different. Use pros as inspiration, not a template.
- Not testing in actual matches – training mode is great, but real fights have pressure. Play a few to see if settings hold up.
- Ignoring device performance – lower-end phones may need lower sensitivity to avoid lag. Check your frame rate.
Avoid these mistakes and you’ll save hours of frustration.
Where to Next
Now that you’ve got your sensitivity dialed in, keep improving with our other guides. If you want to explore more, check out our custom sensitivity settings for advanced tweaks, or the beginners’ sensitivity guide if you’re just starting. For a broader view, see our recommended sensitivity numbers to compare. Happy gaming!


