If you’ve ever felt like your aim is off in Free Fire, the problem might be your sensitivity settings. The training mode is the perfect place to test and tweak these numbers without the pressure of a real match. Whether you’re a new player or a veteran looking to optimize, this guide will help you find the sensitivity that clicks with your playstyle.
By the end of this tutorial, you’ll have a customized sensitivity setup that feels natural for your device and grip. You’ll learn how to use the training mode to your advantage, making incremental adjustments that lead to better recoil control and faster tracking. No more guessing—just results.
What You’ll Need
- A device with Free Fire installed
- At least 15 minutes of uninterrupted practice time
- A stable internet connection to access training mode
- Optional: a friend to help you test in a custom room later
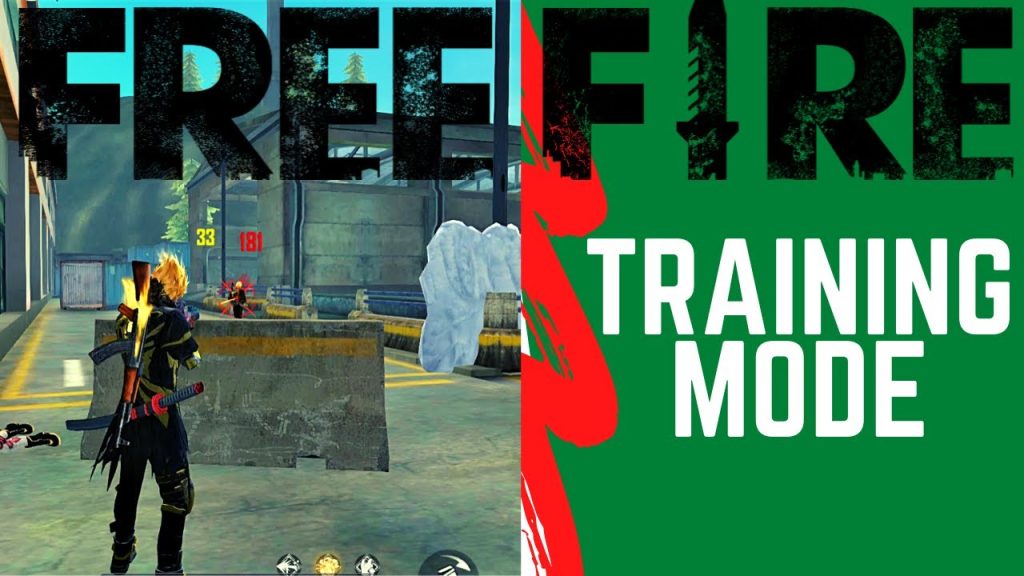
Step 1: Enter Training Mode

Fire up Free Fire and tap on the ‘Training’ button from the main menu. It’s usually located alongside ‘Ranked’ and ‘Classic’. Once inside, you’ll see a range with dummies and obstacles. This is your sandbox for sensitivity testing.
Step 2: Adjust General Sensitivity
Go to Settings > Sensitivity. Here you’ll see sliders for General, Red Dot, and up to 6x scopes. Start with General sensitivity: if you’re a claw player, a higher value (80-90) works; for thumbs, try 60-70. Don’t worry about perfect numbers yet—just set a baseline. For a starting point, you can check our balanced style sensitivity settings.
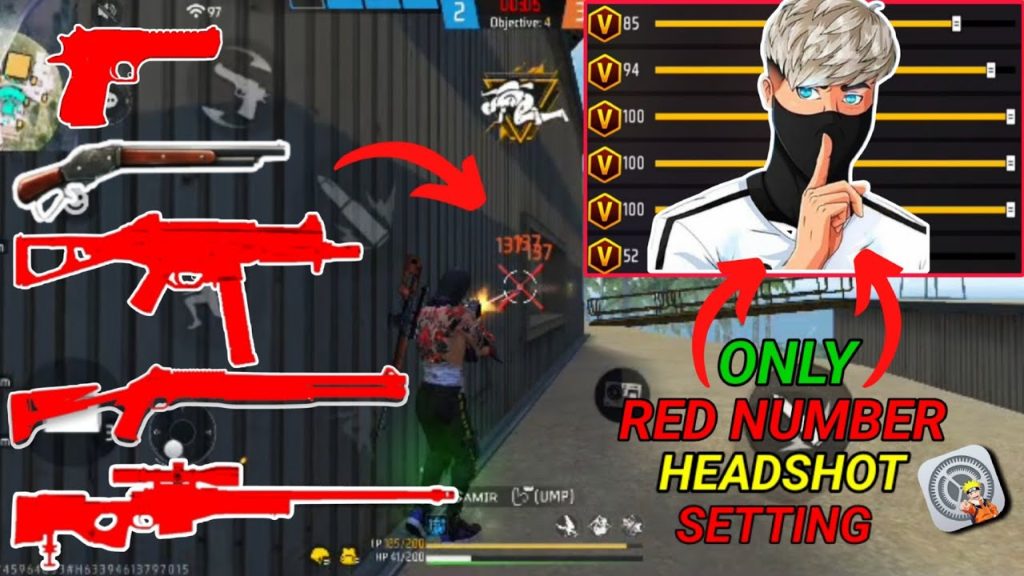
Step 3: Fine-Tune Red Dot and Scope Sensitivity
Equip a gun with a red dot sight, like the M4A1. Aim at a dummy’s head and fire while dragging your aim. If your crosshair overshoots, lower the Red Dot sensitivity. If it falls behind, increase it. Repeat for 2x, 4x, etc., adjusting each scope type separately. For more tailored advice, see our beginner sensitivity settings and recoil control sensitivity settings.
Step 4: Test and Adjust
Now that you have a rough setup, shoot at moving targets and practice jiggle-peeking. If you feel the aim is too sensitive, reduce by 5 points; if too sluggish, increase by 5. Use the training mode’s respawn feature to repeat the same engagement over and over. If you’re on a tablet, our sensitivity settings for tablets guide offers specific tweaks.
Step 5: Save and Apply
Once satisfied, tap the Save button. Your new sensitivity is now active. But don’t be afraid to come back: your perfect sensitivity might change with updates or new devices. Keep iterating. For deeper fine-tuning, our advanced sensitivity settings guide covers everything. And don’t forget to use the how to test sensitivity settings guide to verify your tweaks in real matches.
Common Pitfalls
- 1. Changing too many values at once – adjust one scope at a time.
- 2. Using the same sensitivity for all scopes – each zoom level needs different settings.
- 3. Ignoring device performance – older phones may need lower sensitivity to avoid frame drops.
Where to Next
Now that you’ve nailed your sensitivity, check out our other guides to level up further. For a different playstyle, see our balanced style sensitivity settings. If you’re on a tablet, our sensitivity settings for tablets guide will help. Beginners can start with our beginner sensitivity settings. For recoil control, our recoil control sensitivity settings are a must-read. And for deeper fine-tuning, our advanced sensitivity settings guide covers everything. Don’t forget to use the how to test sensitivity settings guide to verify your tweaks.


