If you’re rocking a phone with high touch sampling – say 300Hz, 480Hz, or even 1000Hz – you’re already ahead of the pack. But stock sensitivity settings rarely take full advantage of that lightning-fast response. This guide is for players who want to eliminate input lag, snap onto enemies faster, and build a setup that feels like an extension of your fingers. By the end, you’ll have a custom sensitivity profile tuned specifically for your high polling rate display, plus a few tricks to fine-tune it in training mode.
Whether you’re a sweat who plays ranked every day or a casual player looking for smoother controls, these settings will help you react instantly. We’ll walk you through each slider – from general to red dot – and explain how high touch sampling changes the feel. You’ll also learn how to adjust your DPI and in-game acceleration for maximum precision. Ready to make your enemies rage quit? Let’s dive in.
What You’ll Need
- A phone with high touch sampling (check your specs or use an app like Touch Sampling Rate Test)
- Free Fire installed and logged in (latest patch)
- A training mode session (or Classic BR to test after)
- At least 10 minutes of uninterrupted tuning time
- Optional: a clip of your gameplay to compare before/after
Step 1: Understand Your Touch Sampling Rate
Before touching any slider, verify your phone’s touch sampling rate. On most gaming phones, it’s listed in the display settings under ‘Touch Response’ or ‘Sampling Rate’. If you can’t find it, download Touch Sampling Test app. High touch sampling (over 240Hz) means the screen registers your finger input more often per second. This reduces lag but can also make small movements feel ‘twitchy’ if your sensitivity is too high. Keep this in mind – we’ll compensate with lower DPI and adjusted ADS settings.
Step 2: Reset Your Current Settings
Start fresh. Go to Settings > Sensitivity and tap ‘Reset to Default’. This clears any old preferences that might interfere. On high touch sampling, default values often feel too heavy because they were designed for slower screens. After reset, we’ll build from scratch. Don’t worry – you can always import a backup code if you mess up (check out our guide on free fire sensitivity settings import code for that).
Step 3: Set Your DPI to 300
Most high touch sampling phones have fast acceleration by default. To avoid overshooting, set your DPI to 300. This gives you a good balance between cursor speed and control. If you’re using a phone that allows DIP adjustment (like in developer options), set it there. For iPhones, skip this – iOS locks DPI. Instead, rely on in-game sensitivity. Low DPI combined with high touch sampling creates a smooth, non-Jittery experience. Our settings for under 500 DPI work great here too.
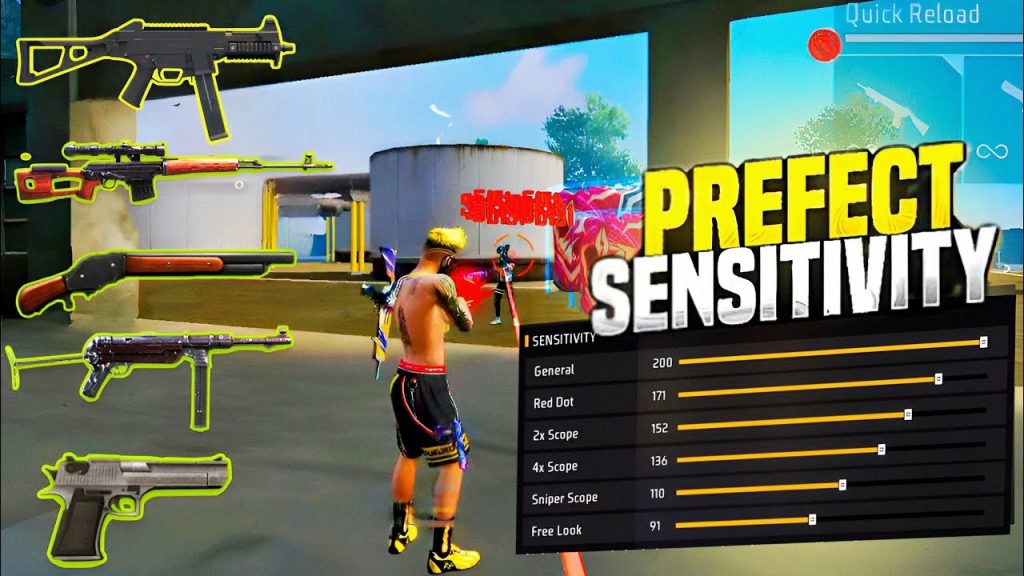
Step 4: Adjust General Sensitivity
General sensitivity affects turning and movement. With high touch sampling, a value between 85-95 works well for most. Start at 90. If you find yourself over-rotating, lower it by 5. If you feel sluggish, increase it. Remember: high touch sampling makes every pixel count, so tiny adjustments matter. Use a friend’s account or training mode to test 180-degree turns. At 90, you should be able to spin around with a single full swipe across the screen.
Step 5: Fine-Tune ADS Scopes
Aim Down Sights (ADS) sensitivity should be lower than general to maintain control. For red dot and 2x scope, start at 70. For 4x and higher, go to 50. These numbers work well with high touch sampling because the screen picks up even micro-shakes. If you notice your crosshair bouncing during burst fire, reduce ADS by 5-10. Our one tap headshot sensitivity guide uses similar logic for precise flick shots.

Step 6: Optimize for Crouch and Prone
Crouching and prone change your movement speed, so sensitivity should adapt. Set crouch sensitivity to about 80% of your general sensitivity (around 72). This helps maintain aim while dropping. For prone, go even lower – 65. High touch sampling makes quick stances feel snappy, so you don’t want to overshoot when going into a crawl. Check our crouch shot sensitivity article for more tips.
Step 7: Recoil Control and Gyroscope
If you use gyroscope, reduce its sensitivity to 50-60% of your standard values. High touch sampling can make gyro feel overly responsive. For pure aim, set gyro to 25 for general and 15 for ADS. Recoil control is easier with high touch sampling because you can micro-adjust faster. Use training mode to spray at a wall and tweak your recoil control sensitivity until the bullets group tighter. Our recoil control sensitivity guide has drills for this.
Step 8: Test in Training Mode
Now head to training mode. Practice flick shots on moving targets. With high touch sampling, you’ll notice immediate feedback. If your aim feels too fast, lower general or ADS by 5. If it feels laggy, increase by 2. Spend at least 5 minutes adjusting until it feels ‘buttery’. Record a short clip and compare to older gameplay. For more structured testing, use our training mode sensitivity guide.
Common Pitfalls
- Cranking sensitivity too high because the screen feels fast – leads to over-aiming and missing shots. Start low and increase gradually.
- Ignoring DPI adjustment – high touch sampling with stock DPI (usually 450+) can make the game feel jittery. Set it to 300 if possible.
- Not testing in actual matches – training mode is good, but network latency and adrenaline change your control. Play a few casual rounds after tuning.
Where to Next
Once you’ve dialed in these settings, try adapting them for specific playstyles. Check out our guides for balanced style, beginners, or even 90Hz screen settings if your device supports it. Remember, sensitivity is personal – use this as a baseline and tweak to your muscle memory. Happy fragging!


