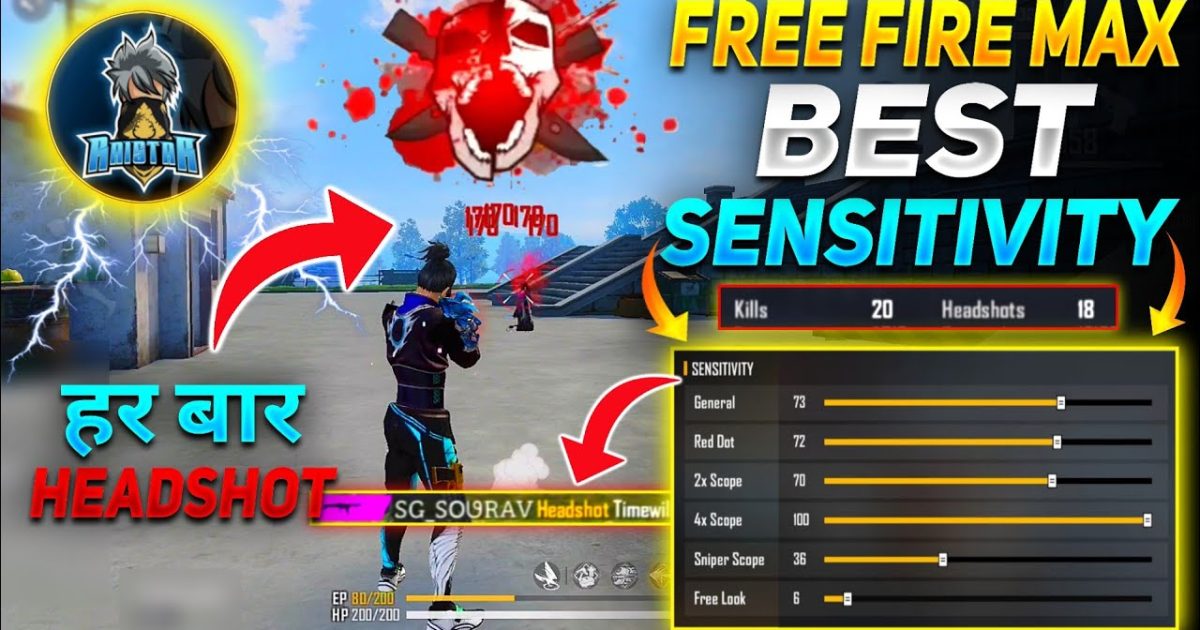
Whether you’re a newbie or a seasoned player looking to fine-tune your aim, this guide will walk you through the best Free Fire Max sensitivity settings combined with your device’s DPI. DPI and sensitivity work together: DPI controls how fast your cursor moves across the screen, while in-game sensitivity multiplies that movement. Getting the balance right is key to snapping onto enemies and controlling recoil.
By the end of this tutorial, you’ll have a customized sensitivity setup that reduces recoil, improves tracking, and gives you that edge in close quarters. We’ll cover device DPI adjustments, in-game slider values, and practice drills to lock in your perfect feel. Let’s dive in.
What You’ll Need
- A device with Free Fire Max installed (Android or iOS).
- A DPI adjustment tool (e.g., Third-party apps for Android, or built-in settings for some devices).
- Access to the Free Fire training ground (practice range).
- A notepad (digital or physical) to record your preferred values.
Step 1: Understand DPI and Sensitivity
DPI stands for dots per inch — it’s how many pixels your finger moves when you drag one inch on the screen. Higher DPI means faster cursor movement. In Free Fire Max, the sensitivity sliders amplify this movement. If your DPI is too high, even a tiny swipe will whip your aim around; too low, and you’ll be dragging your finger across the whole screen to turn. The goal is to find a DPI that feels natural for your device’s screen size.
Step 2: Set Your Device DPI
On Android, you can use apps like ‘DPI Changer’ or developer options. For Android 10 and above, go to Settings > About Phone > Build Number (tap 7 times) to enable Developer Options, then find ‘Smallest width’ under Developer Options. A common starting point is 240-320. On iPhone, you can’t change DPI directly, but you can adjust sensitivity more aggressively in-game. Once you set a DPI, test it in the training ground: you should be able to do a 360° turn with a moderate swipe (about 3-4 inches).
Step 3: Adjust In-Game Sensitivity
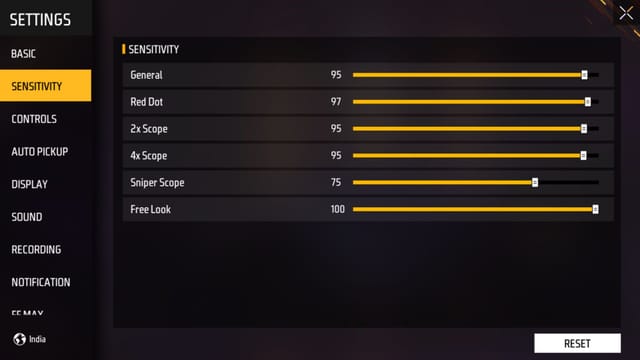
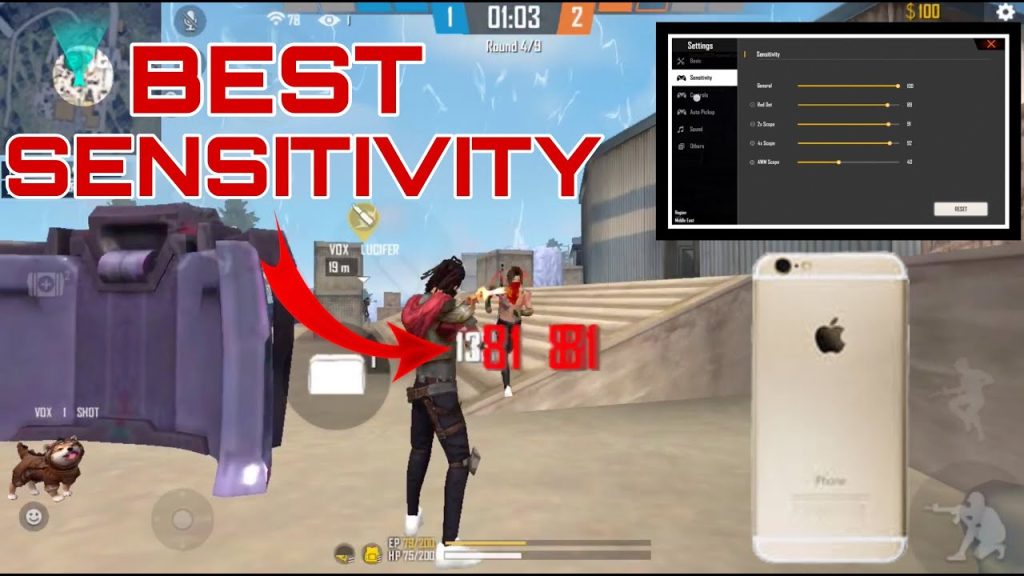
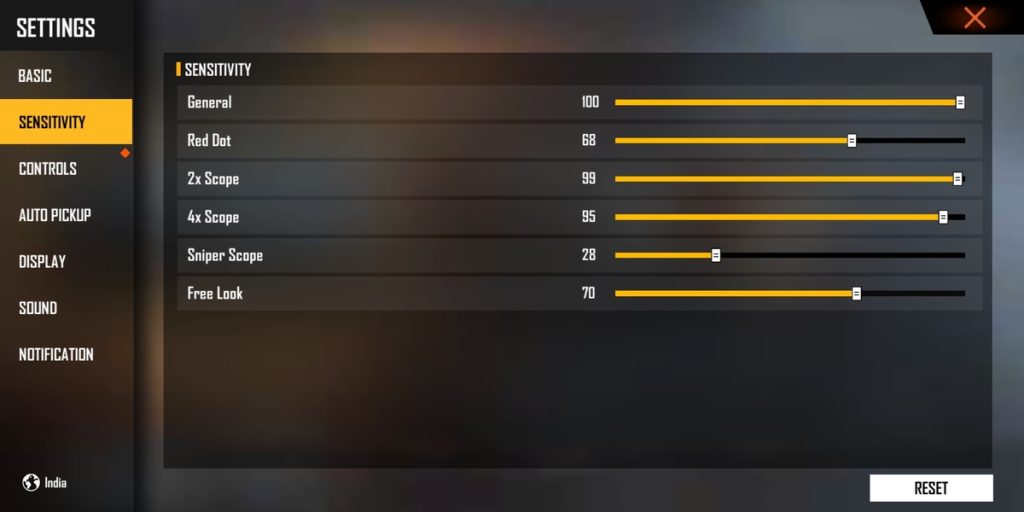
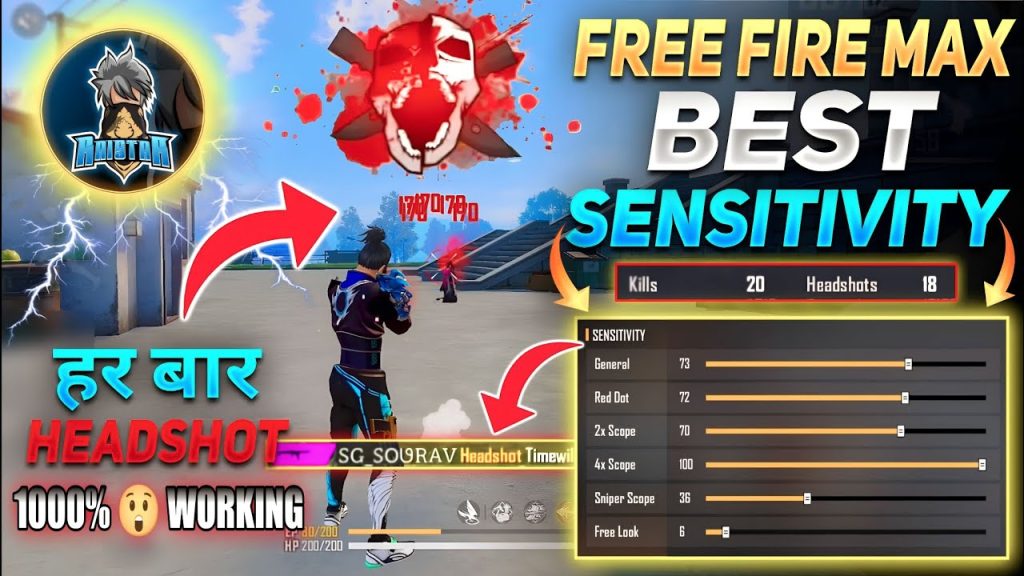
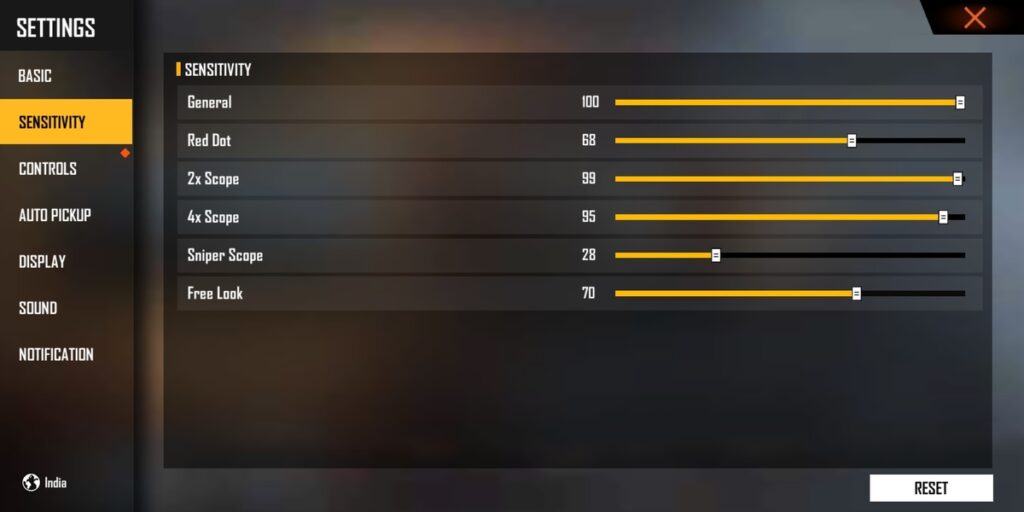
Open Free Fire Max, go to Settings > Sensitivity. You’ll see sliders for General, Red Dot, 2x Scope, 4x Scope, Sniper Scope, and Free Look. Start with these values based on your DPI:
– General: 70-80
– Red Dot: 40-50
– 2x Scope: 35-45
– 4x Scope: 25-30
– Sniper Scope: 10-15
– Free Look: 50-60
These numbers assume a DPI of 280. If you set a higher DPI, lower the sliders by 5-10 points. If lower DPI, bump them up. Remember, this is a baseline — adjust based on your comfort.
Step 4: Fine-Tune with Practice
Head to the training ground. Pick a spot and practice flick shots (snapping to a target), tracking (following a moving dummy), and spray control (firing full clip while dragging down). If you’re over-flicking, lower your general or red dot sensitivity. If you’re under-flicking (can’t reach the target in one swipe), raise it. Do this for each scope type. Don’t rush — spend at least 15 minutes adjusting until every movement feels crisp. For more on flick shots, check out our dedicated flick shots guide.
Step 5: Save Your Settings
Once you’re happy, export your sensitivity settings code. Go to Settings > Sensitivity > Export. Copy the code and save it somewhere safe. You can also take a screenshot of your sliders. This way, you never lose your setup. Need help with exporting? Our generated code guide explains it in detail. Additionally, check out our sensitivity with DPI guide for more advanced adjustments.
Common Pitfalls
- Setting DPI too high: This causes jittery aim and makes it hard to control recoil. Stick to 240-320 and adjust from there.
- Ignoring free look sensitivity: Free look is vital for checking surroundings while moving. If it’s too low, you’ll be slow to spot enemies; too high, you’ll overshoot. Keep it around 50-60.
- Copying pro settings without testing: Pros often use different device sizes and DPI. Their settings may not work for your phone. Always test and tweak. For example, M1887 settings require higher close-range sensitivity. Use our M1887 settings as a base but adapt.
Where to Next?
Now that your sensitivity is dialed in, pair it with the right HUD combo for better finger placement. If you’re experiencing input lag, check out our input lag fix guide. And if you want to master close-range combat, our M1887 settings article has you covered. Happy hunting!



