So your aim feels off, your crosshair is drifting, or you just want a fresh start with your sensitivity settings. Whether you’re coming back after a break, messed around in the training ground, or your little sibling got into your account, resetting Free Fire sensitivity settings is the quickest way to get back to a clean slate. This guide is for anyone who wants to wipe all custom sensitivity values and return to the game’s default — no guesswork, no extra apps.
By the end of this tutorial, you’ll have your Free Fire sensitivity settings completely reset to factory defaults. You’ll also learn how to clear any saved presets and avoid common mistakes that can mess up your aim. Let’s dive in and get your settings back to zero.
What You’ll Need
- Your phone or tablet with Free Fire installed
- A stable internet connection (to sync changes)
- 5 minutes of free time
- Optional: Screenshot of your current settings if you want to compare later
- Optional: A friend to help in a custom room if you want to test immediately
Step 1: Open Free Fire and Go to Settings
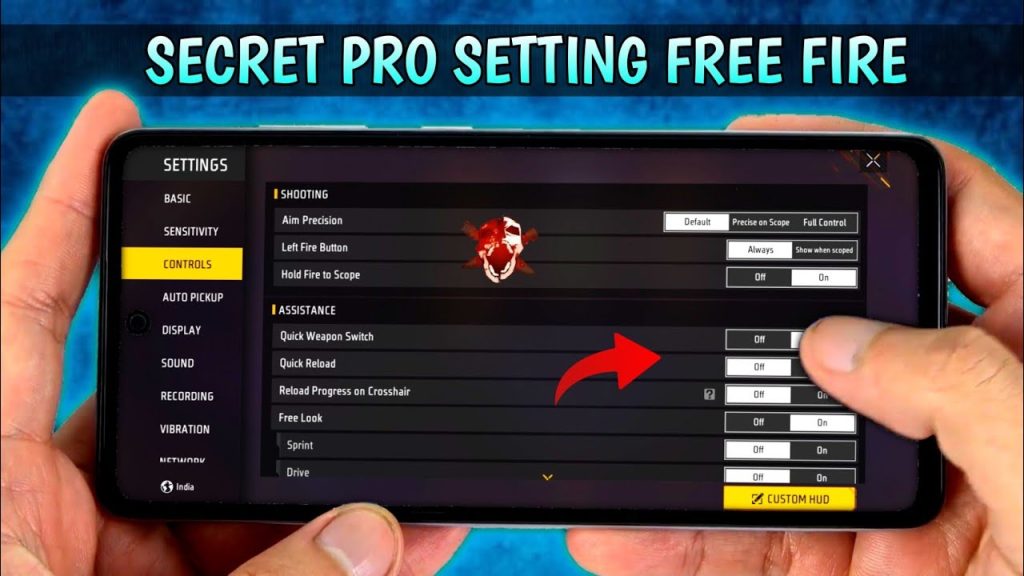
Launch Free Fire on your device. On the main lobby screen, look for the gear icon (⚙️) in the top-right corner. Tap it to open the Settings menu. This is where all your controls, graphics, and sensitivity options live.
Step 2: Navigate to the Sensitivity Tab
Inside Settings, you’ll see several tabs at the top: Basic, Controls, Sensitivity, Graphics, Audio, and so on. Tap on the Sensitivity tab. You’ll see a set of sliders for General, Red Dot, 2x Scope, 4x Scope, Sniper Scope, and Free Look. This is where you’ll perform the reset.
Step 3: Reset Each Sensitivity Slider to Default
There is no single ‘Reset All’ button in Free Fire (yet). You have to manually move each slider back to its default value. The default sensitivity values are: General – 100, Red Dot – 90, 2x Scope – 80, 4x Scope – 65, Sniper Scope – 55, Free Look – 60. Tap on each slider and drag it to these numbers. Make sure to also reset the ‘DPI’ setting under the Controls tab if you changed it — set DPI back to 0 if you’re using default.
Step 4: Clear Custom Presets (If Any)
Some players save multiple sensitivity presets (e.g., for rush gameplay or quick headshots). To completely reset, go to the ‘Presets’ section inside Sensitivity. Tap on any saved preset and select ‘Delete’ or ‘Reset to Default’. Repeat for all saved presets. This ensures no leftover custom settings can override your fresh start.
Step 5: Apply and Test in Training Ground
After resetting everything, tap the ‘Apply’ button (usually a checkmark or ‘OK’). Then exit Settings and head to the Training Ground. Practice with a few guns — check if the sensitivity feels smooth and snappy. If everything feels natural, you’re done. If not, double-check that all sliders are at the default values listed in Step 3.
Common Pitfalls
- Forgetting to reset DPI settings – DPI under Controls tab can throw off your aim even if sensitivity sliders are default. Always set DPI back to 0 or your phone’s default.
- Not deleting saved presets – If you have custom presets saved, the game might load them automatically. Delete all presets to ensure a clean reset.
- Skipping the training ground test – A reset might feel weird for the first few minutes. Don’t judge without testing in the training ground for at least 2-3 minutes.
If you want to refine your aim further, check out our guides on rush gameplay sensitivity for aggressive play, quick headshots for tap-fire accuracy, or pro settings used by top players. For a complete reset after a device change, see our guide on restoring settings after a device reset. Use our sensitivity checker to verify your new values, and explore battle royale sensitivity for match-specific tweaks.
Where to Next
Now that your sensitivity is back to default, you have a solid foundation. From here, you can gradually tweak based on your playstyle — just remember to make small changes (5-10 points at a time) and test thoroughly. Happy hunting, and see you on the battlefield!



