
If you’re playing Free Fire on an emulator with a mouse that has a very low DPI—say 300 or less—you know the struggle. Your crosshair feels sluggish, turning around takes forever, and you’re constantly second-guessing your aim. But here’s the thing: low DPI isn’t a curse. In fact, many pro players use low sensitivity for pixel-perfect aiming. This guide is for you—the low-DPI warrior who wants to beam enemies without lifting your mouse across the desk. By the end of this post, you’ll have a complete sensitivity setup tailored for 300 DPI (and below), plus a few tricks to make it work in ranked matches.
We’ll cover everything from raw DPI configuration to in-game sliders, and I’ll show you how to tweak each setting so you can track moving targets, control spray, and snap onto heads. Whether you’re new to emulator play or just never dialed in your sensitivity, this step-by-step guide will get you consistent. Let’s turn that sluggish aim into a laser beam.
What You’ll Need
- A PC or laptop running Free Fire via an emulator (Gameloop recommended – it’s official and optimized)
- A mouse with adjustable DPI (most gaming mice can go down to 200-400 DPI)
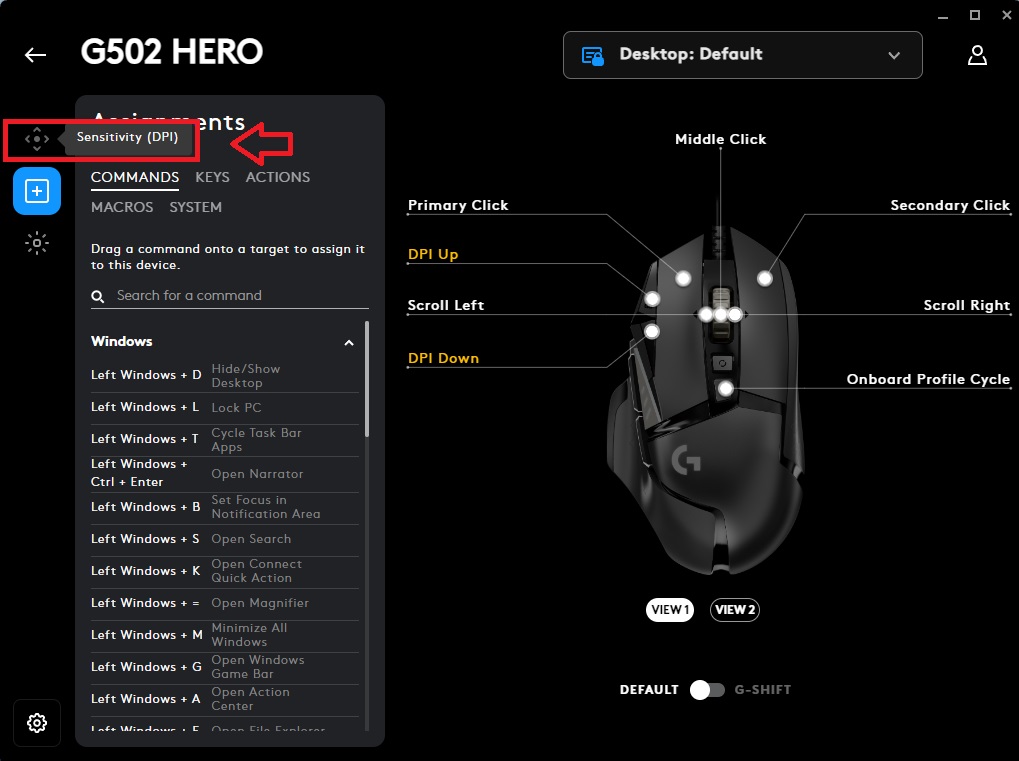
- The mouse’s configuration software (e.g., Logitech G HUB, Razer Synapse, Corsair iCUE)
- Free Fire installed and updated
- Access to the Training Ground (in-game practice mode)
- A notepad to jot down your starting numbers

Step 1: Set Your Mouse DPI to 300 (or Lower)
Before you touch the game sliders, lock in your hardware DPI. Open your mouse software and create a new profile for Free Fire. Set the DPI to 300. If your mouse can’t hit exactly 300, go for 250 or 400—just stick to one value and don’t change it mid-session. Lower DPI means less cursor speed but more precision; at 300 DPI your in-game crosshair will feel heavy, but that’s the foundation for controlled aim. Disable any mouse acceleration in both the software and Windows mouse settings (pointer precision).
Step 2: Open Free Fire Sensitivity Settings
Launch Free Fire on your emulator, go to the main lobby, tap the gear icon (Settings), then head to the ‘Sensitivity’ tab. You’ll see three main sliders: General, Red Dot/Holographic, and Scope (2x, 4x, etc.). Also look for the ‘Advanced’ drop-down that reveals separate sliders for ADS, free look, and over-the-shoulder aim. Keep them all in mind—we’re about to fill them in.
Step 3: Set General Sensitivity and ADS Sensitivity
At 300 DPI, your general sensitivity (the one that controls hip-fire camera speed) should be higher than what most guides recommend—because your mouse moves less. Start with these baseline numbers:
- General: 55–65 (this lets you turn around quickly without breaking your wrist)
- Red Dot: 45–55 (gives you fine control for single-taps)
- 2x Scope: 40–45
- 4x Scope: 30–35
- Sniper Scope: 20–25
- Free Look: 70–80 (for quick scanning while running)
Don’t touch the ‘DPI’ setting inside Free Fire—that’s only for mobile touch sensitivity and won’t affect your mouse. The numbers above are for emulator; they mimic what pro players use on low-DPI setups. Now go to the ‘Advanced’ tab and set ADS sensitivity to 50–55 (this affects aiming down sights for all non-scoped weapons).
Step 4: Fine-Tune in Training Ground
This is where the magic happens. Go to the Training Ground and pick an M4A1 (no attachments). Move your aim along a wall while strafing—if your crosshair shakes too much, lower the general or ADS sensitivity by 5 points. If it feels too slow to track a running target, bump it up by 5. Do the same for each scope: stand at common engagement distances (e.g., 50m for 2x, 100m for 4x) and try to hold your aim on a stationary dummy while moving. The goal is to feel ‘sticky’—your crosshair should stay on target without constant micro-adjustments. Repeat until you can consistently land 5-round bursts on the head.
Remember: your DPI is fixed at 300, so you’re adjusting in-game multipliers. A good rule of thumb: if you can’t do a 180-degree turn with a single swipe across your mousepad, your general sensitivity is too low. If you overshoot when flicking to a target, it’s too high.

Step 5: Save Your Settings and Generate a Config Code
Once you’re happy, tap ‘Apply’ and then hit the ‘Copy Settings Code’ button (it’s at the bottom of the sensitivity tab). This generates a free fire sensitivity settings config code that you can share or back up. Paste it into a text file so you never lose your work. If you ever reinstall Free Fire or switch devices, you can quickly import free fire sensitivity settings using that code.
Common Pitfalls
- Overcorrecting too fast: Most players change 10-15 points at a time. Stick to 2-5 point increments—small changes make a big difference at low DPI.
- Ignoring ADS vs hip-fire: A single sensitivity for both will mess up your muscle memory. Make sure you’re adjusting them separately, especially for close-range fights.
- Forgetting to disable mouse acceleration: Windows and Logitech/G Hub often have ‘enhance pointer precision’ enabled. Turn it off completely—it ruins consistency.

Where to Next
Now that you’ve dialed in your low-DPI settings, try pairing them with a good spray control practice routine. Check out our free fire sensitivity settings spray recoil guide for advanced full-auto techniques. If you want to see how these settings hold up in competition, our free fire sensitivity settings tested in ranked article has real match results. And if you ever upgrade to a higher DPI (like 600), we’ve got a dedicated free fire dpi 600 sensitivity settings page that adapts the same principles. Happy beaming!
