If you’ve ever unloaded a full magazine into a wall while your enemy dances away, you know the pain of uncontrollable spray. This post is for every Free Fire player who wants to turn their wild recoil into laser beams. By the end, you’ll have a custom sensitivity setup that tames even the bounciest guns like the M4A1, SCAR, or M1887. We’re going step by step, from understanding what each slider does to fine-tuning in the training ground.
We’ll use tried-and-tested values from top players and tweak them for your playstyle. Whether you play aggressive close-range or prefer holding angles, these settings will make your spray consistent. Plus, I’ll show you how to test without wasting time in real matches. Ready to never miss a spray again? Let’s jump in.
What You’ll Need
- A device running Free Fire (Android or iOS)
- At least 15 minutes of free time for testing
- Access to the Training Ground (from the main menu)
- A friend or a second account for custom room testing (optional)
Make sure your game is updated to the latest version so all sensitivity options are available. Also, if you haven’t already, read our free fire sensitivity settings tutorial to understand the basics. This guide builds on those fundamentals.
Step 1: Reset Your Current Settings
Before we start tweaking, let’s wipe the slate clean. Go to Settings > Sensitivity and tap ‘Reset’ to default. This removes any confusing previous adjustments. Don’t worry – we’ll build a fresh setup that works for you.

Now, note your device’s screen size and refresh rate. If you have a 144Hz screen, check our free fire sensitivity settings for aggressive style later. For now, stick to the baseline.
Step 2: Understand the Sliders That Affect Spray
There are four key sliders: General, Red Dot, 2x Scope, and 4x Scope. For spray recoil, General and Red Dot matter most because you’ll usually fight with iron sights or a red dot. The 2x and 4x are for longer ranges – we’ll set those lower to avoid over-aiming.

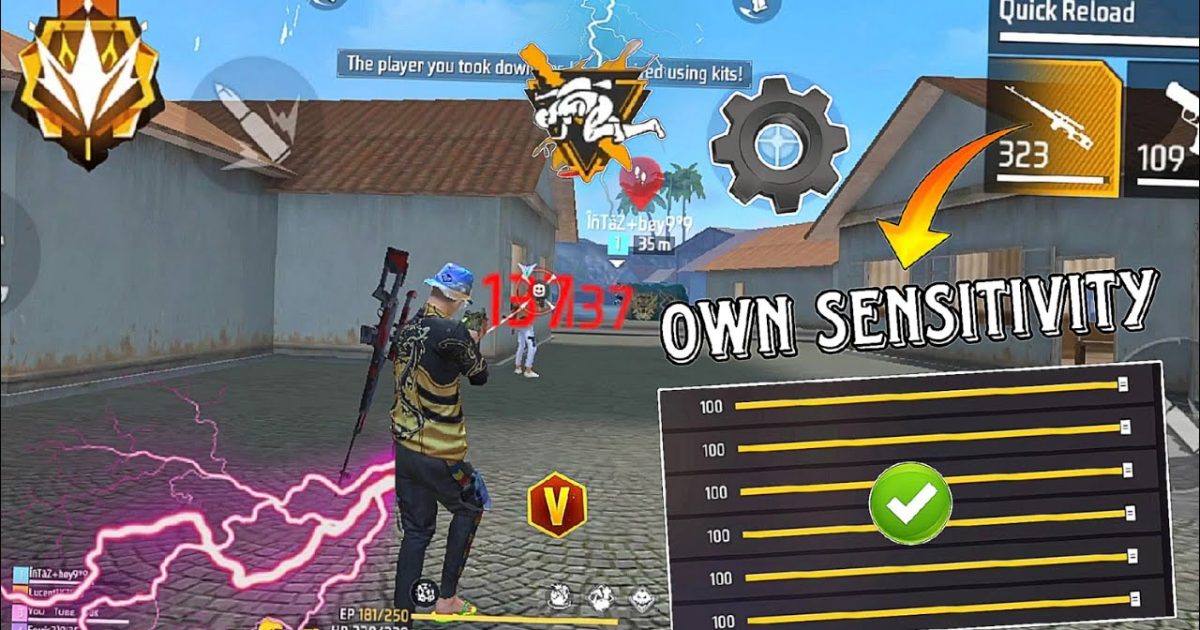
The higher the sensitivity, the faster your crosshair moves. For recoil control, you need enough speed to correct vertical climb but not so much that you overshoot. Think of it as a balance – too high and you’ll jitter, too low and you can’t keep up. Start with these base values: General 90, Red Dot 85, 2x 60, 4x 50.
Step 3: Tweak General Sensitivity for Vertical Recoil
Go to the Training Ground and pick the M4A1 (no attachments) or SCAR. Aim at a wall about 30 meters away and hold the fire button while pulling down gently. Watch the bullet pattern – if it rises too fast, your general sensitivity is too low; if it zigzags, it’s too high.

Adjust General sensitivity in increments of 5. Keep shooting and pulling down until the pattern forms a tight vertical line. For most players, a value between 85 and 95 works. If you play aggressive close-range, lean toward higher values – our professional free fire sensitivity settings guide confirms that pros often run 90–100. If you prefer slow, deliberate sprays, stay lower.
Step 4: Fine-Tune Red Dot for Horizontal Recoil
Now attach a red dot sight and repeat the test. The red dot sensitivity affects how much your aim moves while ADSing. For horizontal recoil (left-right bounce), you need to stay stable. Set Red Dot to 80–85 initially. Fire a full mag at the wall – if the pattern sways sideways, lower it a bit. If it feels sluggish, raise it.

Remember, the goal is a tight cluster. If you’re struggling, don’t ignore gyro – even without it, you can control spray. Check our free fire sensitivity settings without gyro for alternatives. For now, stick to non-gyro adjustments.
Step 5: Practice the Drag Pattern
With your base numbers set, it’s time to train muscle memory. In the Training Ground, shoot at moving bots or the static targets while dragging down smoothly. Focus on consistency – not speed. Do this for 5 minutes with each primary gun you use.

This step is crucial. Even the best sensitivity won’t help if your drag timing is off. The key is to match your pull speed with the gun’s recoil rate. For the M4, a steady downward swipe works; for the AK, you need a slightly faster pull. Record yourself if needed to see if you’re over- or under-correcting.
Step 6: Test in Custom Room with a Friend
Once you’re confident, create a custom room with a friend. Let them run around while you try to spray them down. This simulates real combat movement. Don’t look at the kill count – focus on how many bullets hit. If you’re missing a lot, go back and tweak by ±2 points.
Pro tip: use the M1887 shotgun for close range and your AR for medium. For SMG lovers, read our free fire sensitivity settings smg recoil guide for specialized values. Adjust your settings for each weapon category separately if needed.
Common Pitfalls
- Setting sensitivity too high – you’ll over-aim and miss crucial headshots. Start lower and increase gradually.
- Ignoring scope sensitivity – even if you rarely use scopes, set them low. A high 4x will throw off your mid-range sprays.
- Not practicing consistently – changing settings daily will confuse muscle memory. Stick with a setup for at least a week.
Also, don’t copy pro settings blindly. Your device’s touch response and screen size matter. Our free fire sensitivity settings for beginners 2026 is a safer starting point if you’re new.
Where to Next?
Now that your spray is under control, take it to the next level. Work on movement – strafing while spraying – and learn to combine sensitivity with good crosshair placement. Check out our free fire sensitivity settings tutorial for more drills. Remember, consistency beats flashy numbers. See you in the game!
