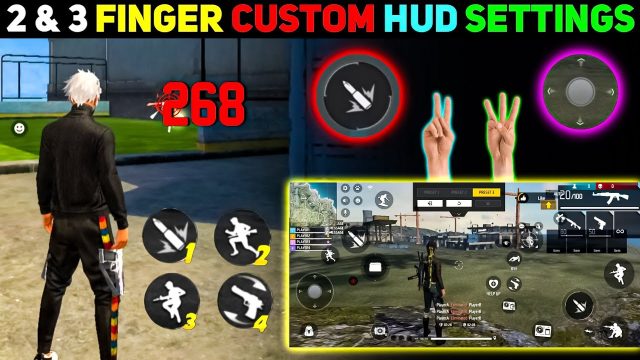
Are you tired of getting outgunned in Free Fire because your crosshair just won’t snap to heads? Whether you’re a beginner or a seasoned player, landing consistent headshots can be the difference between a chicken dinner and an early exit. This guide is specifically for iPhone users looking to fine-tune their sensitivity settings to achieve that sweet auto headshot feel. By the end, you’ll have a proven setup that maximizes your aim assist and gyroscope control, letting you flick to heads like a pro.
We’ll walk you through the exact numbers for general sensitivity, red dot, 2x scope, and gyroscope settings. These values are tested on iPhones (from iPhone 11 to iPhone 14 Pro) and optimized for the auto headshot mechanism. No guesswork—just copy-paste and practice. Ready to dominate? Let’s dive in.
What you’ll need
- An iPhone (any model running iOS 14 or later).
- Free Fire installed and updated to the latest version.
- Gyroscope feature enabled (go to Settings > Sensitivity > Gyroscope).
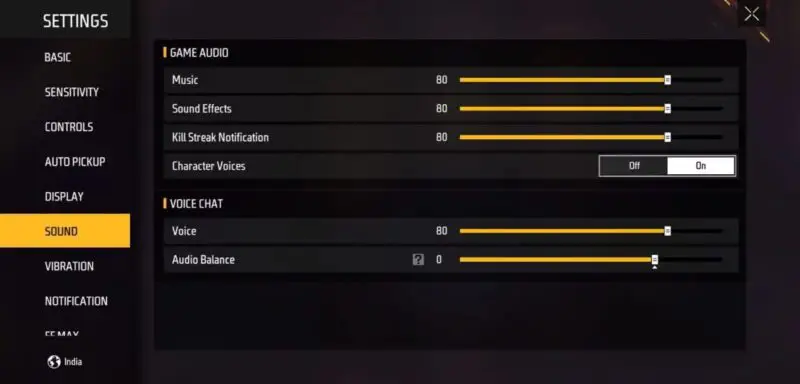
- Stable internet connection (ping below 80ms preferred).
- At least 15 minutes of uninterrupted practice in the training ground.
Step 1: Access the Sensitivity Settings
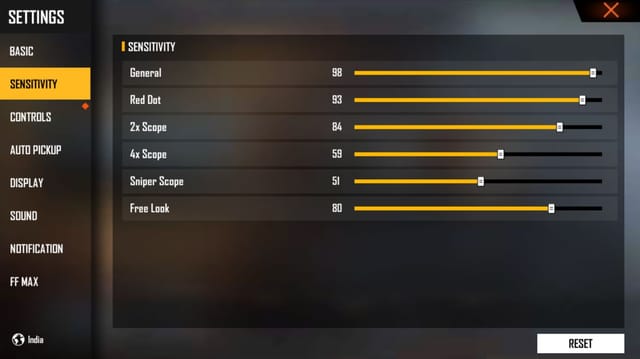
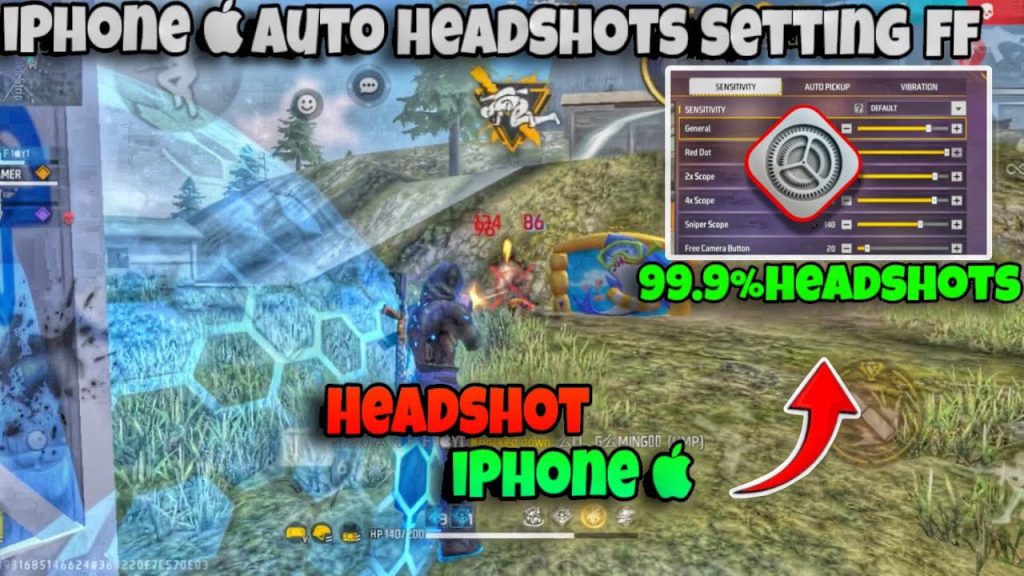
Open Free Fire on your iPhone and tap on the gear icon (Settings) in the top-right corner. Then select ‘Sensitivity’ from the menu. This opens the main sensitivity screen where you’ll adjust numerical sliders. Make sure you’re on the ‘Custom’ tab—not ‘Default’ or ‘Pro’—so you have full control.
Step 2: Set General Sensitivity
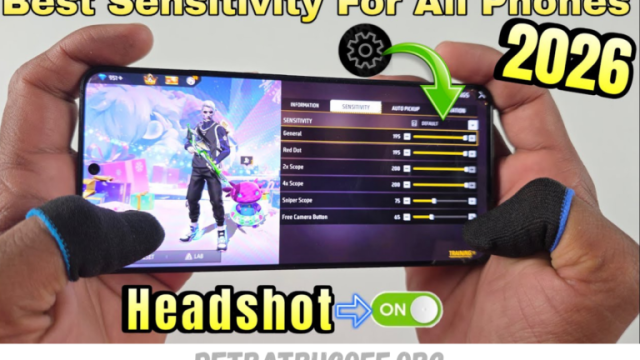
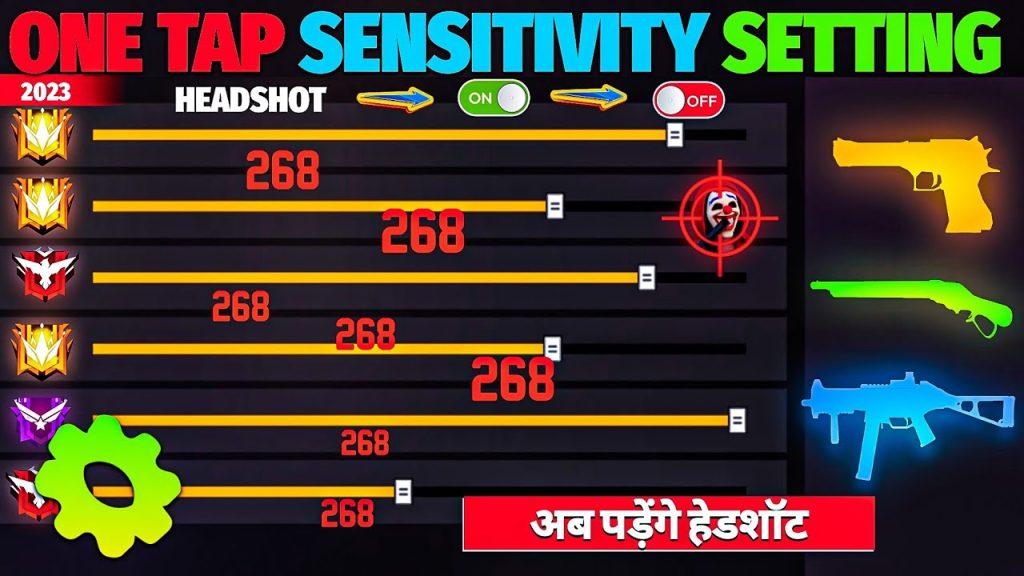
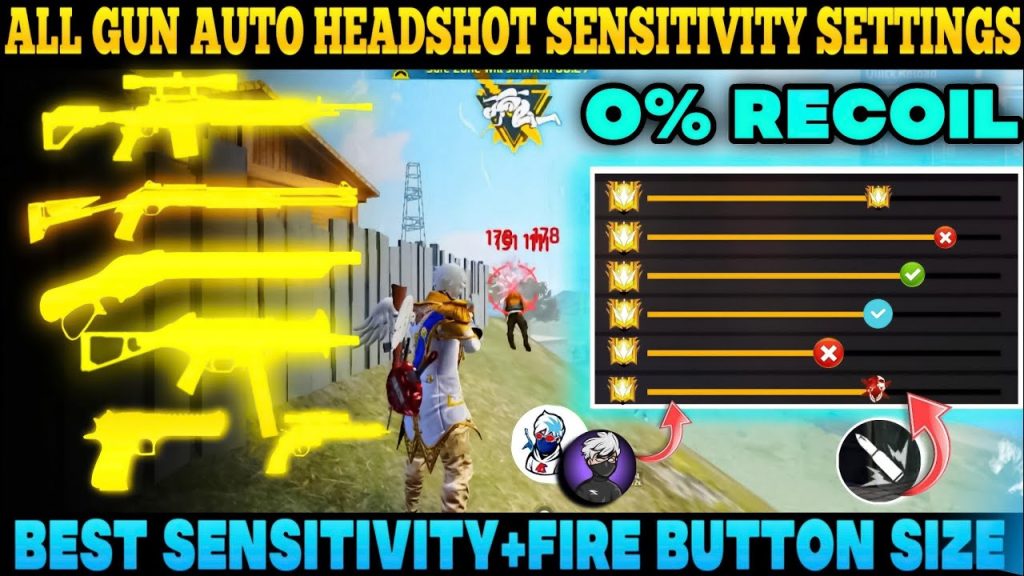
The general slider controls your overall camera movement without any scope. For auto headshots, you want a value that’s high enough to track moving enemies but low enough to stay steady. Start with these numbers: General: 90–95, Red Dot: 85–90, 2x Scope: 70–75, 4x Scope: 60–65, Sniper Scope: 40–45, Free Look: 80. These values work well for most iPhone screens. If you prefer a more aggressive playstyle, check out our sensitivity settings for hardcore players.
Step 3: Tweak Red Dot and Scope Sensitivity
Red dot and scope sensitivities are crucial for headshots because they determine how fast your aim moves when you’re using a sight. Set Red Dot to 88 and 2x Scope to 72. This balance lets you micro-adjust for head level without overshooting. For 4x and sniper scopes, lower values (60 and 40) help you hold steady on distant heads. If you rely on pointer speed, our sensitivity settings with pointer speed guide can refine this further.
Step 4: Configure Gyroscope Settings
Gyroscope is the secret weapon for auto headshots on iPhone. Turn on the gyroscope and set the sensitivity to 25–30. This means when you tilt your phone, the crosshair moves smoothly—ideal for fine-tuning headshots without jittery fingers. For red dot gyroscope, set to 50; for 2x, set to 40. If you’re new to gyro, start low and increase gradually. Don’t want to use gyro? We have separate sensitivity settings for non gyroscope users.
Step 5: Practice in Training Mode
Head to the training ground and spawn some bots. Practice flicking to their heads using your new settings. Focus on keeping the crosshair at head level while strafing. Spend at least 10 minutes daily. You’ll notice your aim get snappier. For more advanced combos, check out our sensitivity settings and aim combo guide.
Common Pitfalls
- Setting sensitivity too high: Your crosshair will fly past heads. Stick to the values above and adjust by ±5 max.
- Ignoring gyroscope: Gyro gives you that precise micro-movement for headshots. Test it before dismissing.
- Not adjusting for your iPhone’s screen size: Larger iPhones (Pro Max) may need slightly lower sensitivity (85–90). Experiment.
Many players also forget to turn on aim assist. Go to Settings > Controls and set ‘Aim Assist’ to High. This, combined with your sensitivity, creates the auto headshot effect. For ranked matches, consider our sensitivity settings for ranked mode to stay competitive.
Where to next
You’ve got the settings—now it’s time to own the battlefield. If you want a fully tailored setup, check out our custom sensitivity settings guide. For different playstyles, explore our guides on sensitivity settings for hardcore players or sensitivity settings for non gyroscope users. Keep practicing, and those headshots will become second nature. See you in the game!