If you’re tired of spraying bullets and missing the head, you’ve come to the right place. This guide is for Android players who want to land headshots like a pro without relying on hacks. By the end, you’ll have a custom sensitivity setup that gives you that ‘auto headshot’ feel — where your crosshair naturally lands on the enemy’s dome.
We’ll walk you through the exact numbers to plug in, how to adjust for your device, and common mistakes to avoid. Whether you’re a 2-finger player or a 4-finger claw, these settings will boost your aim. Ready to see those red numbers pop? Let’s dive in.
What You’ll Need
- An Android device running Free Fire (any version works).
- Access to the game’s settings menu (gear icon at the lobby).
- 5–10 minutes in the Training Ground to test your aim.
- Patience — your perfect sensitivity might take a few tweaks.
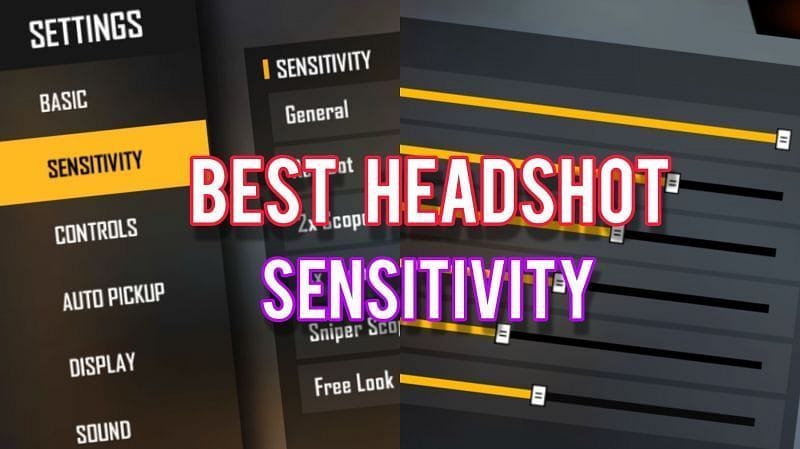
Step 1: Open Sensitivity Settings
Launch Free Fire and tap the gear icon on the bottom-left of the main lobby. Select ‘Sensitivity’ from the menu. This is where all the magic happens. Make sure you’re in the right tab — sometimes there’s a ‘Controls’ tab next to it, but we want the number sliders.
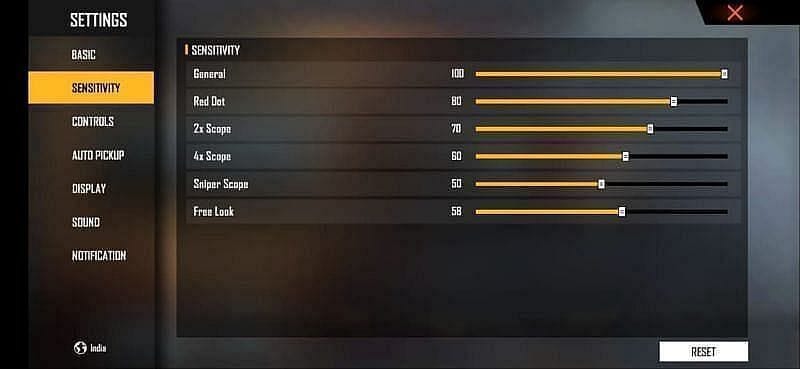
Step 2: Adjust General & Red Dot Sensitivity
Start with the two most important sliders: General sensitivity and Red Dot scope sensitivity. For headshots, you need a high enough value to flick upward quickly. Set both to 90–100 as a baseline. If you tend to overshoot, dial it down to 85. These values work great for close and mid-range fights. For closer ranges, check out our close combat sensitivity guide for more aggressive settings.

Step 3: Fine-Tune 2x, 4x, and Sniper Scopes
For scoped weapons like the AK47, you want lower sensitivity for better control. Set 2x scope to 70–80, 4x scope to 50–60, and Sniper scope to 30–40. This keeps your aim steady when zoomed in. If you like to run the AK, see our AK47 sensitivity settings for laser accuracy. For that quick one-tap feel, our one tap sensitivity guide has you covered.
Step 4: Test and Tweak in Training Ground
Head to the Training Ground from the lobby. Pick a weapon you use often (like the M1014 or AK47) and practice flicking to the head of stationary and moving bots. If your crosshair overshoots, lower the general sensitivity by 5 points. If you can’t reach the head quickly, increase it. Repeat until you consistently land headshots. This is where you dial in your instant headshot settings.

Step 5: Save and Share Your Profile
Once you’ve found your sweet spot, go back to the sensitivity menu and tap ‘Copy Code’ to save your settings. You can share this code with friends or use it on another device. If you want to import a pro setup, check out our sensitivity profile code guide for ready-made codes. Also, don’t forget to bookmark our red numbers headshot settings for more tips.

Common Pitfalls
- Blindly copying pro settings: Your phone’s DPI and screen size differ. Always start with a base and tweak for your device.
- Setting sensitivity too high: High values might look cool but cause over-aim and shaky crosshair. Start with 90 and adjust down if needed.
- Skipping the Training Ground: You can’t expect headshots without practice. Spend at least 10 minutes testing before jumping into ranked.
Where to Next
Now that you’ve dialed in your headshot sensitivity, try out other presets for different playstyles. Check out our guides for 4-finger claw settings or gaming phone optimizations. Keep practicing, and soon those red numbers will be second nature. Good luck out there!
