If you’re tired of your crosshair flying past enemies or struggling to control recoil, you’ve come to the right place. This guide is for Android players who want to dial in their Free Fire sensitivity settings—whether you’re a newcomer or a seasoned player looking to optimize. By the end, you’ll have a personalized sensitivity profile that balances speed and accuracy, helping you win more gunfights.
We’ll walk through every slider, from general sensitivity to scope-specific adjustments and gyroscope controls. You’ll learn how to test settings in the Training Ground and tweak them based on your device and playstyle. No copy-paste pro settings here—just a method to find what works for you. Let’s get started.
What You’ll Need
- Free Fire installed on your Android device (latest version recommended)
- A stable internet connection (ping under 100ms preferred)
- At least 30 minutes of uninterrupted time for testing
- Patience—finding the perfect sensitivity takes trial and error
- (Optional) A friend to help you test in a custom room
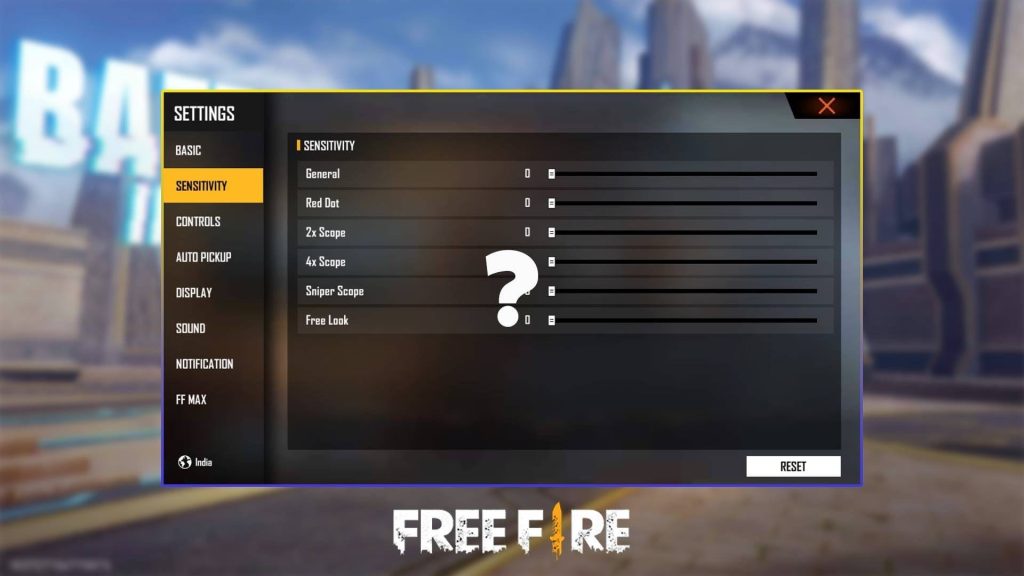
Step 1: Access the Sensitivity Settings
Launch Free Fire and head to the main lobby. Tap the gear icon (Settings) in the top-right corner, then select the ‘Sensitivity’ tab. This is where all the magic happens. Make sure you’re on the ‘Basic’ mode first—we’ll leave ‘Advanced’ for later.
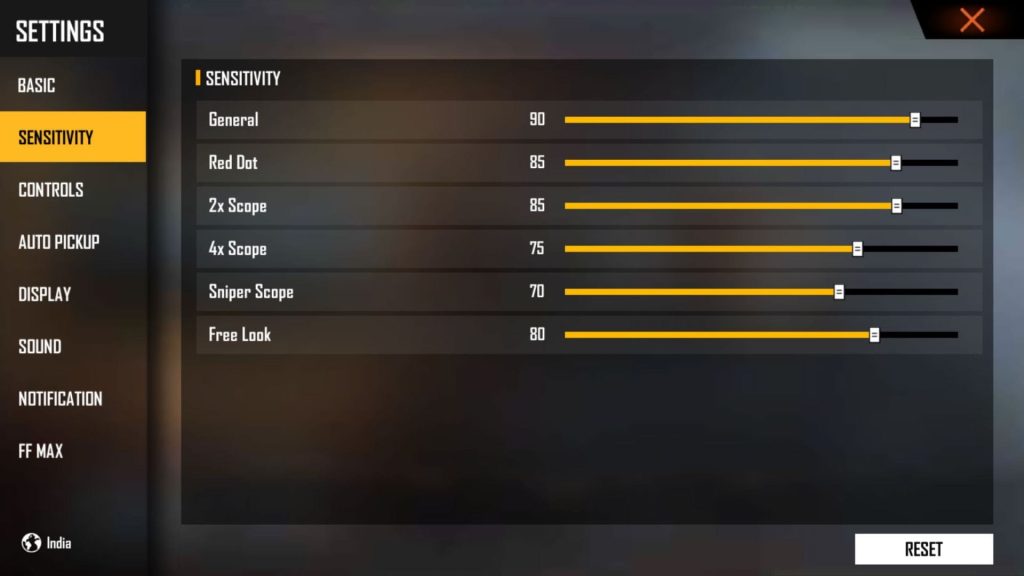
Step 2: Adjust General Sensitivity
General sensitivity controls your camera movement when not aiming down sights (hip fire). A good starting point for most Android players is between 80-100. If you’re on a smaller screen, lean toward the lower end for better control; larger screens can handle higher values. Tap and drag the slider to your preferred number—don’t worry, you’ll fine-tune later.
Step 3: Fine-Tune Scope Sensitivities
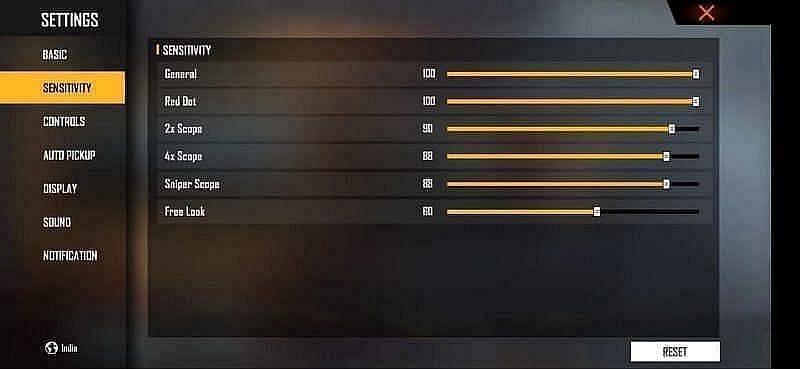
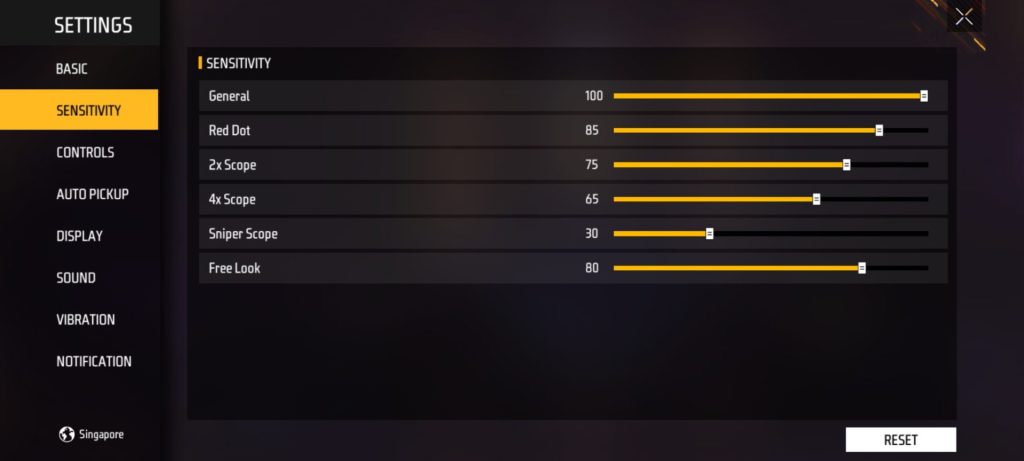
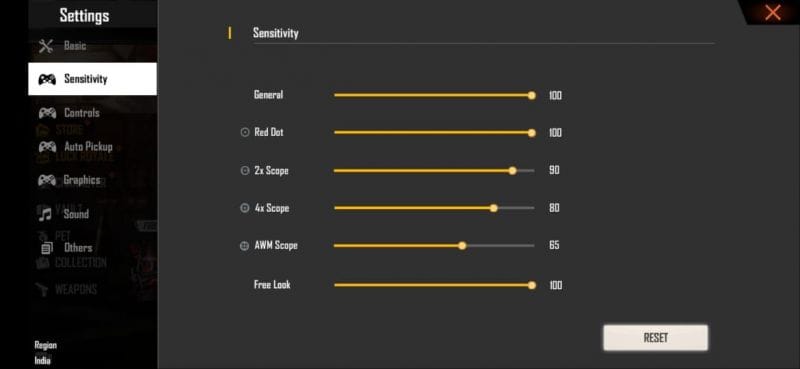
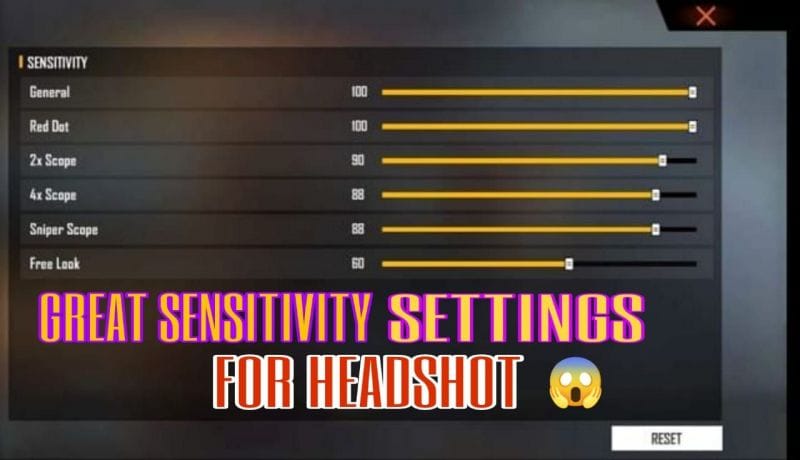
Now scroll down to the scope-specific settings. Each scope (Red Dot, 2x, 4x, etc.) needs its own sensitivity. The rule of thumb: lower zoom = higher sensitivity, higher zoom = lower sensitivity. Start with: Red Dot 90-100, 2x 80-90, 4x 50-60, and Sniper Scope 30-40. Adjust based on how much you swipe your thumb.
Step 4: Configure Gyroscope (Optional)
If your Android device has a gyroscope (most do), enable it by toggling ‘Gyroscope’ on. This lets you tilt your phone to aim. Set ‘Gyroscope Sensitivity’ to around 50-70 for a balance of movement and stability. Keep ‘Passive’ and ‘Scope’ settings similar to your touch sensitivities. Gyro helps with fine micro-adjustments once you’re used to it.
Step 5: Test and Refine in Training Ground
Hit the ‘Practice’ button and select ‘Training Ground’. Start by tracking a stationary target—your crosshair should move smoothly without jittering. Then try moving targets. If you overshoot, lower the sensitivity; if you struggle to keep up, raise it. Spend at least 10 minutes here, making small adjustments (5-10 points at a time). Repeat until it feels natural.
Common Pitfalls
- Copying Pro Settings Blindly: Pros use high-end devices with 90+ FPS. Your phone may not handle the same values—stuttering and frame drops will ruin your aim.
- Ignoring Device Performance: High sensitivity can cause input lag or overheating. If your game lags after changes, lower the sensitivity or reduce graphics.
- Making Too Many Changes at Once: Change only one slider per test round. Otherwise you won’t know what worked. Stick with a baseline and tweak gradually.
The perfect sensitivity is the one you don’t think about—it becomes muscle memory. Trust the process.
Pro Free Fire player tip
Where to Next
Now that your sensitivity is dialed in, hop into a Clash Squad or ranked match to test it under pressure. Pay attention to how you handle close-range vs long-range fights. If something feels off, head back to the Training Ground for small tweaks. Remember, your perfect setup will evolve as you improve—so revisit these steps every few months. Good luck, and see you on the battlefield!
