
If you play Free Fire on an emulator with a mouse set to 400 DPI, you know that finding the right in-game sensitivity is key to landing those headshots. This guide is for players who want to dial in their sensitivity for maximum accuracy and recoil control. By the end, you’ll have a tested setup that works for close-range sprays and long-range taps.
We’ve put together a step-by-step process to set up your sensitivity from scratch. You’ll learn the exact numbers for General, Red Dot, 2x Scope, 4x Scope, Sniper Scope, and Free Look. Plus, we’ll share tips on how to fine-tune further. Whether you’re a beginner or a seasoned player, these settings will give you a solid foundation. For a broader overview, check out the best free fire sensitivity settings for all DPIs.
What You’ll Need
- A computer running an Android emulator (like Gameloop or BlueStacks) with Free Fire installed.
- A mouse that can be set to 400 DPI (most gaming mice allow this).
- Access to the in-game Training Ground or a custom room for testing.
- Patience – fine-tuning takes a few rounds.
Before diving in, it helps to understand how DPI and sensitivity interact. If you’re new to this, our guide on free fire dpi and sensitivity settings explains the basics.
Step 1: Reset to Default Sensitivity
Go to Settings > Sensitivity and tap ‘Reset’. This clears any previous tweaks so you start from a clean slate. Default values are usually around 100 for General and 90 for scopes, but we’ll change them.
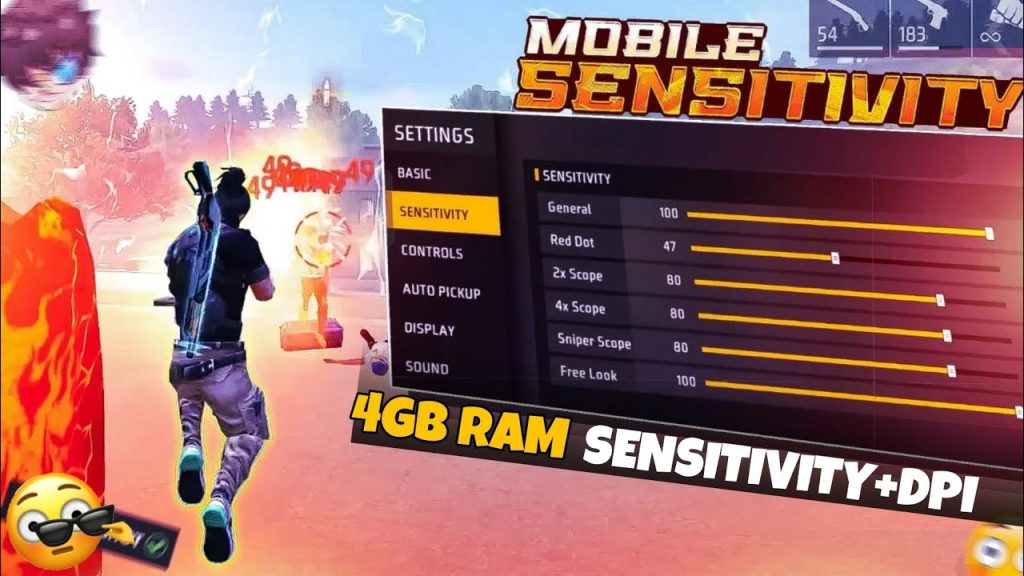
Step 2: Set General Sensitivity to 90
General sensitivity controls your camera movement without any scope. At 400 DPI, a value of 90 provides a good balance – fast enough to turn quickly but slow enough to aim precisely. Test this by moving your crosshair between two stationary targets in Training Ground. If it overshoots, lower it to 85; if too sluggish, raise to 95.
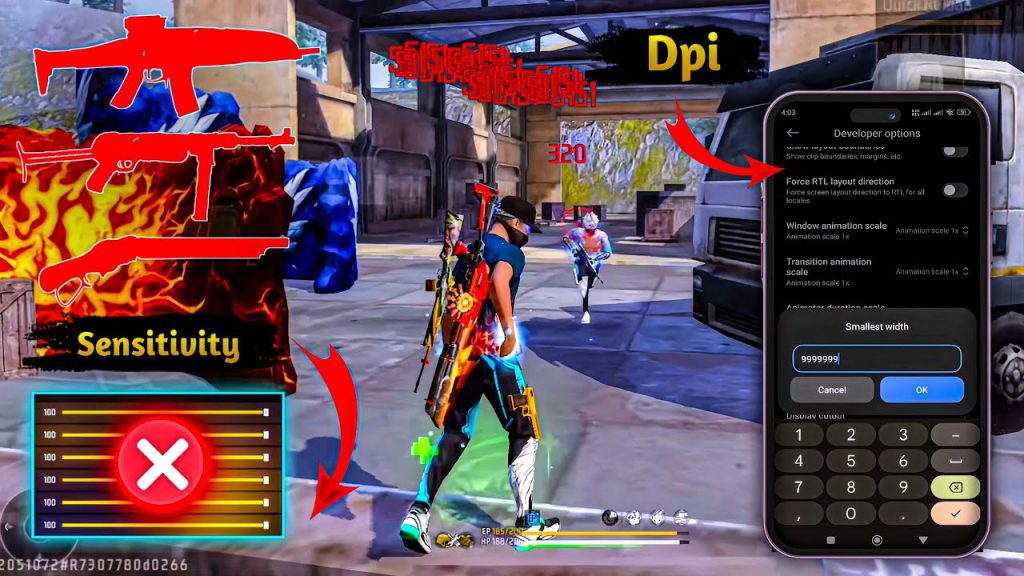
Step 3: Adjust Red Dot and 2x Scope
Set Red Dot sensitivity to 85 and 2x Scope to 75. These are common for mid-range engagements. With 400 DPI, these values let you track enemies smoothly without jitter. Compare this with balanced DPI settings if your style prefers even lower values.
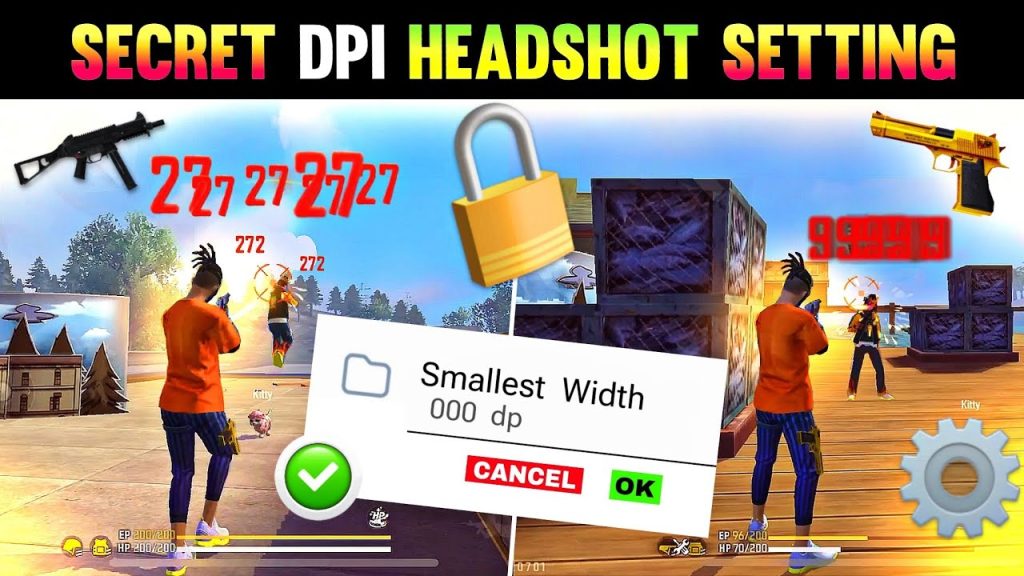
Step 4: Adjust 4x Scope and Sniper Scope
For long-range optics, lower sensitivity is key. Set 4x Scope to 40 and Sniper Scope to 30. This prevents over-correction when aiming at distant enemies. If you prefer a more responsive feel, try 45 and 35. Many pros use similar professional settings.

Step 5: Set Free Look Sensitivity
Free Look (the ability to look around while parachuting or running) works best at 50. It’s fast enough to scan but not overly sensitive. Adjust by 5 points if you need more or less spin.
Step 6: Fine-Tune in Training Ground
Head to Training Ground with all weapon types. Practice spraying with an AK, tapping with an M4, and sniping with an AWM. For each scenario, ask: ‘Is my aim overshooting or falling short?’ Adjust the corresponding sensitivity by 2–3 points until it feels crisp. Remember that low DPI settings like 400 require slightly higher in-game numbers, so don’t be afraid to increase General to 95 if needed.
For a more refined approach, refer to accurate free fire sensitivity settings that break down each weapon individually.
Common Pitfalls
- Setting sensitivity too high: At 400 DPI, a General above 100 often leads to over-aiming. Stick to 85–95. If you’re used to high sensitivity, gradually reduce it.
- Ignoring DPI scaling: If you later change your mouse DPI, your in-game sensitivity must be adjusted proportionally. Always maintain the same effective sensitivity (DPI x in-game sens).
- Not testing all weapon types: A setting that works for SMGs may feel sluggish for snipers. Always test with AR, SMG, and sniper rifles separately.
Where to Next?
You now have a complete sensitivity setup for 400 DPI. To take your aim further, explore our guides on recoil control patterns and movement techniques. And if you ever feel like trying other DPIs, our article on low DPI settings has you covered.



