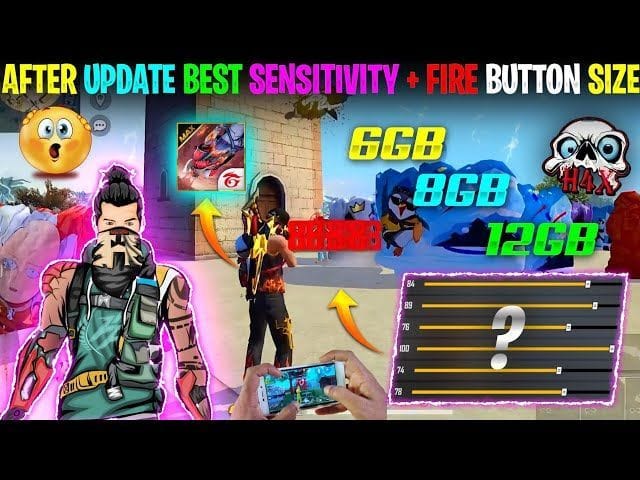
If you’re tired of missing shots or feeling like your crosshair is always a fraction off, this guide is for you. Combining sensitivity settings with gyroscope (gyro) aiming is the one-two punch that separates casual players from pros in Free Fire. By the end of this tutorial, you’ll have a personalized setup that lets you snap onto enemies with laser-like precision, whether you’re using thumbs or a claw grip.
I’ll walk you through everything from the basics of sensitivity to fine-tuning your gyro values. We’ll cover the tools you need, step-by-step adjustments, and the most common mistakes that ruin your aim. No fluff, just actionable settings you can copy and adapt. Let’s get your aim on point.
What You’ll Need
- A device running Free Fire (or Free Fire Max)
- Your Free Fire account (logged in)
- A stable internet connection (gyro can be sensitive to lag)
- A quiet place to test settings (Training Ground is perfect)
- Patience – finding the perfect combo takes a few rounds
- (Optional) A claw grip setup or controller if you prefer
Step 1: Understand Sensitivity and Gyro
Before tweaking numbers, know what these two do. Sensitivity controls how much your crosshair moves when you swipe the screen. Gyro uses your phone’s motion sensors – tilting the device moves the crosshair. Together, they give you fine control: sensitivity for big swipes, gyro for micro-adjustments. Start with solid general sensitivity settings, then layer on gyro.
Step 2: Set Your Base Sensitivity
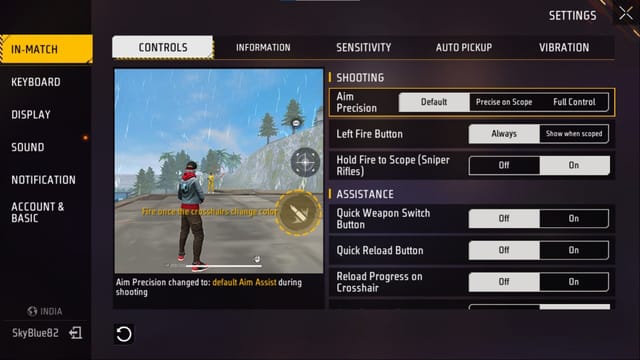
Open Free Fire, go to Settings > Sensitivity. Use these as a starting point: General: 90, Red Dot: 85, 2x Scope: 80, 4x Scope: 60, Sniper Scope: 40. If you use a sniper often, check out our dedicated sniper sensitivity settings for fine-tuning. For overall balance, our general sensitivity settings guide is a great reference. If you have a high-DPI mouse-like device, tweak DPI and sensitivity settings accordingly.
Step 3: Enable and Calibrate Gyroscope
Still in Settings, go to the Gyroscope tab. Toggle it ON. You’ll see sliders for same scopes as sensitivity. Start with: General: 30, Red Dot: 40, 2x: 30, 4x: 20, Sniper: 10. These numbers keep gyro subtle – you tilt the phone slightly to track enemies, not spin around. If you’re comfortable, increase them gradually. For a more aggressive combo, look into powerful sensitivity settings that include gyro boosts.
Step 4: Find Your Perfect Combo
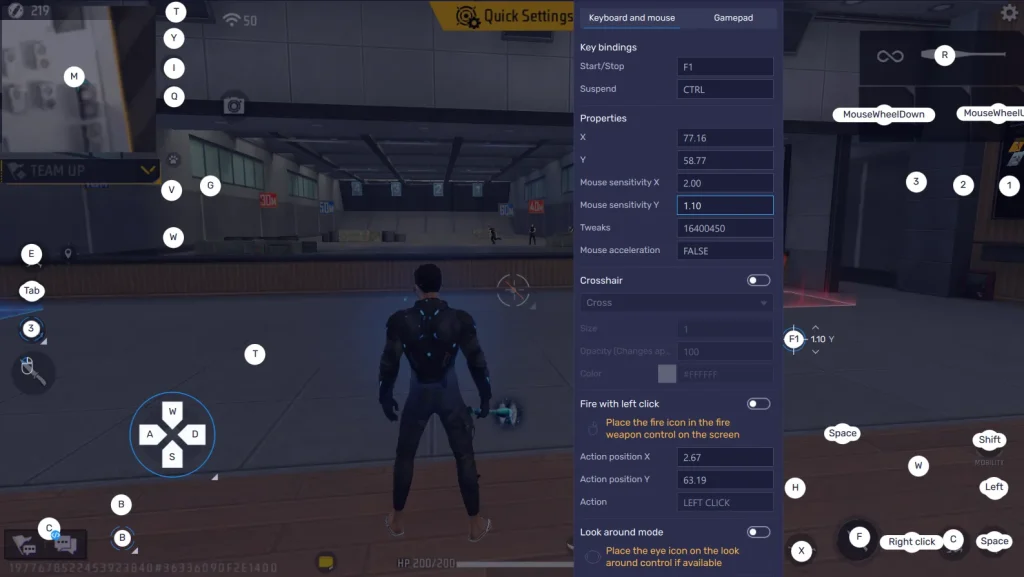
Now the real work begins. Head to the Training Ground. Practice aiming at stationary targets with only swipes, then only gyro, then both. Adjust sensitivity if your swipes feel too fast or too slow. Adjust gyro if you’re overcorrecting with tilt. A common trick: set sensitivity high for quick turns, and use low gyro values for precise headshots. This is where many viral sensitivity settings come from – test what pros use and adapt.
Step 5: Test in Real Matches and Fine-Tune
Once you feel comfortable in training, jump into a few Classic or Ranked matches. Focus on close-range fights (shotgun, SMG) and long-range (AR, sniper). If you use a claw setup with sensitivity, you might need different values. Keep a notepad of what works. After 5-10 matches, tweak any scope that feels off. Remember, every phone behaves differently – what works for a streamer might not work for you.
Common Pitfalls
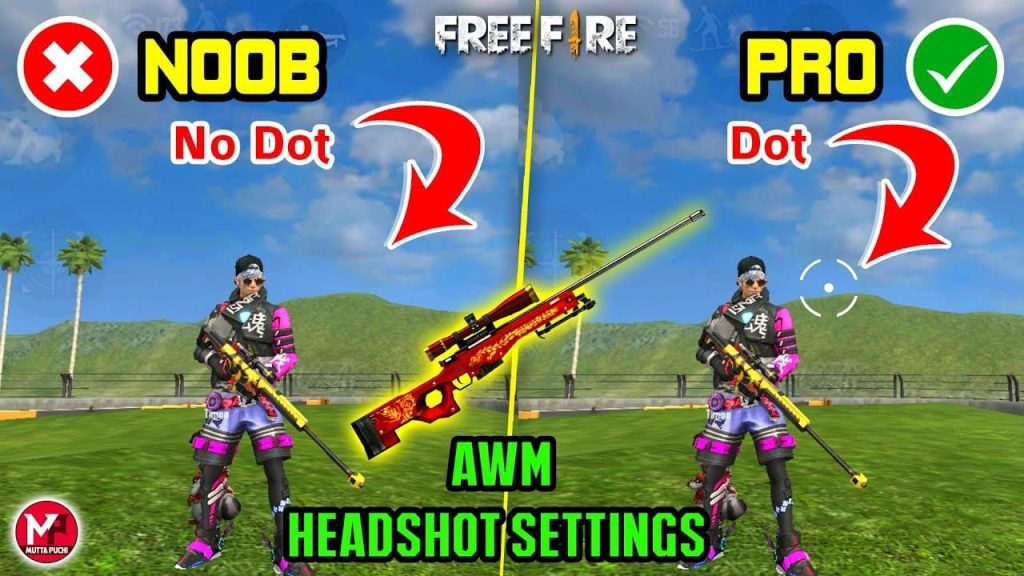
- Copying pro settings blindly: They use high-end phones with low touch latency. Your phone might stutter – start low and work up.
- Ignoring sensitivity while using gyro: If your sensitivity is too low, gyro will feel sluggish. Keep them balanced.
- Not disabling autorun while gyro is active: Autorun can mess with your tilt aiming. Turn it off in settings.
Where to Next
Now that you have a solid sensitivity and gyro combo, keep experimenting. Try different phone models or grip styles. Explore our other guides like the best sensitivity for drag shots or instant drag setups. The key is practice and patience. Drop your favorite settings in the comments below – let’s help each other improve.



