You’ve seen those insane Free Fire clips on TikTok where players hit back-to-back headshots without breaking a sweat. The secret? It’s not just skill — it’s their sensitivity settings. If you’re tired of missing shots or feeling like your aim is off, you’re in the right place. This guide walks you through the exact viral sensitivity settings that top streamers and pro players use to dominate in Battle Royale and Clash Squad.
By the end of this tutorial, you’ll have a custom sensitivity setup that works for your device, plus a few tweaks for headshots, drag shots, and one taps. We’ll also cover common mistakes that mess up your aim. Ready to go viral? Let’s dive in.
What You’ll Need
- A device running Free Fire or Free Fire Max (Android/iOS)
- Internet connection (stable, low ping preferred)
- 10 minutes of free time to test in training mode
- Optional: a DPI changer app (like X8 Sandbox or Game Guardian) for advanced tweaking
Step 1: Reset to Default Sensitivity
Before copying any viral settings, reset your current sensitivity to the default. This ensures old tweaks don’t interfere. Open Free Fire, go to Settings > Sensitivity, and tap “Reset to Default”. If you’ve never changed anything, you’re good to go. Write down your phone model because optimal DPI varies by device — check our general sensitivity settings for a baseline.
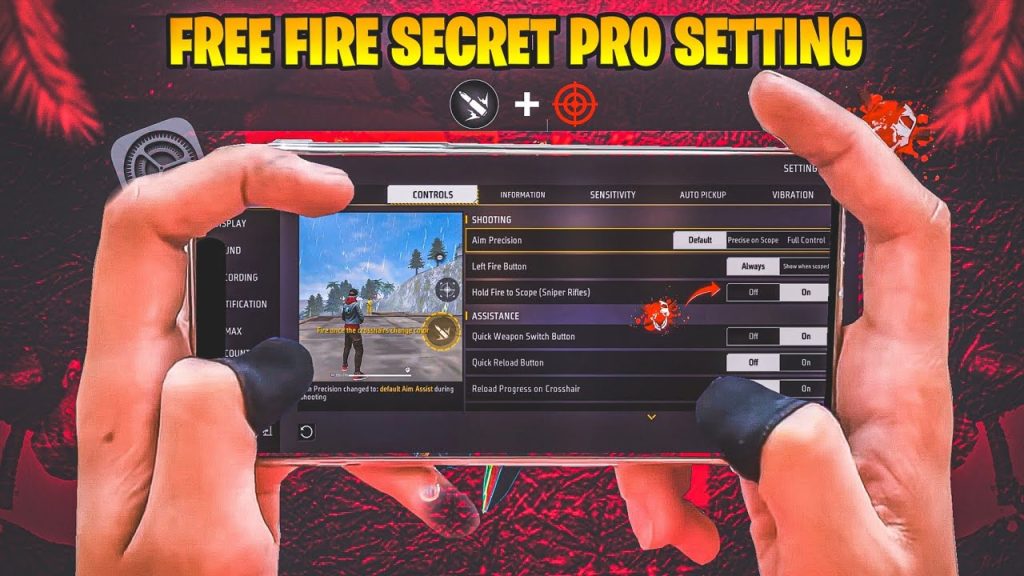
Step 2: Adjust General Sensitivity
Now set the foundation. These are the viral numbers that work across most devices: General: 90-100, Red Dot: 95-100, 2x Scope: 85-90, 4x Scope: 75-80, Sniper Scope: 40-45, Free Look: 70-80. Start with these and adjust ±5 based on your feel. For more details on each scope, check out our headshot sensitivity settings.
Step 3: Fine-Tune for Headshots
Headshots need high sensitivity for quick flicks. Set Red Dot to 100 and 2x to 95. If you use DPI (200-300 DPI), it makes a huge difference — our drag shot sensitivity settings explain how DPI interacts with in-game sliders. For one taps, practice at the training range; use the same settings for consistency.

Step 4: Optimize for Drag Shots
Drag shots require a balance between speed and control. Keep General at 90 and Red Dot at 100. If you over-drag, lower Red Dot to 95. Many pros use a DPI of 300 with these settings for instant drag. For a full breakdown, see our drag shot sensitivity settings.

Step 5: Test in Training Mode
Head to the training range with your settings. Try flick shots on moving targets — adjust if you over aim. For one tap practice, stand close to bots and drag up quickly. If you miss, tweak Red Dot by 2-3 points. Our one tap sensitivity settings have specific values for different guns. Record your training and compare with our TikTok viral sensitivity settings to see if your aim matches the trends.

Common Pitfalls
- Setting sensitivity too high: You’ll overshoot targets. Stick to the range, and don’t go above 100 unless you’re a pro with steady hands.
- Ignoring DPI: In-game sensitivity alone won’t give you headshots. Use a DPI of 200-300 for smoother flicks. Check our flick shot sensitivity settings for DPI combos.
- Not saving your settings code: After tweaking, tap “Copy Code” in the sensitivity settings and save it. If you lose your settings, you can paste it back anytime.
Where to Next
You’ve got viral sensitivity settings now. Next, pair them with a solid HUD layout and key mapping. For more pro tips, explore our guides on general sensitivity settings and headshot sensitivity settings. Drop your best clips on TikTok and tag us — we might feature you!



