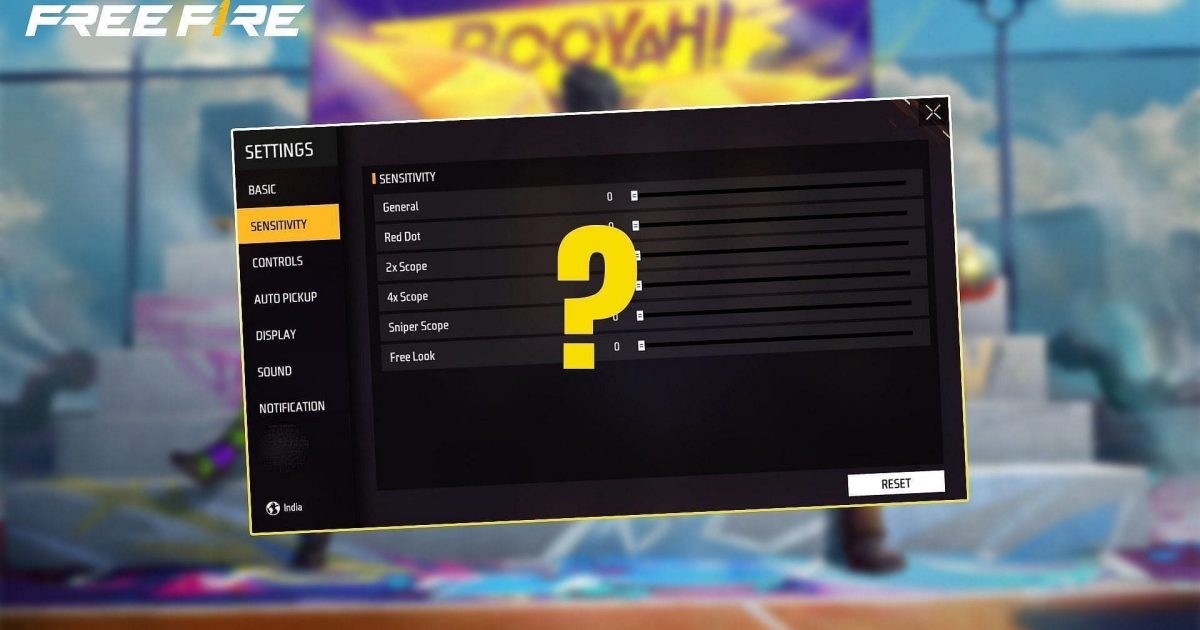
If you’re playing Free Fire on a gaming phone like an ASUS ROG, Lenovo Legion, or Black Shark, you already have the hardware advantage—but raw power doesn’t mean much if your sensitivity isn’t dialed in. This guide is for gamers who want to turn their high-refresh-rate display and precise touch sampling into crisp, consistent aim. By the end, you’ll have a custom sensitivity profile that feels snappy yet controllable, whether you’re hip-firing or scoped in.
We’ll walk through every setting: DPI, general sensitivity, red dot, scope, and ADS. No fluff—just the numbers and the logic behind them. You’ll also learn how to test your setup in training mode so you can adjust on the fly. Let’s get your aim on point.
What You’ll Need
- A gaming phone with at least 90Hz refresh rate (e.g., ROG Phone 6, Nubia RedMagic)
- Free Fire installed and updated to the latest version
- A stable internet connection (4G/5G or Wi-Fi)
- At least 30 minutes of practice in training mode
- Patience—sensitivity is personal, so expect to tweak
Step 1: Set Your Phone’s DPI
DPI (dots per inch) controls how many pixels your touch input covers. On gaming phones, you can usually adjust this in the game space or developer options. A DPI of 400–500 works well for most gaming phone screens—it’s fast enough for quick turns but precise enough for headshots.
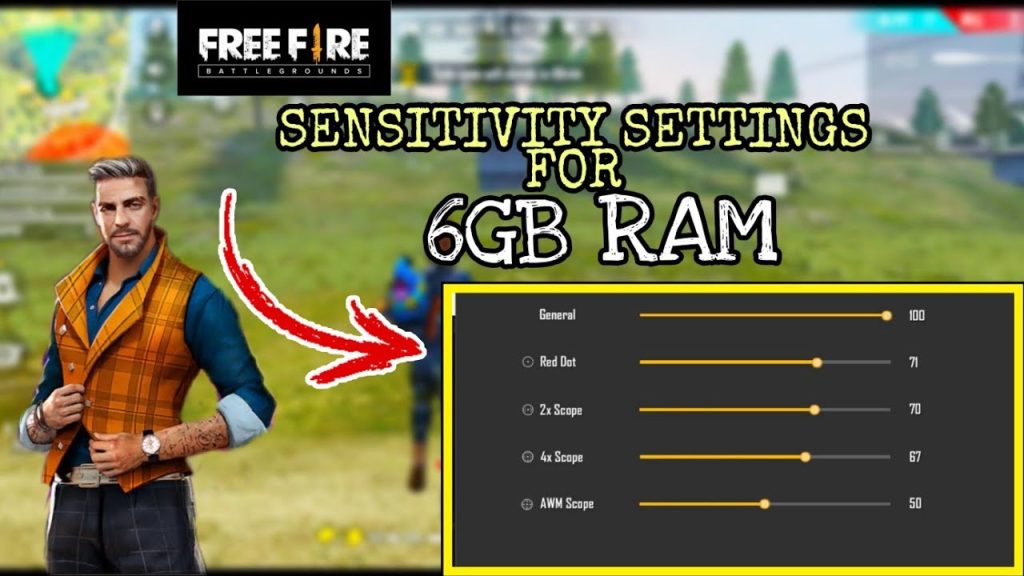
To change DPI on Android: go to Settings > About Phone > tap Build Number 7 times to enable Developer Options, then go to Developer Options > Smallest Width. Set it between 390 and 460 dp. For gaming phones like the ROG Phone, use the Game Genie panel to adjust DPI per game.
If your phone supports separate per-game settings, set Free Fire’s DPI to 420—it’s a sweet spot for most displays. For more specific advice, check out our Snapdragon phone sensitivity guide—many gaming phones use Snapdragon chips and benefit from that configuration.
Step 2: Adjust General Sensitivity
General sensitivity affects all non-ADS actions: hip-fire, running, and looting. For gaming phones with high touch sampling rates (360Hz or more), start at 85–95. If you use four-finger claw, 90 is a solid baseline; for thumbs, try 85.
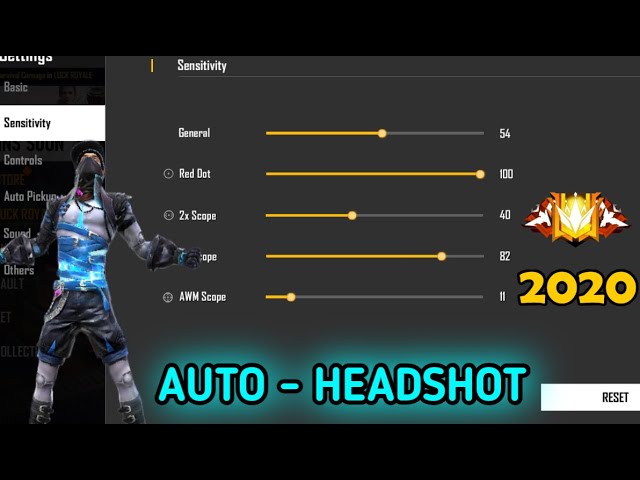
Go to Settings > Sensitivity > General. Slide it to 90, then test in training mode. Flick your crosshair between dummies. If you overshoot, lower it; if you drag too slow, increase it. Your goal is to track a moving target smoothly.
Step 3: Red Dot and Scope Sensitivity
Red dot and scope settings (2x, 4x, etc.) are separate. For a gaming phone, start with Red Dot at 90, 2x at 70, 4x at 50, and Sniper Scope at 30. These values prevent jittery aim while scoped.
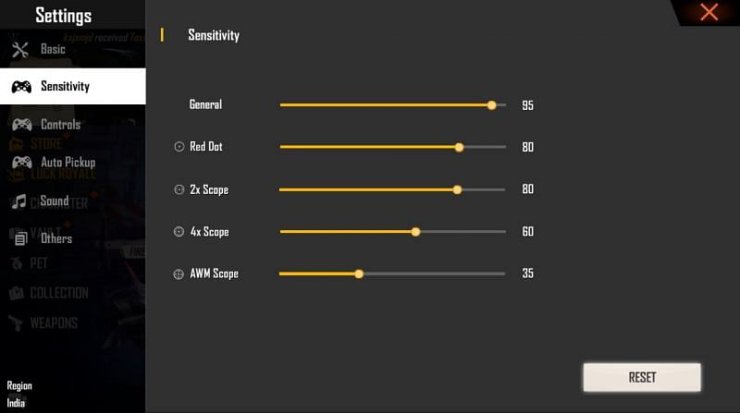
To fine-tune, attach a red dot to your AK47 and spray at a wall. If your crosshair drifts too fast, reduce the red dot value by 5. For close combat, you might prefer higher numbers—check out our drag headshot sensitivity settings if you rely on quick flicks.
Step 4: ADS Sensitivity
ADS sensitivity kicks in when you aim down sights (tap the scope button). For gaming phones, set it slightly lower than general: 75–85. This gives you control during medium- to long-range fights.
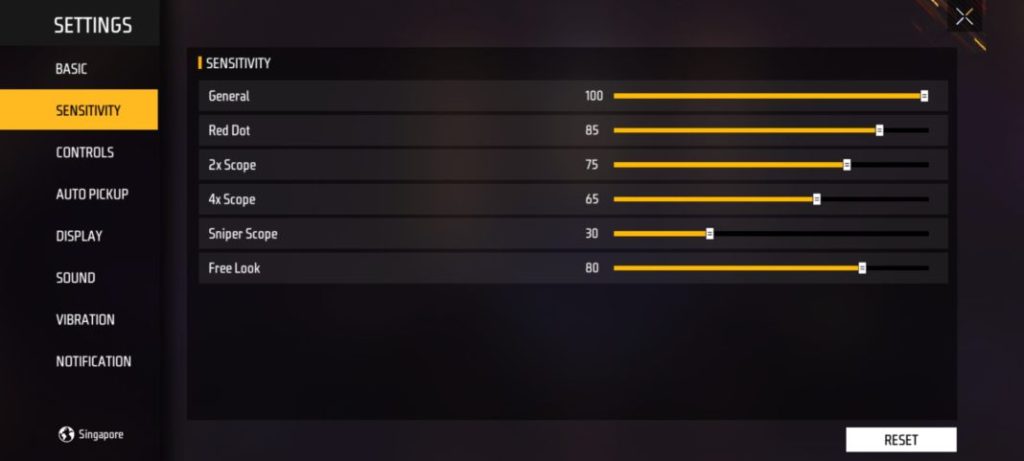
Go to Settings > Sensitivity > ADS. Start at 80, then test by aiming at a stationary dummy from 30 meters. Adjust by 2-point increments until you can keep the crosshair steady while strafing.
If you mainly use pistols or SMGs up close, you might want a higher ADS—our one tap sensitivity guide covers that aggressive playstyle.
Step 5: Fine-Tune in Training Mode
Once your baseline is set, spend 15 minutes in training mode. Use the moving target and gloo wall dummies. Practice flick shots, spray transfers, and tracking. Note where you over- or under-aim, then adjust the relevant sensitivity by 3–5.
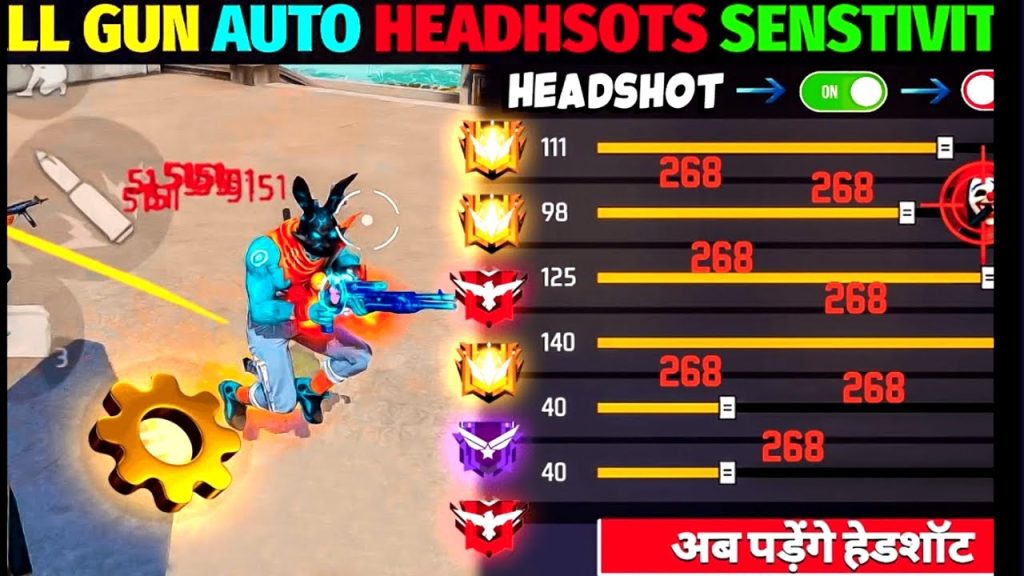
Pro tip: record your screen and review your aim. If you consistently drag below the target, increase general or red dot sensitivity. If you jerk past the target, decrease. This is where a sensitivity finder tool can help—it analyzes your play and suggests numbers.
Once you’re happy, save your sensitivity settings using the in-game save option. You can also back them up as a profile code—our guide on how to save your sensitivity settings shows you how to never lose your optimal setup again.
Common Pitfalls
- Copying pro settings blindly: Pros play on different devices and have hours of muscle memory. Use their sensitivity as a starting point, but adapt it to your phone and grip.
- Neglecting phone calibration: Gaming phones often have hidden settings like touch sensitivity and response curve. Make sure your screen is properly calibrated for gaming in the phone’s game assistant.
- Skipping training: Jumping straight into ranked with new sensitivity will frustrate you. Always test in training mode first, and adjust gradually.
Where to Next
You’ve got your sensitivity dialed in for your gaming phone. Now dive deeper: check out our latest sensitivity settings for gaming phones to see if new patches changed the meta, or refine your close-range game with our one tap sensitivity guide. Remember, consistency beats perfect numbers every time. Happy grinding!



