If you’re tired of missing headshots and want to dominate close-range fights with the drag headshot technique, this guide is for you. I’ve spent hours tweaking sensitivity settings and testing what actually works on mid-range phones. By the end of this post, you’ll have a custom sensitivity profile that lets you drag-aim directly to the head every time, plus a solid practice routine to lock it in muscle memory.
Drag headshot is all about flicking your crosshair upward in a smooth, controlled motion as soon as you see an enemy. The right sensitivity makes that motion feel effortless. We’ll start from scratch, adjust DPI and in-game sliders, then test in the training ground. No theory – just steps you can follow right now.
What You’ll Need
- Free Fire installed on your phone (any device with at least 2GB RAM works).
- A stable internet connection (ping under 100ms).
- 10–15 minutes of free time to tweak and test.
- A notepad or notes app to record your settings.
Optionally, grab a free fire sensitivity settings finder to speed up the process, or check the latest free fire sensitivity settings for gaming phones if you have a high-end device.
Step 1: Reset Your Current Sensitivity
Before we start fresh, reset your sensitivity to default. Go to Settings > Sensitivity > Reset. This wipes any weird tweaks that might mess up your drag. Don’t worry – we’ll build from scratch.

Step 2: Set General Sensitivity (DPI & Camera)
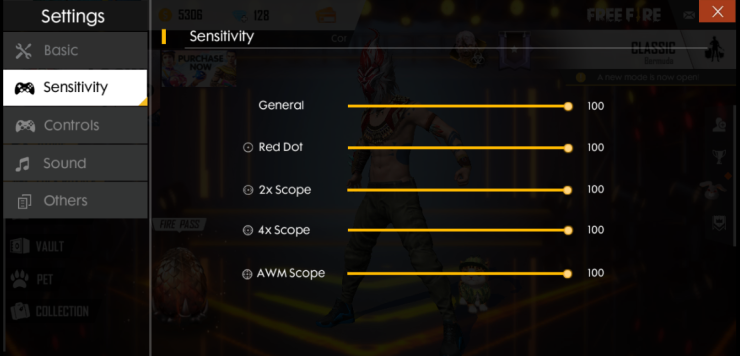
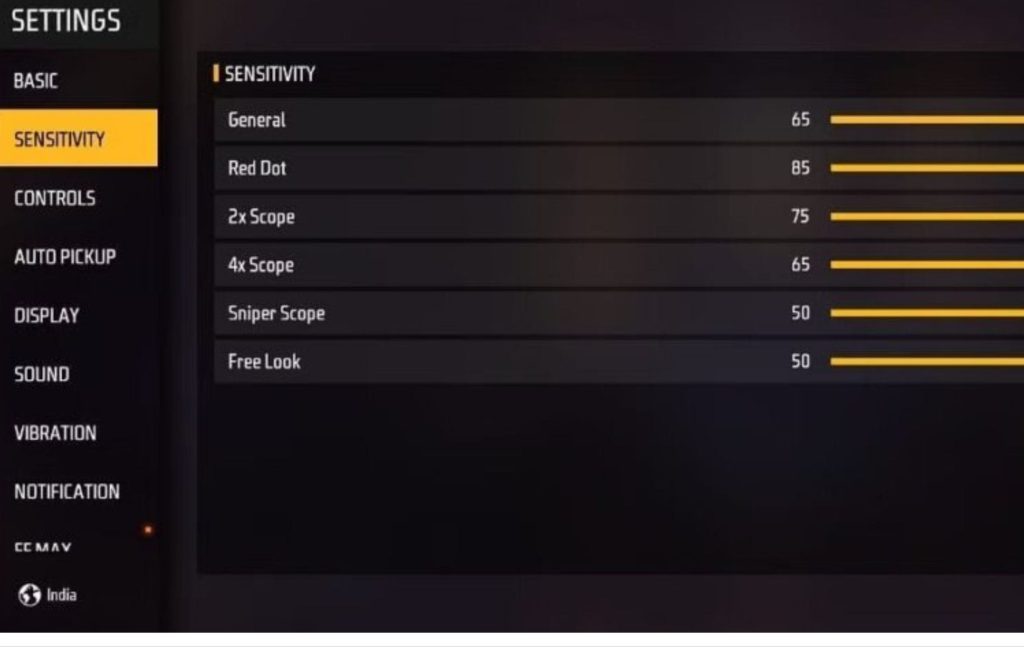
The drag headshot relies on a high general sensitivity so you can quickly flick upward. Start with these values, then adjust based on your feel:
- Camera Sensitivity: 90–100 (this is your main drag speed).
- Red Dot & 2x Scope: 85–95 (you need quick scoping for headshots).
- 4x Scope: 70–80 (slower because you’re usually at range).
- Sniper Scope: 30–40 (precision over speed).
- Free Look: 70 (optional, for awareness).
If your phone supports high polling rate, also set DPI to at least 1600 in game booster settings. You can find more details in the free fire sensitivity settings 2026 guide for newer devices.
Step 3: Tweak Fire Button & Drag Sensitivity
Go to Controls > Custom HUD. Your fire button should be large enough to tap easily without shifting your grip. Place it in the bottom-right corner. Then set Aim Sensitivity for each scope. For drag headshots, the key is to have your aim button sensitivity slightly higher than camera sensitivity for scopes – that way when you drag, the crosshair lifts faster.
- Aim Button Red Dot: 95–100
- Aim Button 2x: 90–95
- Aim Button 4x: 75–85
- Aim Button Sniper: 35–45
Don’t forget to save your HUD layout after moving buttons.

Step 4: Enter Training Ground and Practice Drag Motion
Go to Free Fire > Training Ground. Pick an AR like M4A1 or AK47 without attachments. Stand 10–15 meters from a target practice dummy. Practice dragging your crosshair from the dummy’s chest to its head in one smooth motion. Do this 20 times with each scope. If you overshoot, lower sensitivity by 2 points. If you undershoot, increase by 2.
Record your settings after each adjustment. The free fire sensitivity settings optimizer can help you fine-tune these numbers quickly.
Step 5: Fine-Tune Recoil Control
Drag headshot often fails because recoil throws your aim off. To compensate, you need to pull down slightly while dragging up. Test this: fire a full mag at a wall while dragging downward. If the bullet spread goes too high, increase vertical sensitivity by 5 (usually under Advanced Sensitivity). If it’s too low, decrease.
Most pro players use vertical sensitivity between 100–120 for ARs. For more on this, check the free fire sensitivity settings for tracking enemies guide.
Step 6: Test in Real Matches (Clash Squad or Ranked)
Play 2–3 Clash Squad rounds (no rank pressure) to test your new drag headshot settings. Focus only on close-range fights. If you land headshots consistently, you’re good. If not, return to training ground and adjust by 5 increments. Do not change more than one setting per match – you won’t know what worked.
Many streamers swear by the settings we covered here. You can compare yours with the free fire sensitivity settings tested by streamers list.
Common Pitfalls
- Too high sensitivity – your aim flies past the head. If you overshoot often, lower camera sensitivity by 10 and retest.
- Not using the same device – drag headshot muscle memory is tied to screen size and touch response. Stick to one phone.
- Skipping practice mode – jumping straight into ranked with new settings will ruin your K/D. Always test in training ground first.
Practice doesn’t make perfect – perfect practice makes perfect. Tweak your settings, then drill them until they become second nature.
Pro Free Fire player tip
Where to Next
You’ve got your drag headshot settings dialed in. Now it’s time to refine your overall aim. Explore our other guides: the free fire sensitivity settings finder to automate your setup, or the free fire sensitivity settings optimizer for advanced tweaks. If you want to sync your settings across devices, check out the sync guide. Keep practicing and you’ll be landing laser headshots before you know it.
