If you’re a content creator grinding Free Fire, you know that good gameplay isn’t enough—you need buttery smooth footage that doesn’t make your viewers dizzy. The secret? Dialing in your sensitivity settings for both performance and clean recording. Whether you’re streaming on Twitch, uploading to YouTube, or saving clips for edits, this guide will walk you through the exact steps to get the perfect balance. By the end, you’ll have a setup that feels responsive in-game and looks professional on camera.
We’ll cover everything from DPI tweaks and general sensitivity to per-scope adjustments and recording settings. Along the way, I’ll point you to resources like our free fire sensitivity settings tutorial if you need a refresher on the basics, and our professional free fire sensitivity settings guide for a more advanced config. Let’s get your settings right so your content stands out.
What You’ll Need
- A phone or tablet running Free Fire (Android/iOS)
- Screen recorder or streaming app (e.g., OBS, Mobizen, AZ Screen Recorder)
- A custom room code or ability to create one
- Aiming practice map or training ground unlocked
- Patience – tweaking takes 20–30 minutes
Step 1: Understand Your Device and DPI
Before touching in-game sliders, check your device’s display DPI. Higher DPI (like 480+ on some phones) makes your touch more sensitive by default. Go to Settings > About Phone and look for ‘DPI’ or ‘Display Density.’ If you can’t find it, use a third-party app. If your DPI is above 420, lower it to around 400 using a developer option change or app. This gives you finer control and reduces jittery aim in recordings.
Step 2: Set General Sensitivity for Smooth Clips
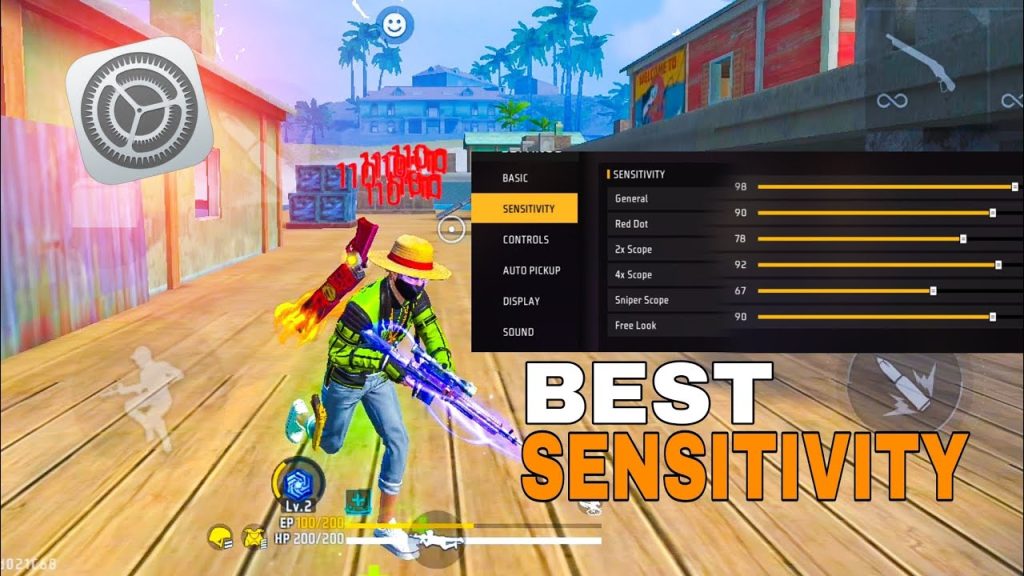
In Free Fire’s settings under Sensitivity, start with General sensitivity at 90–100 for fast screen turns but not so high that it shakes. For content creation, you want a balance: high enough to flick quickly, low enough to avoid camera wobble. If you play aggressively, check our free fire sensitivity settings for aggressive style for a more refined build. Otherwise, stick with 95 and test it.
Step 3: Red Dot and Scope Sensitivities
For content creators, red dot is critical because you’ll often be in close-mid fights. Set Red Dot to 85–95. For 2x scope, go 70–80; 4x scope, 50–60; Sniper scope, 30–40. These lower values prevent over-aiming while recording. If you want a starting point, copy popular free fire sensitivity settings from pros, then adjust down by 10% for smoother footage.
Step 4: Fine-Tune in Custom Room
Now it’s time to test. Create a custom room (or use training mode) and practice snapping to targets while recording. Pay attention to how your aim looks on playback: if it’s too jerky, lower your General and Red Dot by 5. If it feels sluggish, bump them up. We highly recommend using settings tested in a real custom room – our free fire sensitivity settings tested in custom room guide can help you replicate a pro’s process.
Step 5: Optimize Recording Settings to Reduce Lag
Even perfect sensitivity won’t matter if your recording stutters. Lower your in-game graphics to Smooth, set frame rate to High (or 60fps if supported). In your recording app, use a bitrate of 12–16 Mbps, resolution 720p or 1080p, and keep FPS at 30 for stable files. If you’re on a tournament-level setup, check the latest free fire sensitivity settings for tournaments for competitive configurations that also work well on stream.
Common Pitfalls
- Copying pro settings blindly: What works for a tournament champ might be too fast for your recording setup. Always test and adjust.
- Ignoring device lag: Recording can drop frames if your phone isn’t powerful enough. Consider using an external capture card or lowering graphics further.
- Over-smoothing: Setting sensitivity too low makes your aim slow and boring to watch. You need a middle ground that keeps highlights exciting.
Where to Next
Now that your sensitivity is dialed in for content creation, check out our other guides like the free fire sensitivity settings tutorial for a full breakdown, or the professional free fire sensitivity settings guide for advanced tweaks. Happy recording!



