Ever copied a pro’s settings and still couldn’t hit a shot? You’re not alone. Free Fire sensitivity is super personal—it depends on your device, screen size, and even your thumb movement speed. This community guide is for every player who wants to stop guessing and start beaming. By the end, you’ll have a sensitivity setup that feels natural and helps you win more gunfights.
We’ve gathered tips from top players across forums, Discord servers, and our own testing. No one-size-fits-all configs here—just a framework you can tweak yourself. We’ll walk you through finding your base sensitivity, adjusting per scope, testing properly, and optimizing for your phone. Plus, we’ll point you to community-favorite presets from our other guides.
What You’ll Need
- Free Fire or Free Fire Max installed (latest version)
- A stable internet connection (ping under 100ms)
- At least 20 minutes of uninterrupted time
- A working training ground (unlocked at level 5)
- Patience—don’t change your settings after every death
Step 1: Find Your Ideal Sensitivity Range
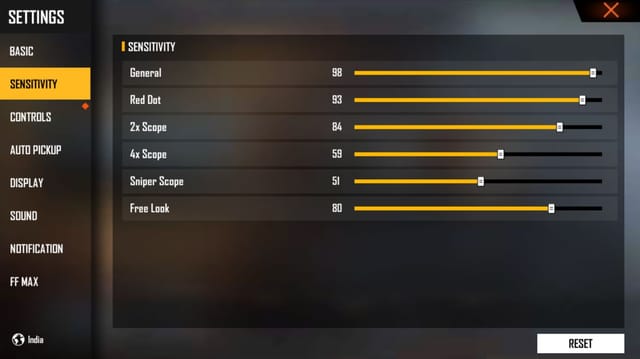
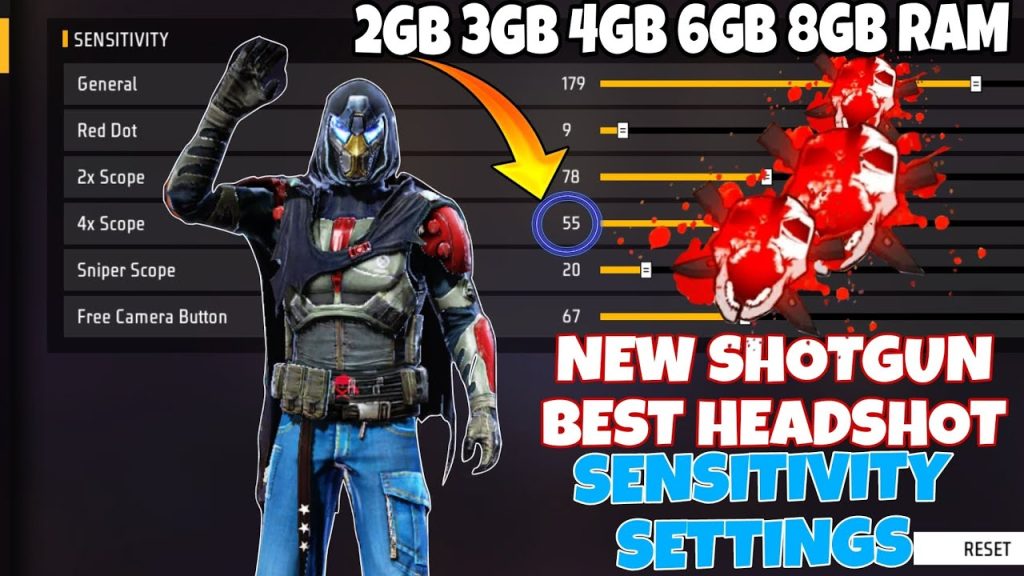
Start in the lobby. Go to Settings > Sensitivity. Reset everything to default if you’ve tweaked before. Your general sensitivity is the most important—it controls how fast your view moves. A good starting range is between 80-95. Set it to 90 for now. Don’t touch the scope sensitivities yet.
Step 2: Customize Per Scope
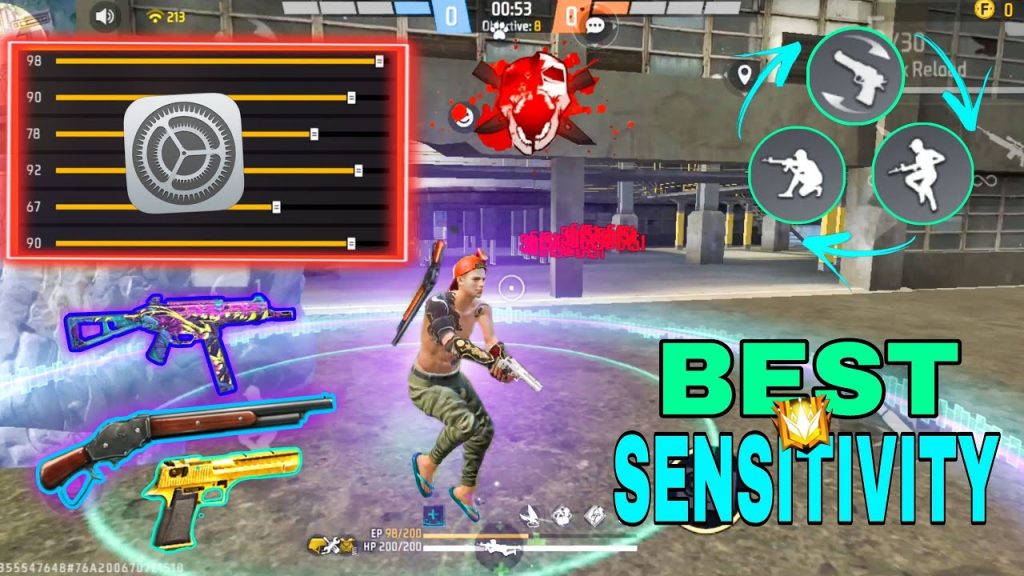
Each scope has its own sensitivity slider. For red dot and 2x scope, keep them slightly lower than general—try 80-85. For 4x scope, go lower: 50-65. For AWM scope, many players use 30-40. If you want pre-tested values, check our guide on pro-tested sensitivity settings—those numbers have been battle-tested in ranked matches.
Step 3: Test in Training Ground
Head to the training ground and pick a weapon you use most (M4, MP40, or AK). Shoot a wall to see your bullet spread while moving—if your crosshair drifts too much, lower sensitivity. Try tracking a moving target (the bots) for 5 minutes. This is the perfect place to practice sensitivity settings without pressure. Adjust in increments of 3-5 until your aim feels smooth.
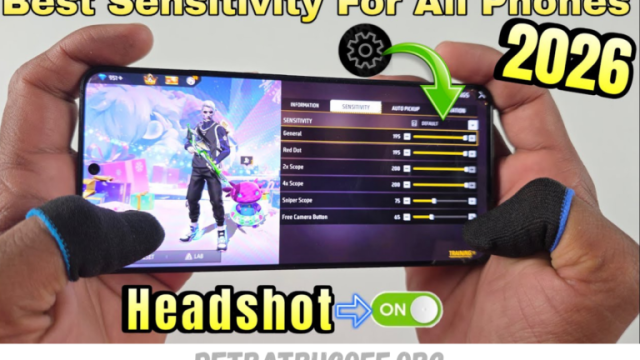
Step 4: Adjust Based on Your Device
Device performance affects sensitivity. On low-end phones, lower sensitivity reduces lag and frame drops. Our dedicated low-end device sensitivity settings guide has tested configurations for budget devices. On flagship phones, you can push higher values (95-100) for quicker flicks. Also, enable anti-aliasing if your device supports it—it makes long-range aim clearer.
Common Pitfalls
- Copying pro settings without adjustment – pros use different devices and grips. Their sensitivity may not work for you.
- Changing settings every game – aim is muscle memory. Stick with one set for at least 10 matches before tweaking.
- Ignoring fire button size – if your fire button is too small, you’ll miss shots even with perfect sensitivity.
Where to Next
Now that you have your baseline, explore our other guides for more specific tweaks. Our beginner sensitivity settings are a solid starting point if you’re new. For aggressive players, the grandmaster sensitivity settings used by top-ranked players might suit you. If you stream or record, our streamer sensitivity settings can help you maintain smooth aim on camera. Remember, sensitivity is personal—so take what works, leave what doesn’t, and keep practicing.