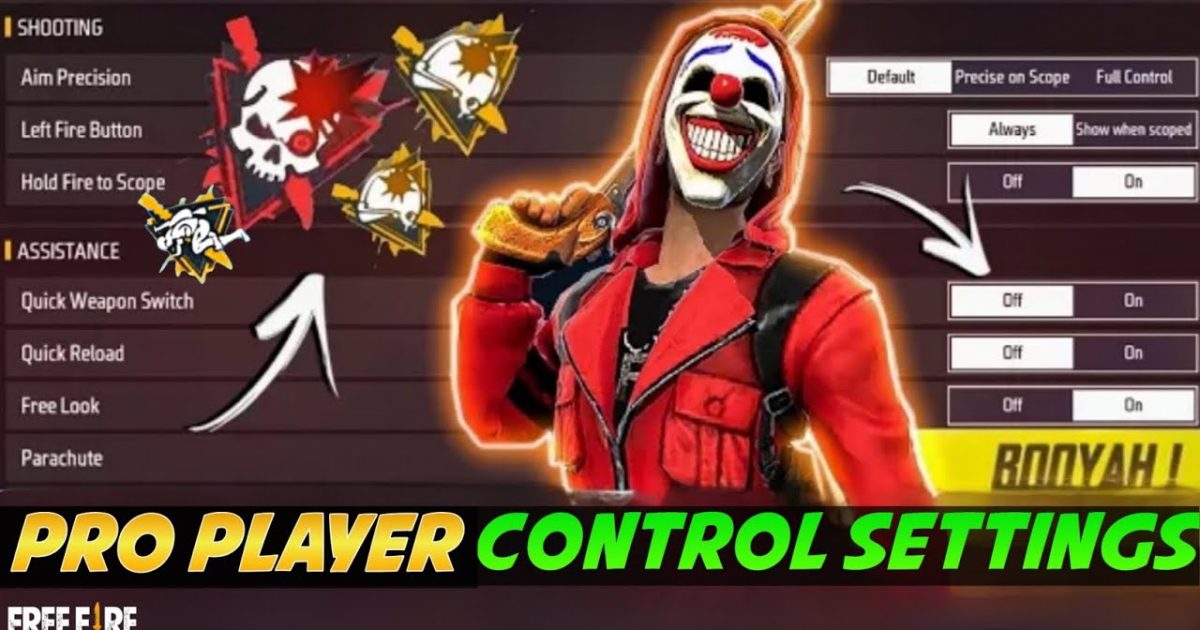
If you’re tired of missing shots and want to play like the pros, you’ve come to the right place. This guide breaks down the latest Free Fire sensitivity settings that professional players are using in 2025. Whether you’re a claw player, use two thumbs, or are grinding Ranked Season, these settings will help you improve your aim, recoil control, and overall gameplay. By the end, you’ll have a customized sensitivity setup ready to copy and test.
We’ve tested these settings on various devices and screen refresh rates, so they’re optimized for both 60Hz and 90Hz phones. Remember, sensitivity is personal, but starting with proven pro values gives you a huge head start. Let’s dive in!
What You’ll Need
- Free Fire or Free Fire Max installed (latest version)
- A device with at least 4GB RAM (recommended)
- 5-10 minutes in the Training Ground to test settings
- A notepad or screenshot tool to save your current settings (just in case)
Step 1: Open the Sensitivity Settings Menu
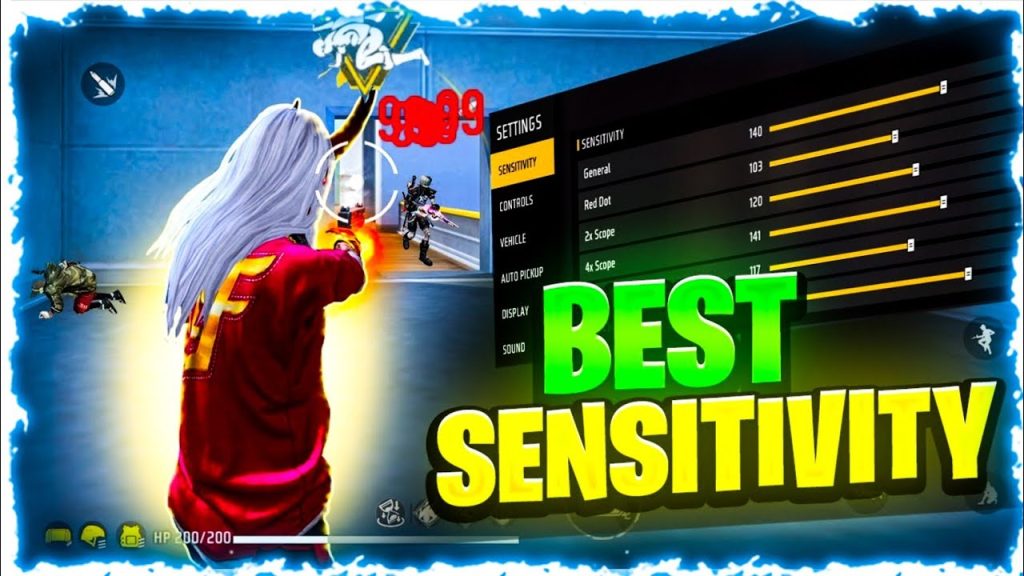
Launch Free Fire and tap on the gear icon to open Settings. Go to the ‘Sensitivity’ tab. Here you’ll see sliders for General, Red Dot, 2x Scope, 4x Scope, and Sniper Scope. If you’re using a custom HUD layout or claw grip, make sure your controls are already set before adjusting sensitivity.
Step 2: Set General Sensitivity (Base Aim)
General sensitivity controls your camera movement and hip-fire aim. Pros usually keep this between 75-85 for quick 180-degree turns while maintaining control. Start at 80. If you feel too shaky, lower it by 5; if too slow, increase by 5. For claw players, consider pairing this with a claw combo sensitivity setup to optimize tap speed.
Step 3: Configure Red Dot and Scope Sensitivities
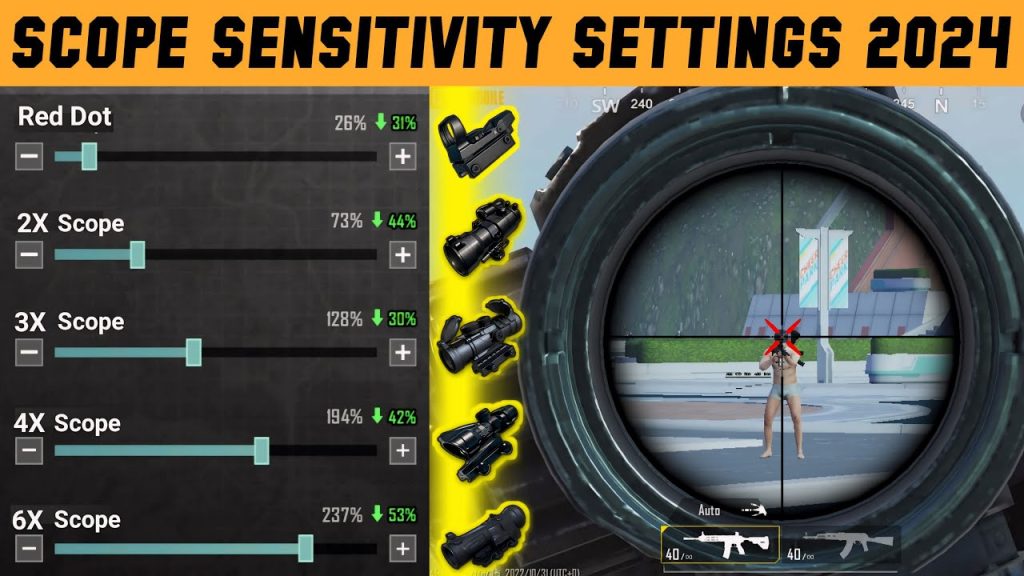
Red Dot (1x) is your main scope for close-to-mid range — use 80-85. For 2x Scope, go 60-70; 4x Scope, 45-55; Sniper Scope, 30-40. These values reduce sensitivity as magnification increases, giving you finer control for long shots. If you struggle with Assault Rifles, check out our detailed assault rifle sensitivity settings guide for weapon-specific tweaks.
Step 4: Fine-Tune with the Training Ground
Head to the Training Ground and practice on moving targets. Test your ability to track, flick, and control recoil. If you’re missing flicks, adjust your sensitivity settings for flick shots. Also, keep in mind your screen refresh rate: 60Hz users should stay on the lower end of these ranges. Our sensitivity settings for 60Hz screen guide covers that in depth.
Step 5: Save and Apply the Generated Code
Once satisfied, tap ‘Copy Code’ in the sensitivity settings to generate a shareable code. This lets you backup your settings or share with friends. If you want to learn more about this feature, see our sensitivity settings generated code guide. You can also import codes from pros to instantly try their setup.
Common Pitfalls
- Copying settings blindly without testing — every device and grip is different. Always adjust based on your feel.
- Ignoring device-specific differences — a high-end phone can handle higher sensitivity than a low-end one. Check our how to improve free fire sensitivity settings guide for device-specific tips.
- Changing too many settings at once — tweak one slider at a time and test between matches to see what works.
Where to Next
Now that you have a solid sensitivity base, consider optimizing other aspects of your gameplay. Our sensitivity settings for ranked season guide will help you climb the leaderboard. If you’re a close-range beast, check out sensitivity settings for flick shots and the claw combo setup. Remember, consistency is key — stick with these settings for at least a week before making major changes. Good luck out there!



