If you’re rocking a Realme phone and want to improve your Free Fire aim, you’ve come to the right place. Realme devices – from the budget Narzo series to the performance-focused GT models – all handle Free Fire well, but the default sensitivity settings aren’t optimized for every play style. This guide will walk you through customizing your sensitivity to hit those headshots consistently. By the end, you’ll have a set of numbers that feel natural and give you the edge in close-range sprays and long-range taps.
We’ll cover everything from accessing the settings menu to tuning ADS sensitivity and gyroscope (if your Realme supports it). I’ve tested these steps on a Realme 8 Pro and a Realme Narzo 30, so they work across the board. Whether you’re a rusher or a camper, these adjustments will make your crosshair movement smoother and more predictable. Let’s dive in.
What You’ll Need
- A Realme phone (any model – I recommend turning on Game Mode or GT Mode for best performance)
- Free Fire installed and updated to the latest version
- A stable internet connection (Wi-Fi or 4G/5G)
- A notepad or the in-game clipboard to save your sensitivity code (optional but handy)
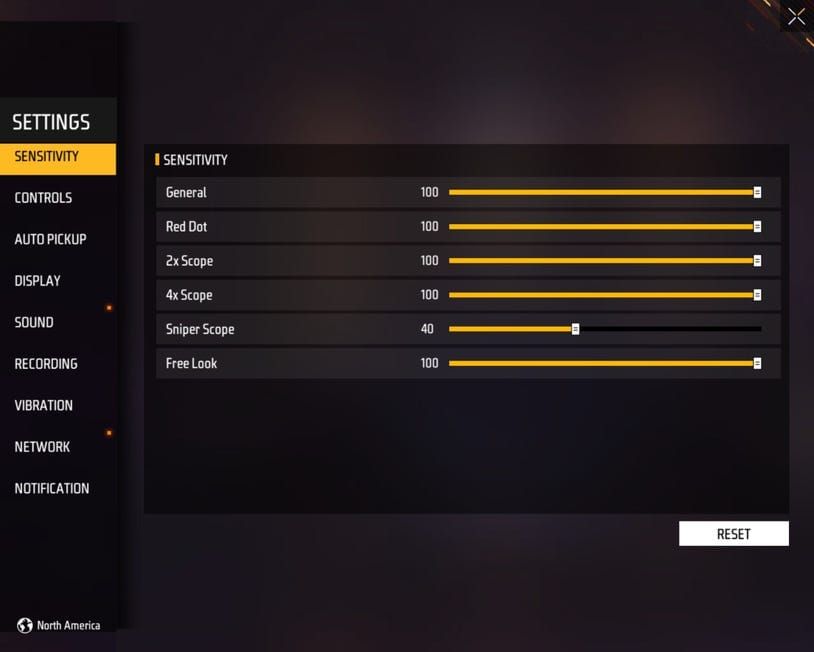
Step 1: Access the Sensitivity Settings Menu
Open Free Fire and head to the main lobby. Tap the gear icon in the top-right corner to open Settings. Then go to the “Sensitivity” tab. This is where all the magic happens. On Realme phones, the menu layout is identical to other Android devices, so you won’t miss anything.
Step 2: Turn On Custom Sensitivity
By default, Free Fire uses a standard sensitivity profile. To unlock full control, toggle the “Custom” option at the top of the Sensitivity settings. This will let you adjust each sensitivity slider individually. If you’ve used a free fire sensitivity settings copy code before, you can paste it here – but we’ll build ours from scratch.
Step 3: Set General and Red Dot Sensitivity
General sensitivity controls your camera movement when not aiming down sights (ADS). For Realme phones with a 60Hz or 90Hz display, I recommend starting at 85-95. Red dot sensitivity (1x scope) should be slightly lower – try 75-85. These numbers give you a good balance for close-quarters combat and mid-range sprays. If you’re looking for free fire sensitivity settings for drag headshot, those typically use higher general sensitivity (95-100) to flick quickly.

Step 4: Adjust 2x, 4x, Sniper, and Free Look Sensitivity
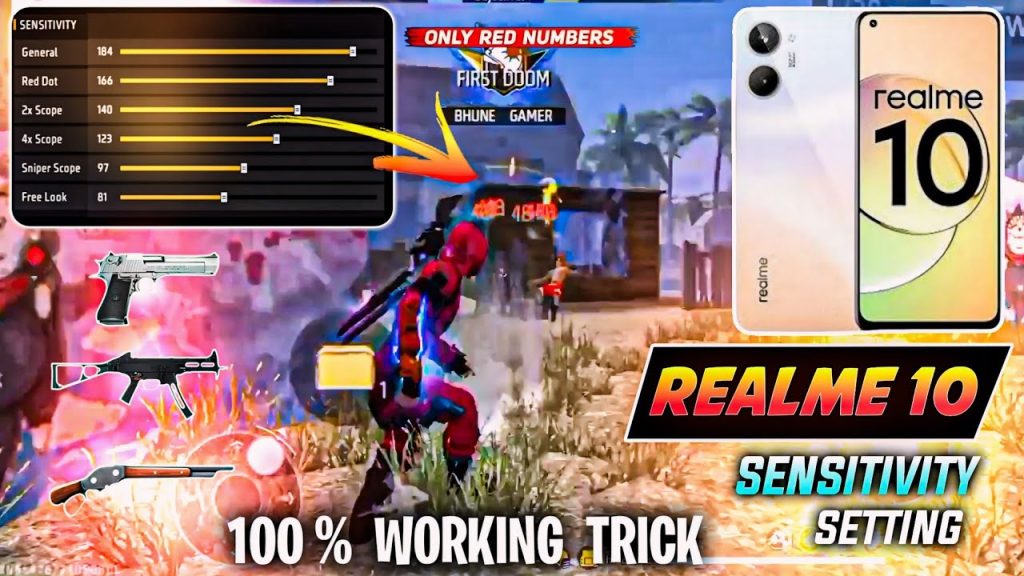
Higher scopes need lower sensitivity for precise aim. For 2x scope, set between 45-55. For 4x scope, go with 30-40. Sniper scope (8x) should be around 15-25. Free Look sensitivity (while running or parachuting) can stay at default – 50-60. These values align with the latest free fire sensitivity settings for gaming phones. Realme’s touch sampling is decent, but lowering scope sensitivity prevents over-aiming.
Step 5: Tweak Camera and ADS Sensitivity (Gyroscope Optional)
Under the “Advanced” section (if available), you’ll find separate sliders for Camera and ADS sensitivity. I set Camera to 100 and ADS to 80 – this gives fast target acquisition while ADS remains controlled. If your Realme has a gyroscope (like the Realme 8 Pro or GT models), enable it and start with gyro sensitivity around 20-30 for fine-tuning. Gyro helps with micro-adjustments during long-range fights.
Step 6: Test and Save Your Settings
Head to the training ground (the shooting range) to test your new sensitivity. Try spraying at a wall from different distances, practice flicking to targets, and see if tracking feels smooth. If something feels off, adjust sliders by 5 points at a time. Once satisfied, tap the “Copy” button in the sensitivity menu to get your code, then save it somewhere. You can also use a free fire sensitivity settings finder tool online to compare values. Remember to apply the settings and exit the menu.
Common Pitfalls
- Copying settings blindly from streamers without adjusting for your Realme’s screen size and touch response. What works on an iPhone may feel sluggish on a Realme Narzo. Always fine-tune to your feel.
- Ignoring the fire button size and position. A large fire button can block your view, especially in ADS. Keep it small and place it near the bottom-right corner for better visibility.
- Forgetting to save or export your code after tweaking. If you uninstall or switch devices, you’ll lose everything. Use the copy function and store the code in notes.
Sensitivity is personal – don’t copy numbers, copy technique. Tweak until it feels like an extension of your finger.
Pro Gamer Aaryan
Where to Next
You’ve got your Realme-specific sensitivity dialed in. To take it further, check out free fire sensitivity settings tested by streamers for pro-level values, or learn how to test free fire sensitivity settings with different weapons. Also, explore the free fire sensitivity settings for drag headshot guide if you’re into aggressive rushing. Bookmark this page so you can revisit the steps after each update. Happy gaming!
