If you’re rocking a budget phone with 2-3GB RAM and a Mediatek or entry-level Snapdragon chip, you know the struggle. Free Fire can lag, touch response can be sluggish, and your aim feels like you’re moving through molasses. But here’s the thing: you don’t need a flagship to dominate. With the right sensitivity settings and a few graphics tweaks, you can get smooth, responsive aim and actually enjoy your matches.
By the end of this guide, you’ll have a custom sensitivity profile dialed in for your exact phone model. We’ll cover touch sampling, graphics adjustments, and specific numbers that work on low-end devices. You’ll also learn how to fine-tune with gyro if your phone supports it. Let’s get your aim on point without spending a dime.
What You’ll Need
- A budget Android phone (2-3GB RAM, any brand like Xiaomi, Realme, Samsung, Oppo, Vivo)
- Free Fire or Free Fire MAX installed (MAX runs smoother on some low-end phones)
- A stable internet connection (Wi-Fi preferred, but 4G works)
- Patience – dialing in sensitivity takes 10-15 minutes
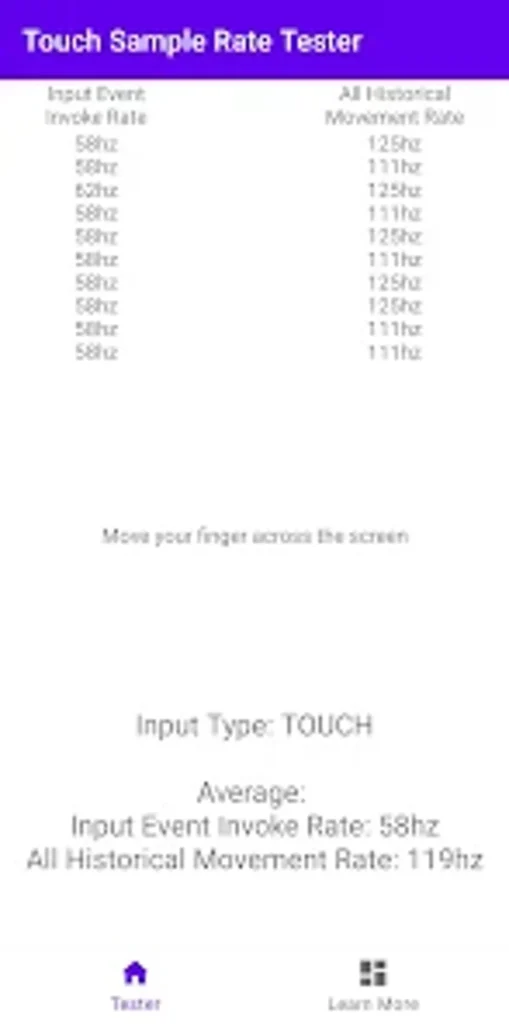
- Optional: a touch sampling rate tester app (like Touch Sampling Rate Checker from Play Store)
Step 1: Check Your Phone’s Touch Sampling Rate
Touch sampling rate is how often your screen checks for finger input. Budget phones usually have 60Hz or 90Hz touch sampling, which means the game registers your taps less frequently than on a 120Hz+ phone. This affects your sensitivity: higher sampling rates allow higher sensitivities without overshooting. To find your rate, install a touch sampling tester app or check your phone’s display specs online. If you have a low rate (60Hz), you’ll need lower sensitivities to avoid jitter.
Step 2: Lower Your Graphics for Maximum Performance
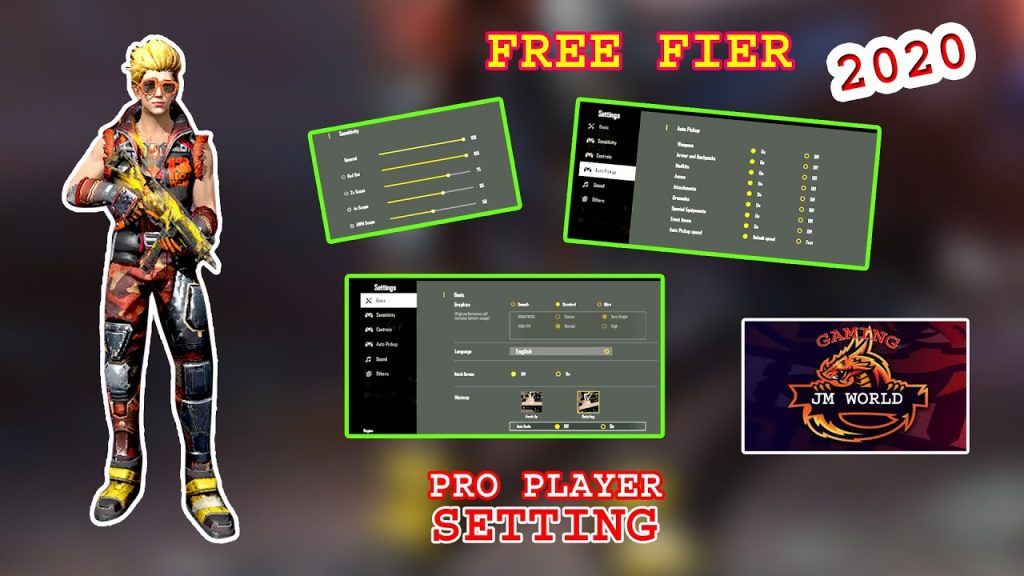
Graphics directly affect input lag. Go to Free Fire Settings > Graphics and set everything to the lowest possible: Graphics Quality: Smooth, High FPS: High (or Max if available), Shadow: Off, Character Shadow: Off, Grass: Off. This reduces GPU load and frees up RAM, giving you smoother gameplay and better touch response. If your phone still lags, enable Device Optimization in the settings.
Step 3: Apply Recommended Sensitivity Values
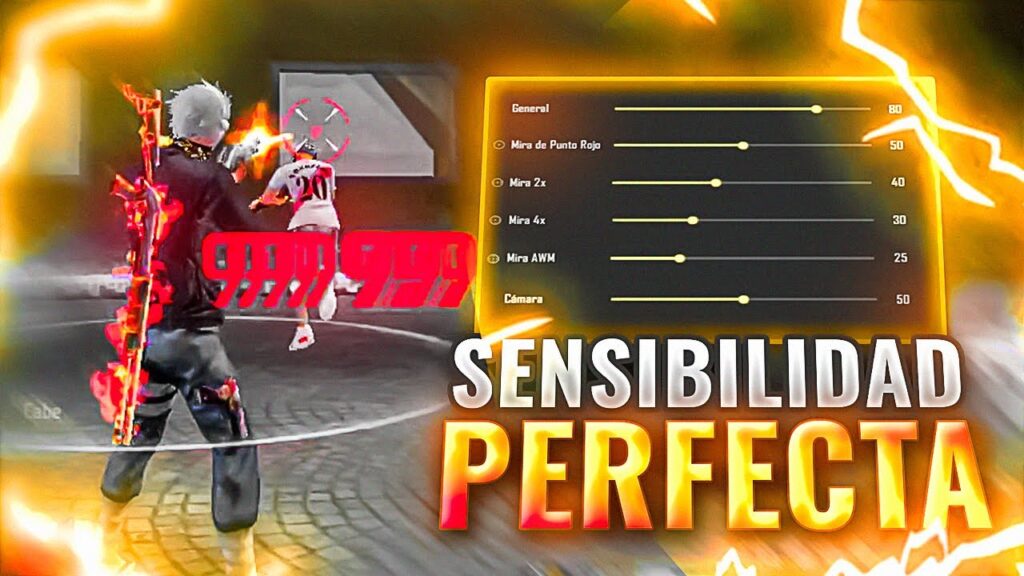
These sensitivity numbers are tuned for budget phones with 60-90Hz touch sampling. Go to Settings > Sensitivity and adjust the sliders. Start with these and tweak based on feel: General: 85 (slower than default to avoid overshooting), Red Dot: 90, 2x Scope: 85, 4x Scope: 80, Sniper Scope: 40, Free Look: 60. For DPI, keep it around 1000 (check your phone’s DPI in developer options). If you want a code to copy, check out this free fire sensitivity settings saved code for a quick start.
Step 4: Enable and Tune Gyroscope (If Supported)
Gyroscope uses your phone’s rotation to aim, which can be smoother than finger swiping on a low-touch-sampling screen. If your budget phone has a gyro (many do), enable it in Settings > Sensitivity > Gyroscope. Start with low values: General: 40, Red Dot: 50, 2x: 40, Sniper: 20. Test in training ground. Gyro helps a lot when you need precise micro-corrections. For more detail, see our free fire sensitivity settings for low touch sampling guide.
Step 5: Practice in Training Ground and Adjust
Head to the training ground and spend 10 minutes testing your aim. Shoot at stationary targets, do 180-degree turns, and track moving dummies. If you overshoot (aim goes too far), lower your sensitivity by 5 points. If you undershoot (can’t keep up), increase by 5. Pay attention to each scope – you might need different values for red dot vs. 4x. This iterative process is how you get headshot with free fire sensitivity settings customized to your phone.
Common Pitfalls
- Copying pro settings blindly. Pro players use high-end devices with 120Hz+ touch sampling – their sensitivity will feel too fast on your budget phone. Always adapt to your own screen.
- Ignoring DPI and touch sampling. Your phone’s DPI (dots per inch) affects how many pixels your finger crosses. On a low DPI screen, high sensitivity makes aim jumpy. Check developer options for DPI and adjust accordingly. For more on DPI, read our free fire dpi for headshot sensitivity settings article.
- Not practicing enough after changes. Changing sensitivity immediately feels weird – give it at least 3-4 matches before judging. Muscle memory takes time to build.
Where to Next?
You’ve got a solid baseline for budget phone sensitivity. Next, check out our free fire max sensitivity settings for low end phones for an alternative profile. If you want to master drag shots on a budget device, see our guide on best free fire sensitivity settings for drag shot. And don’t forget to save your settings code so you can restore them easily.
